Contact Us

Use the form on the right to contact us.

You can edit the text in this area, and change where the contact form on the right submits to, by entering edit mode using the modes on the bottom right. 


123 Street Avenue, City Town, 99999

(123) 555-6789

email@address.com


You can set your address, phone number, email and site description in the settings tab.
Link to read me page with more information.

Sewing Tidbits

Sewing Tidbits is the sewing blog written since 2013 by Delphine, the co-founder of Just Patterns.

Filtering by Tag: draping

Introducing the Laetitia Wrap Skirt

Delphine (Sewing Tidbits)

Dear readers,


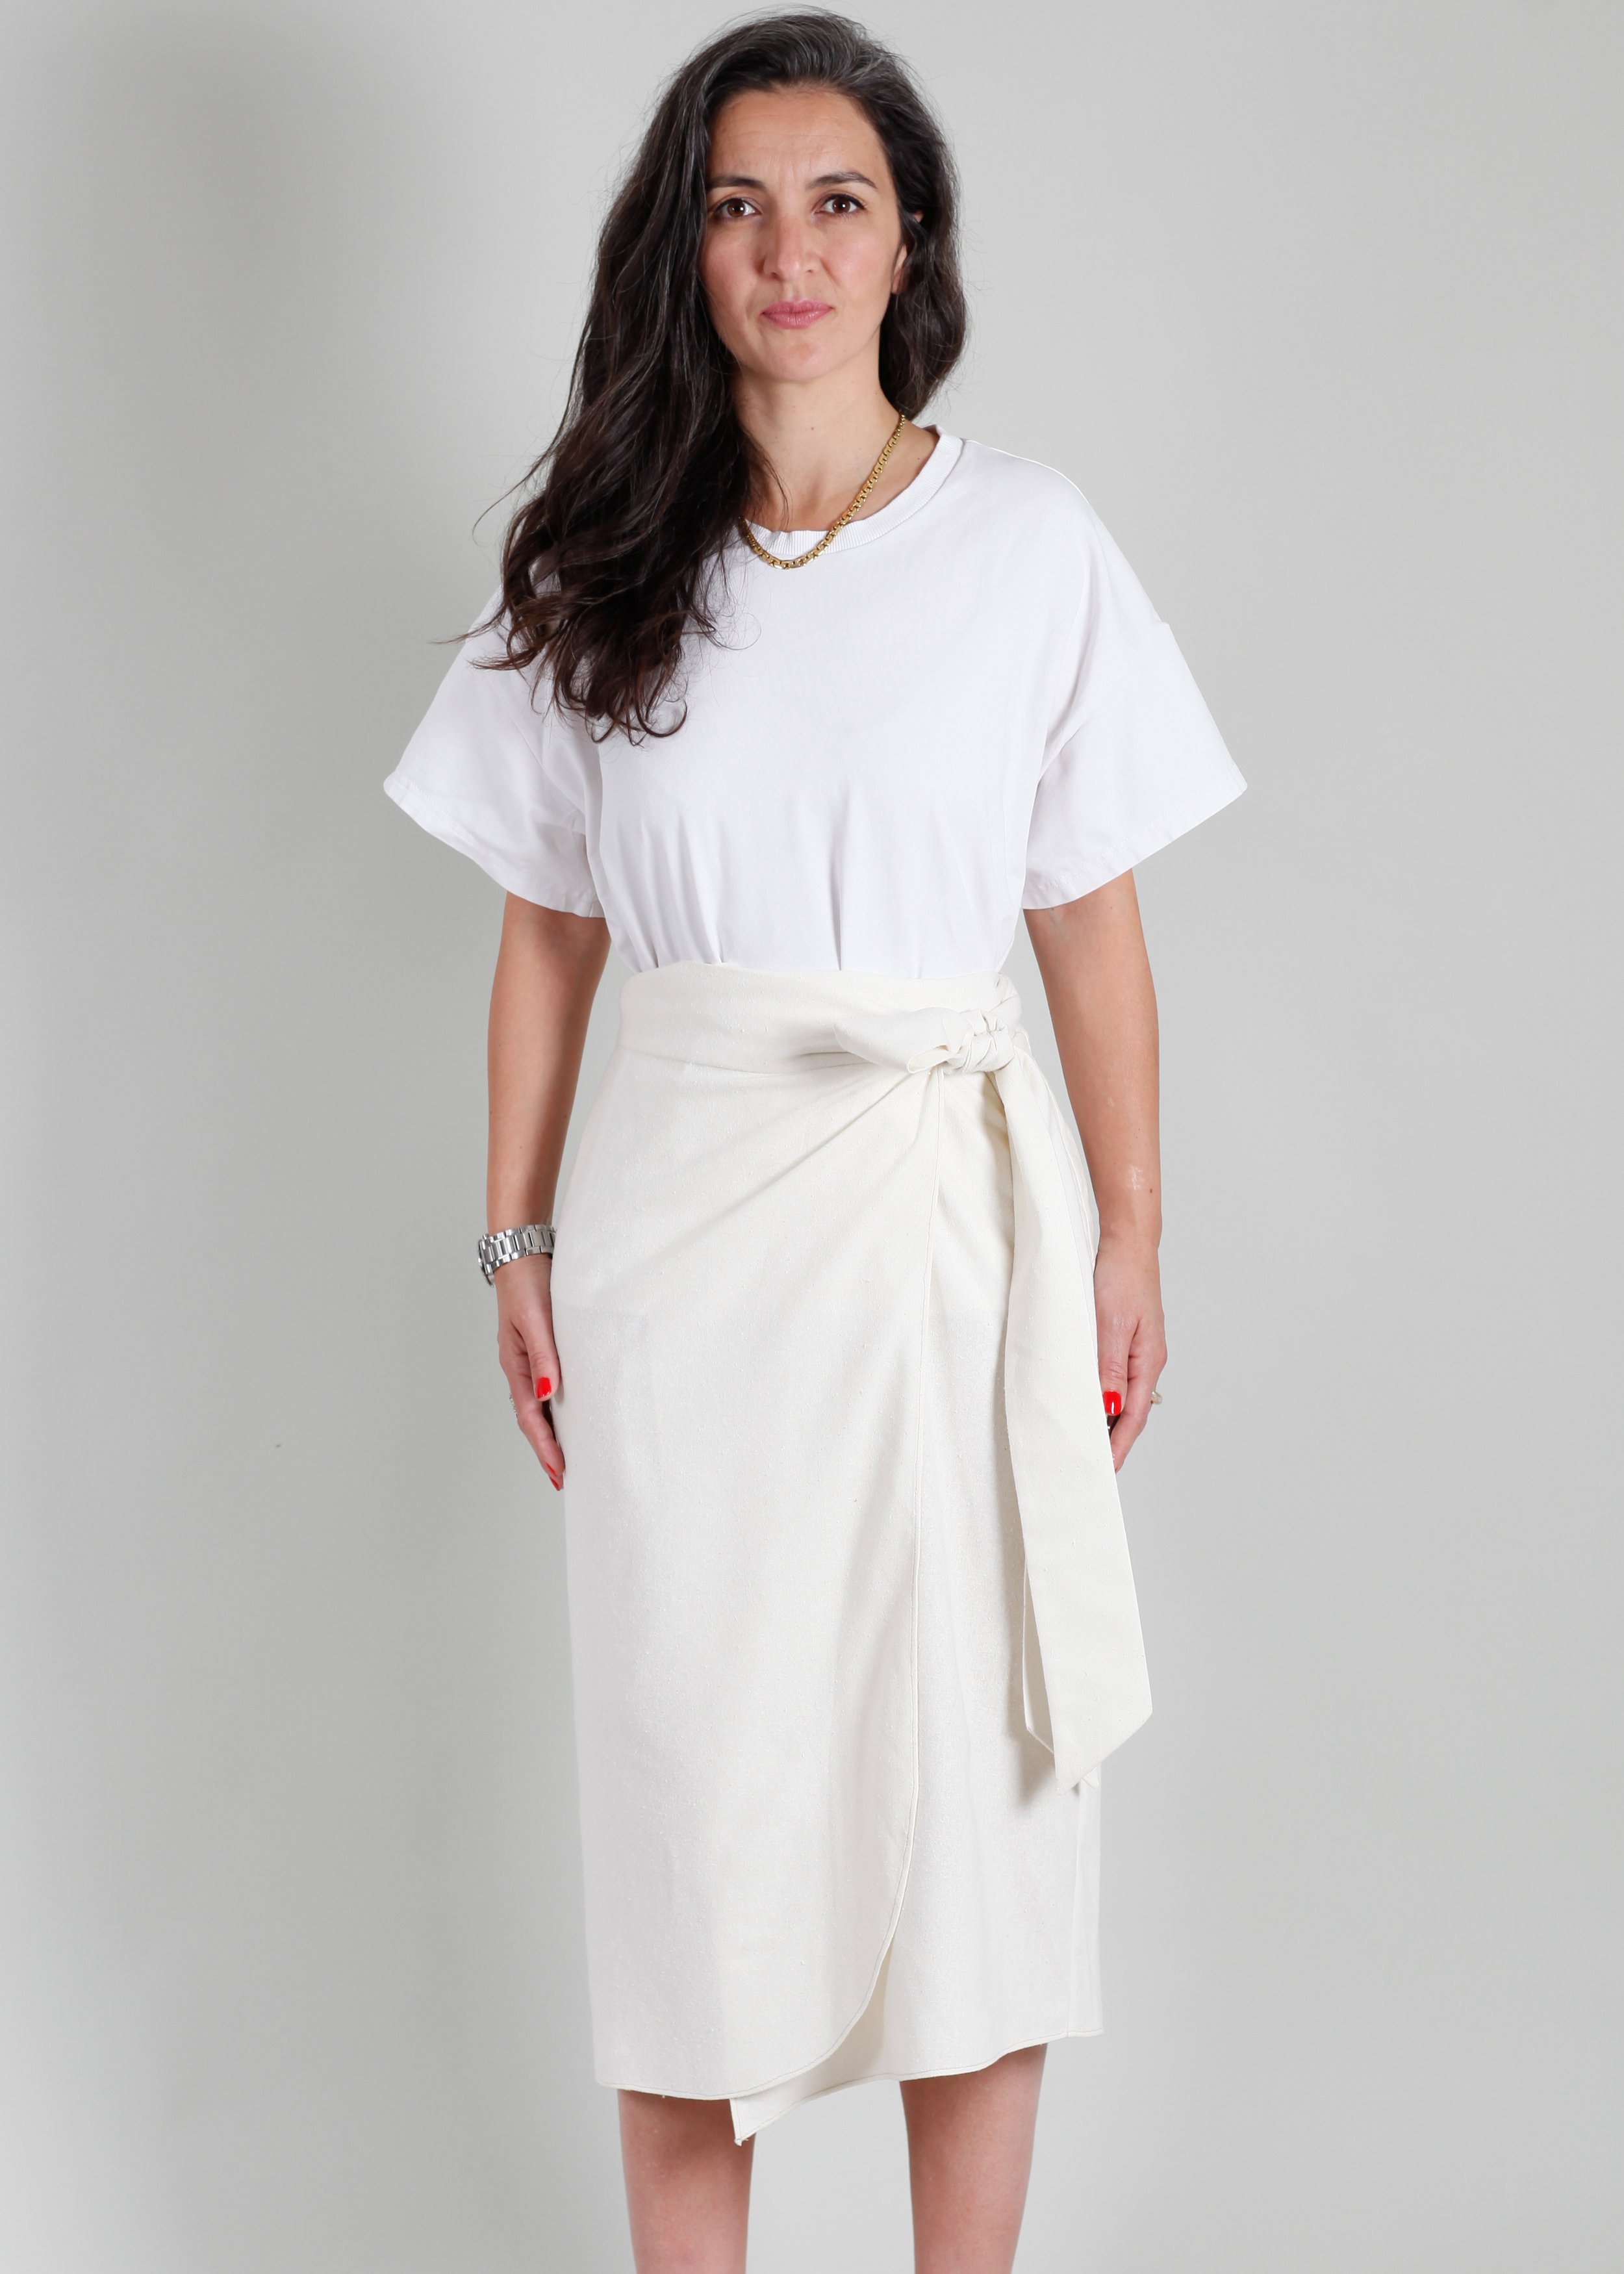
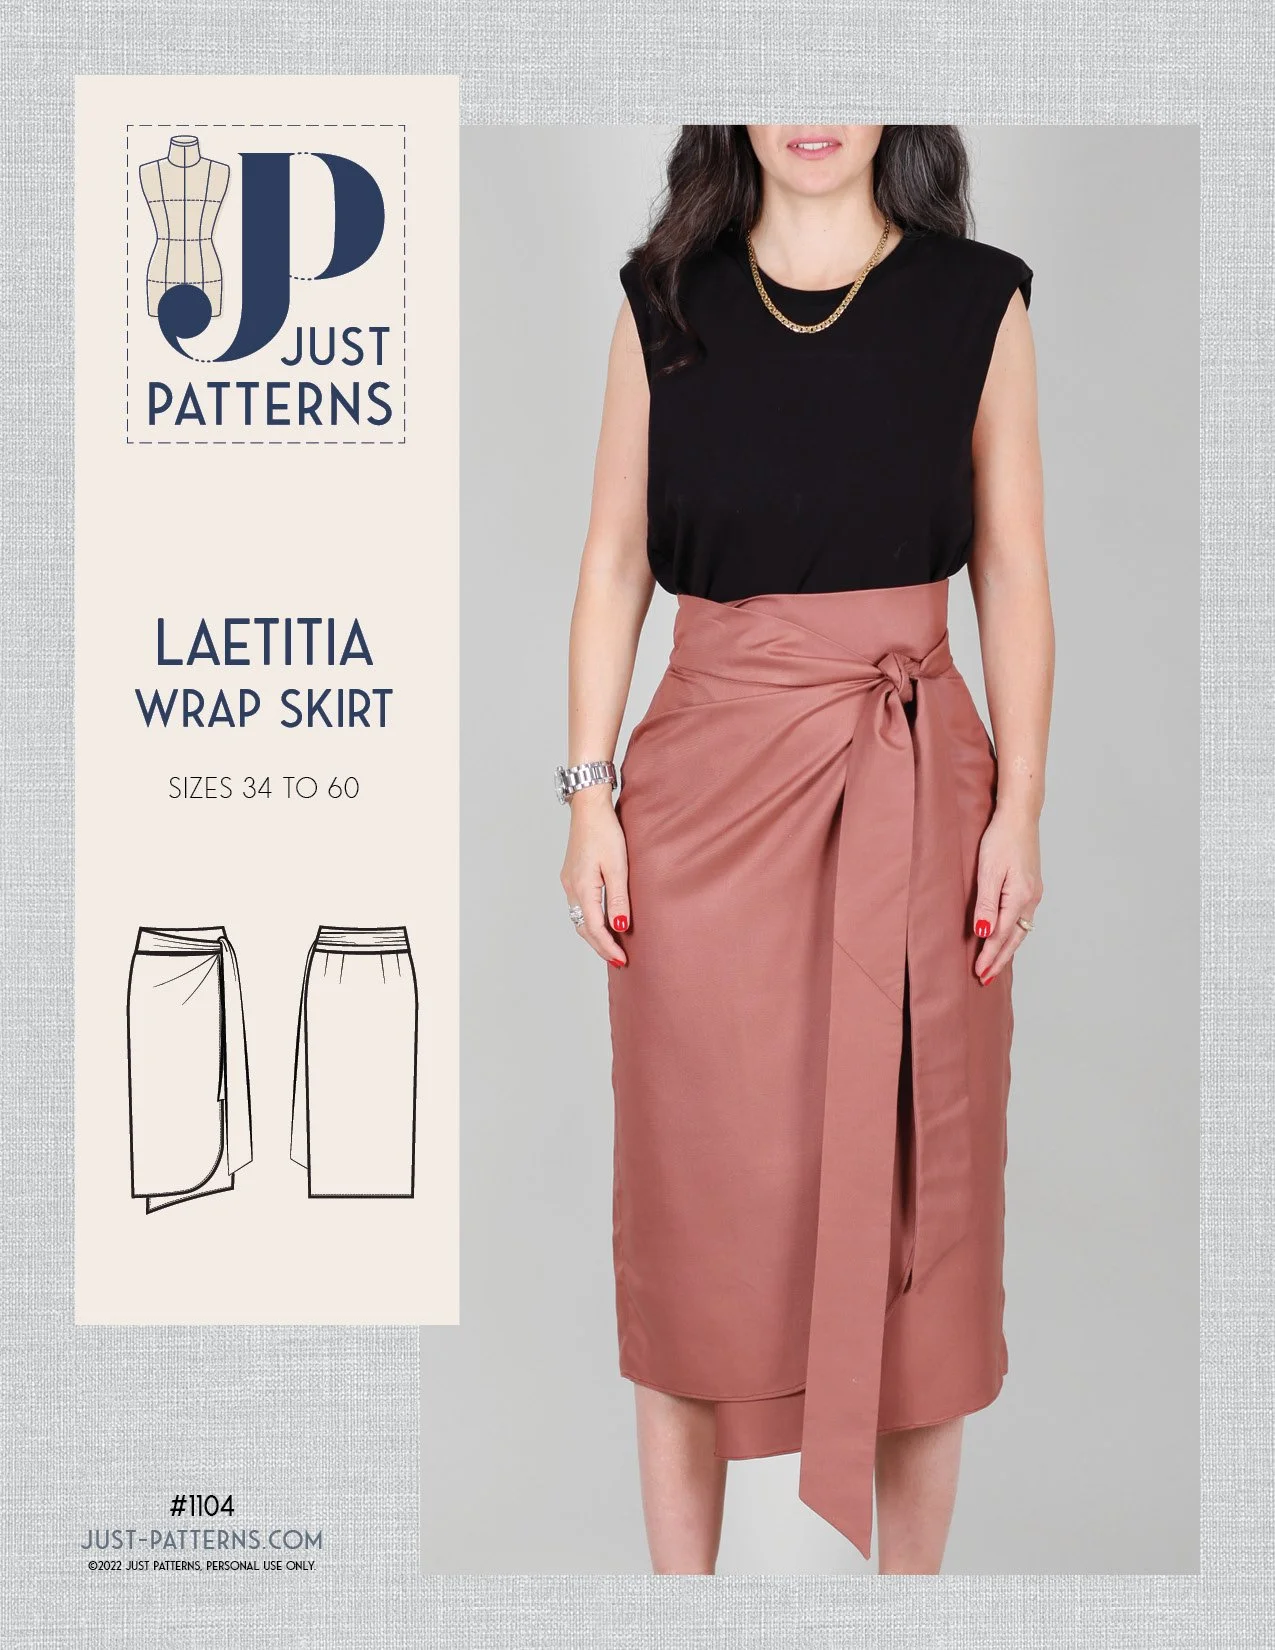
I’m so happy to bring you a new addition to the Just Patterns family. I have not released a skirt pattern since 2020 and it definitely feels strange because skirts are my favourite things to draft! Compared to my last launch, the development of this pattern was super smooth and it was the perfect palate cleanser that I needed. Let me introduce you to the Laetitia Wrap Skirt:

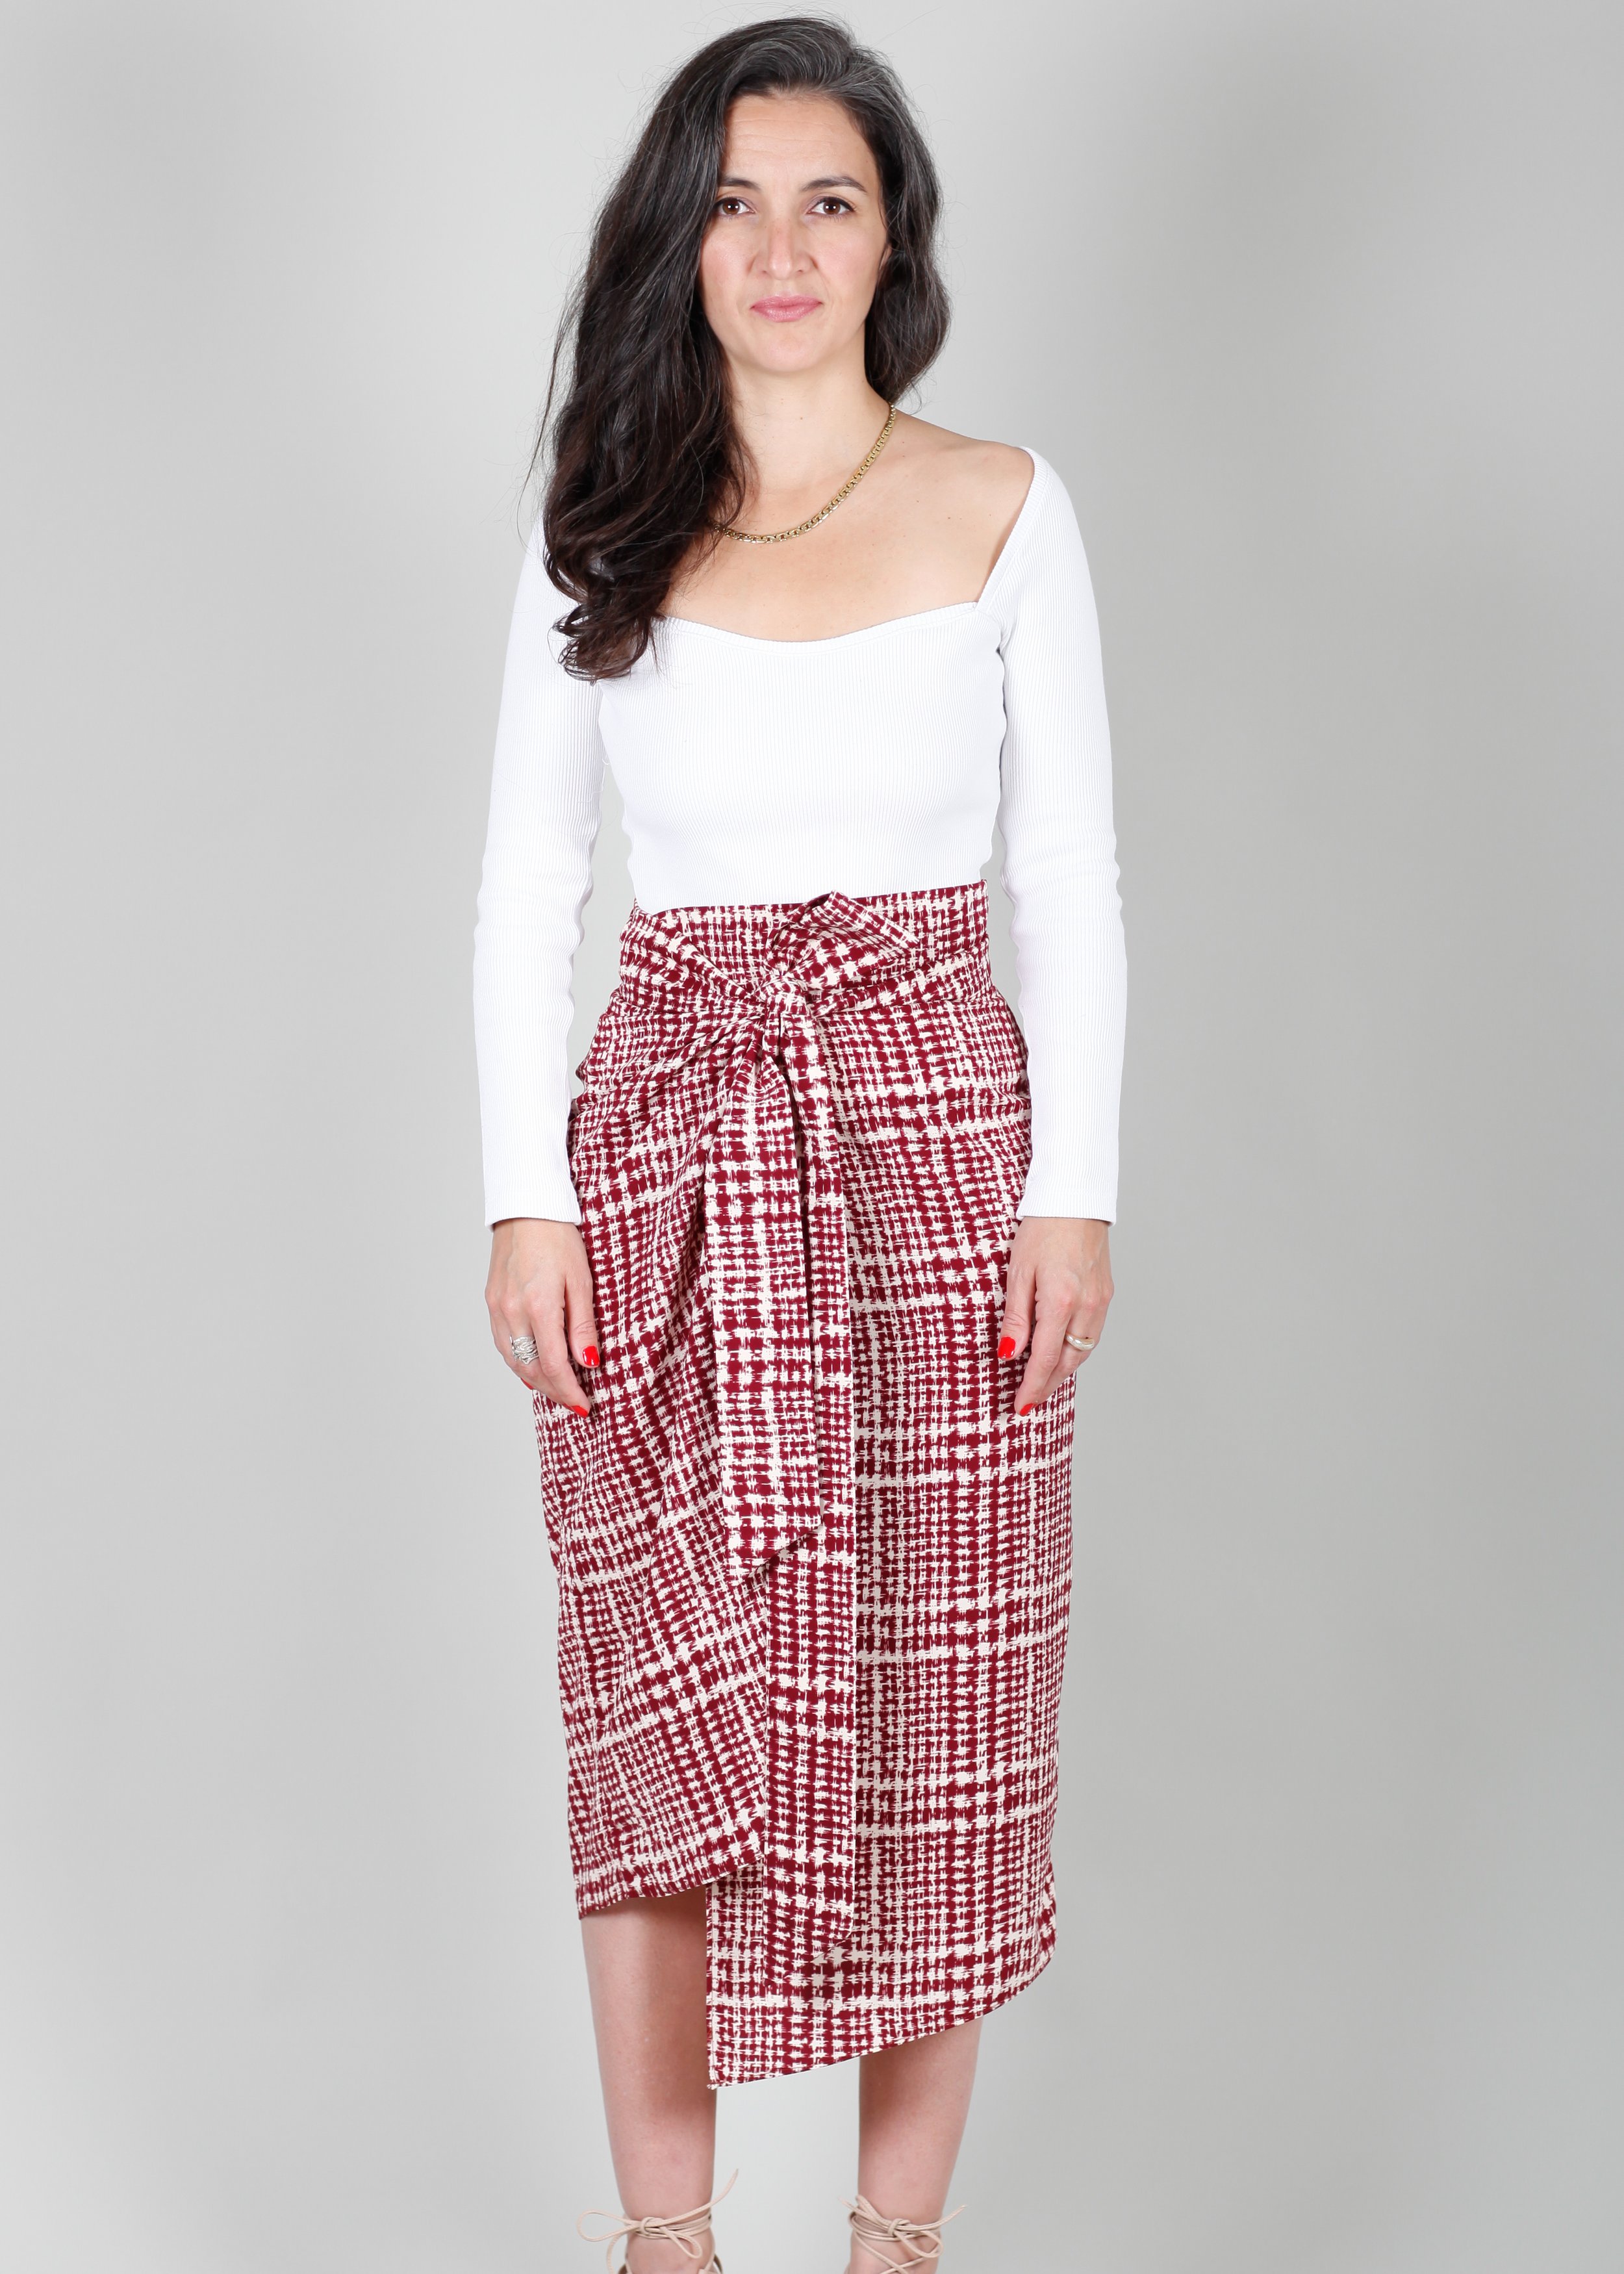
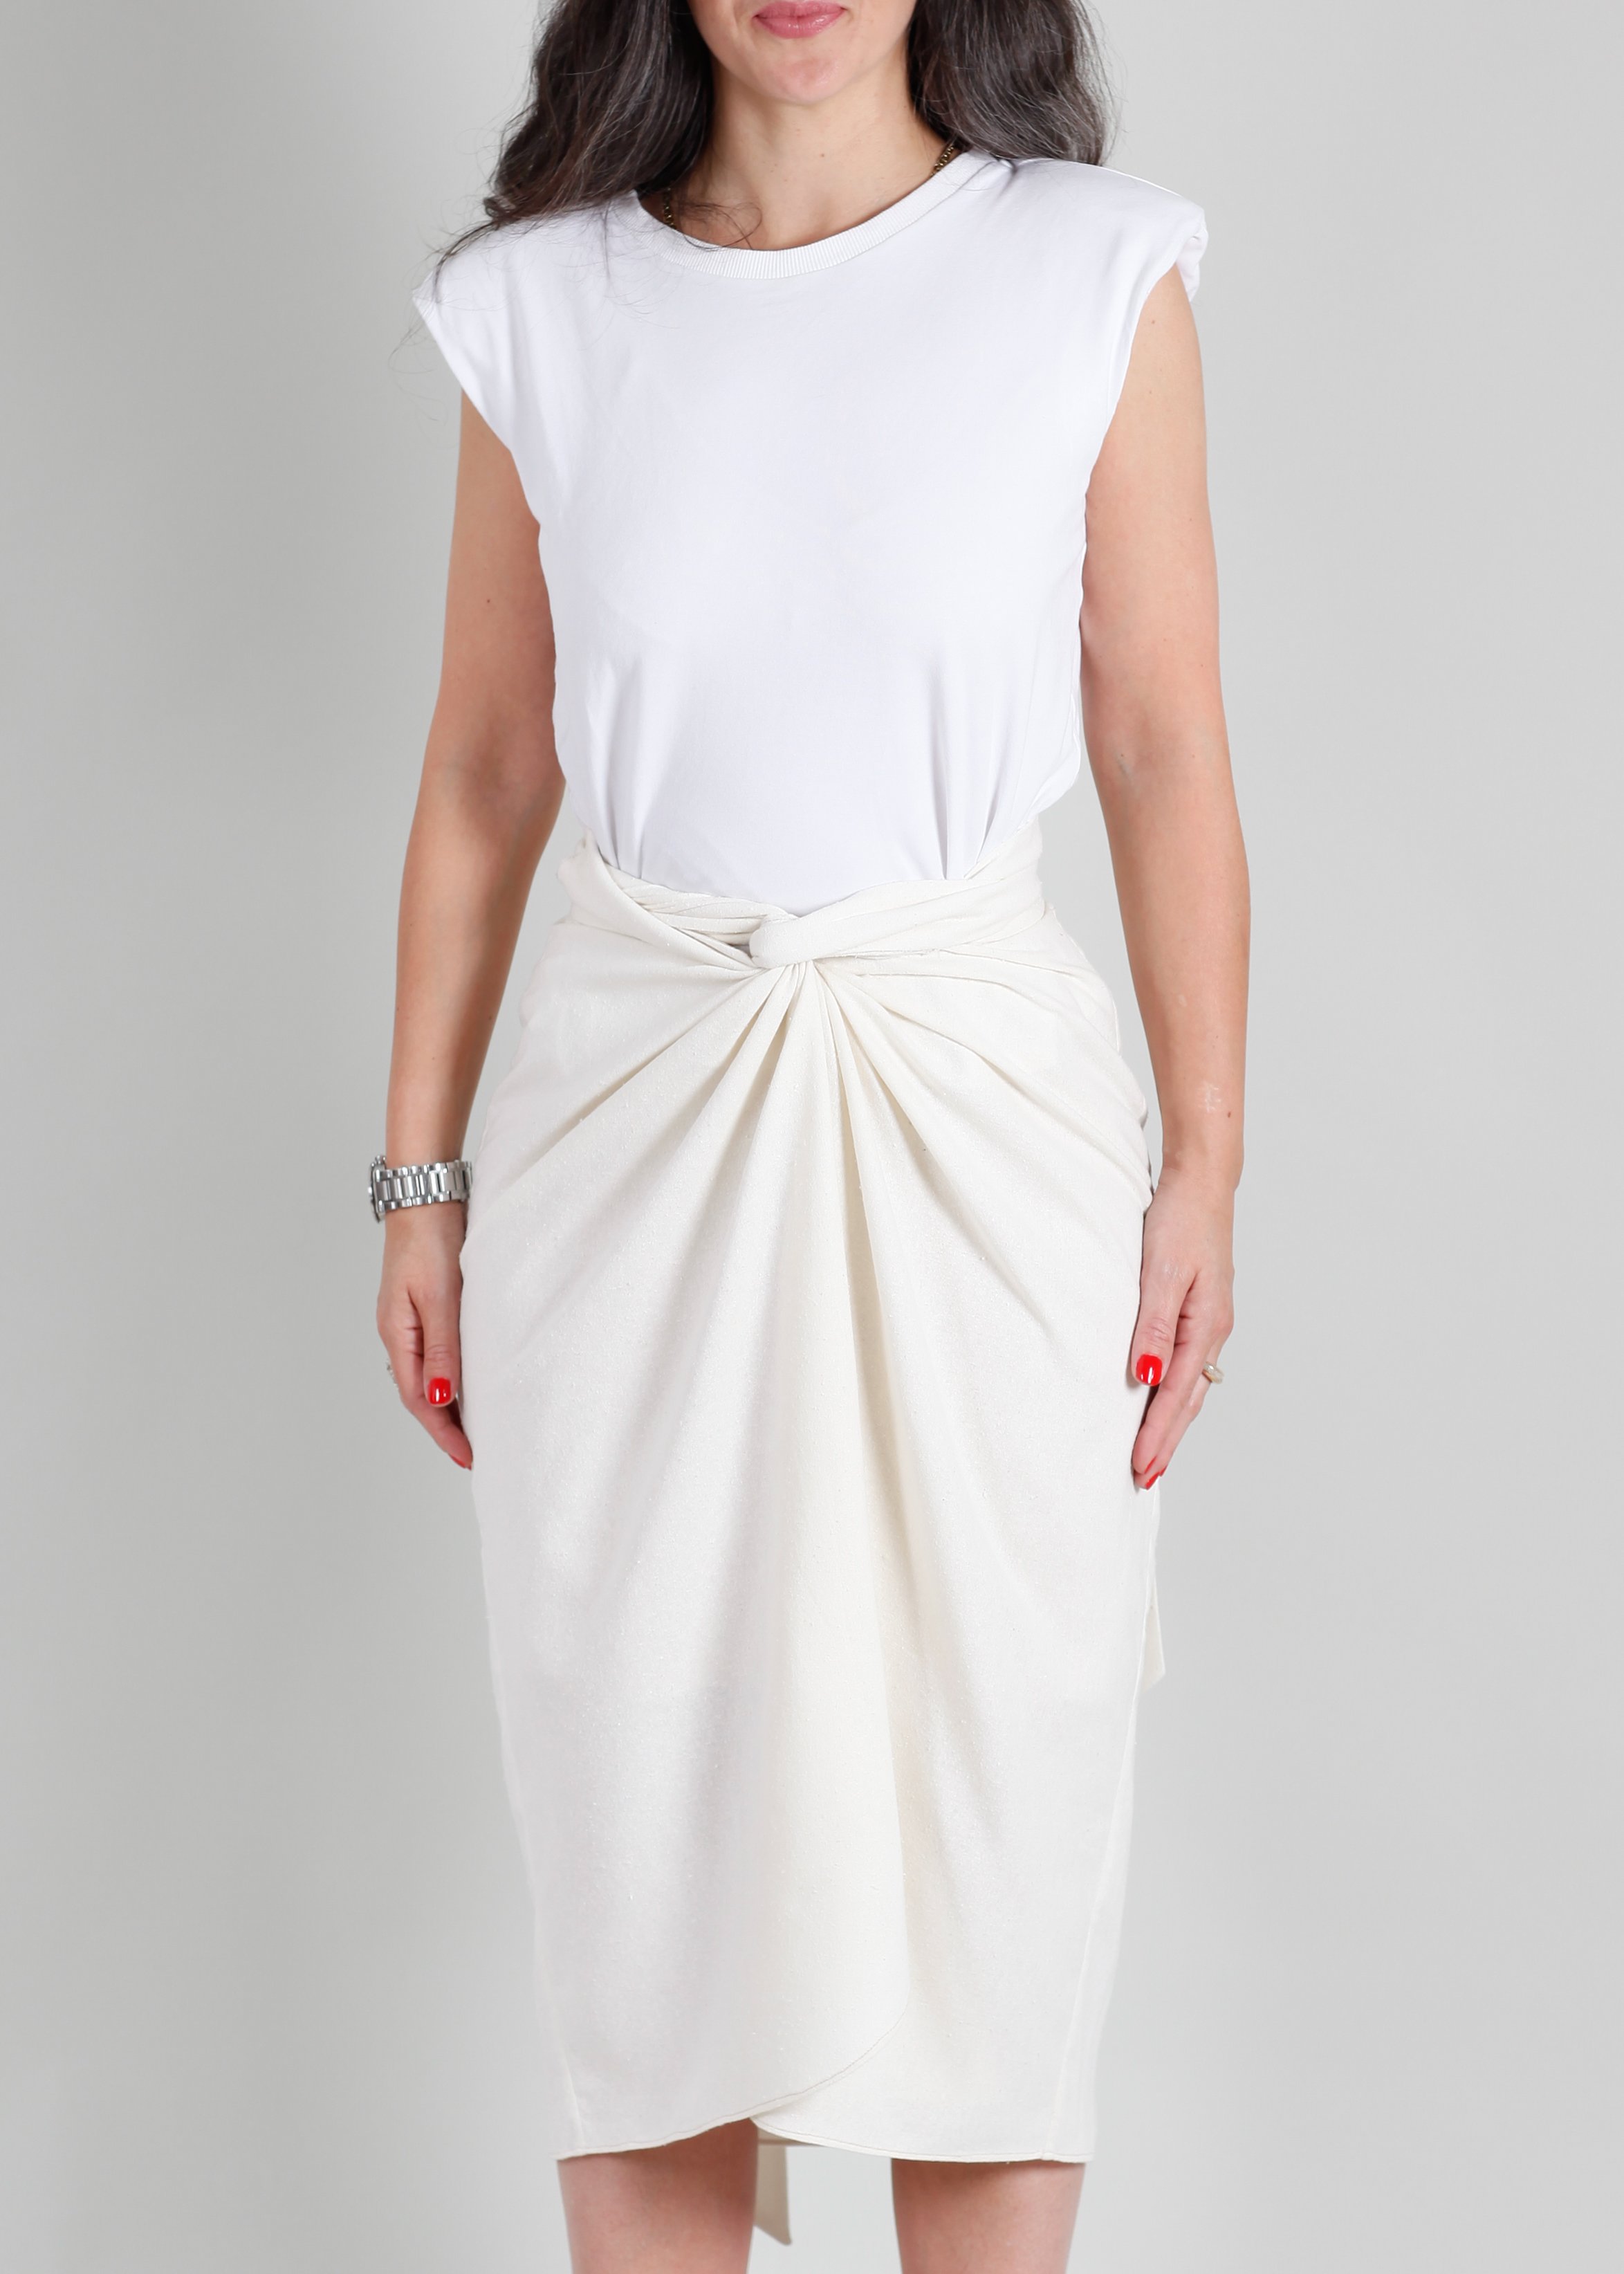
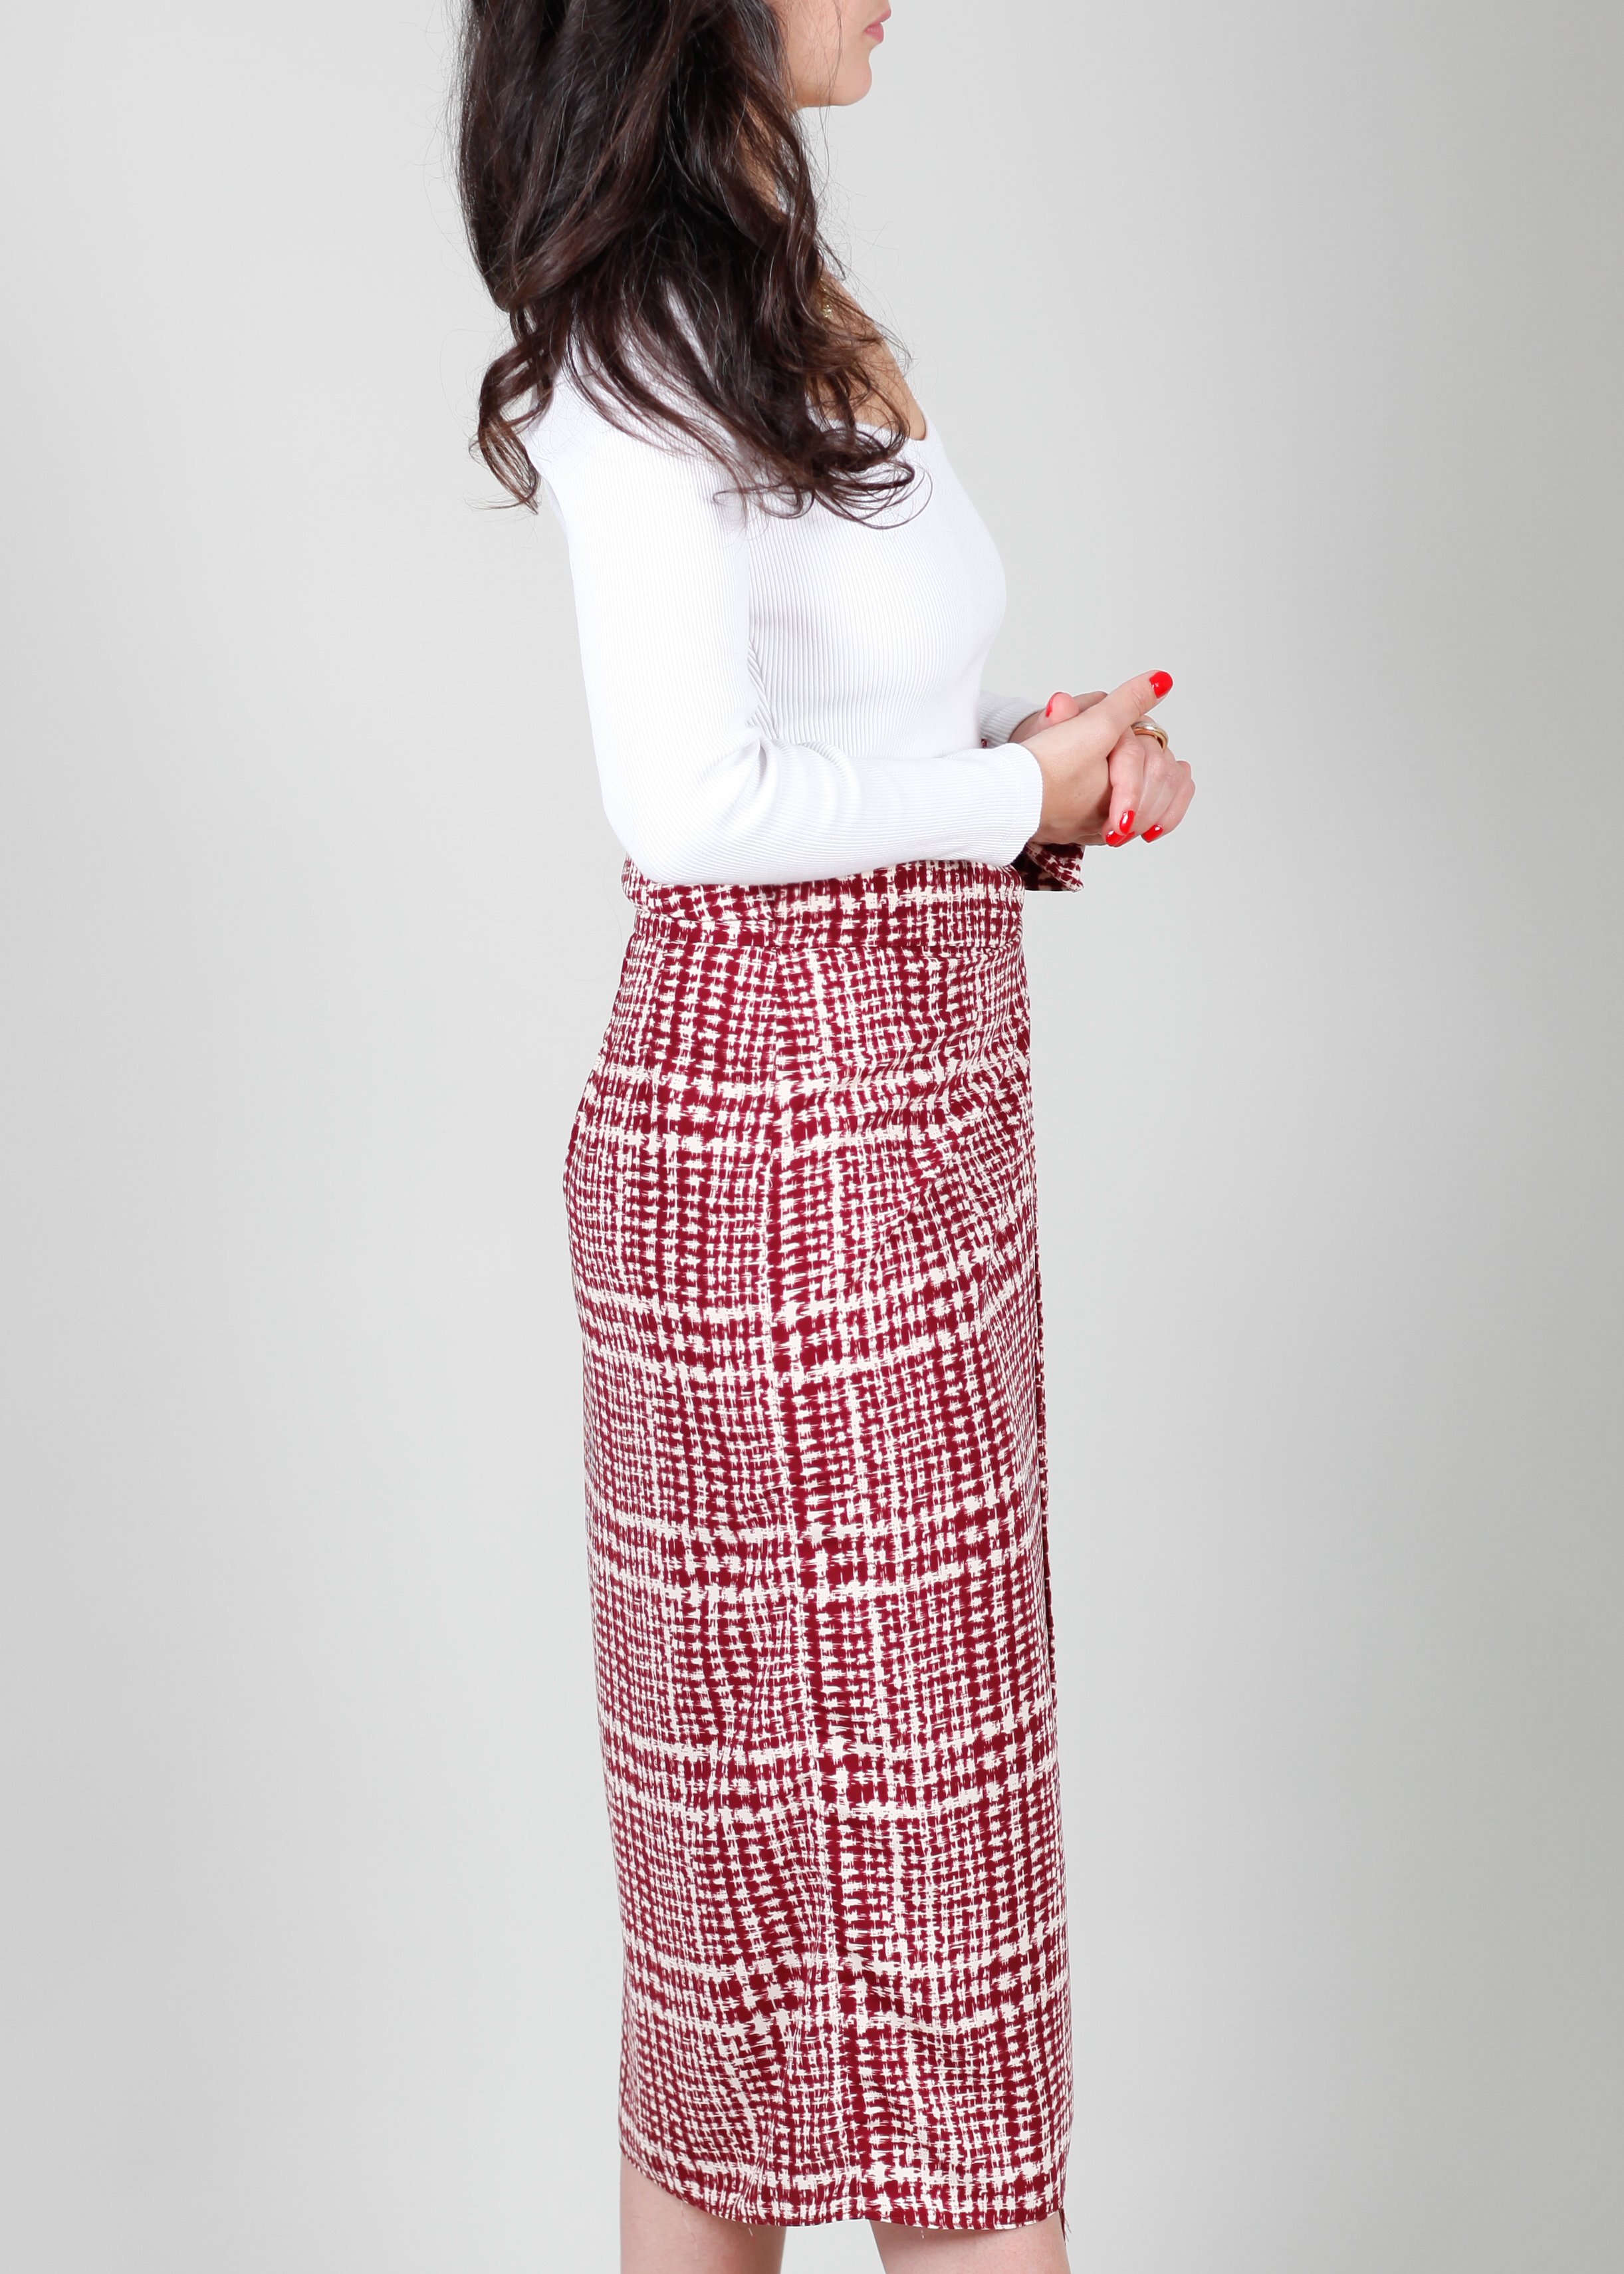
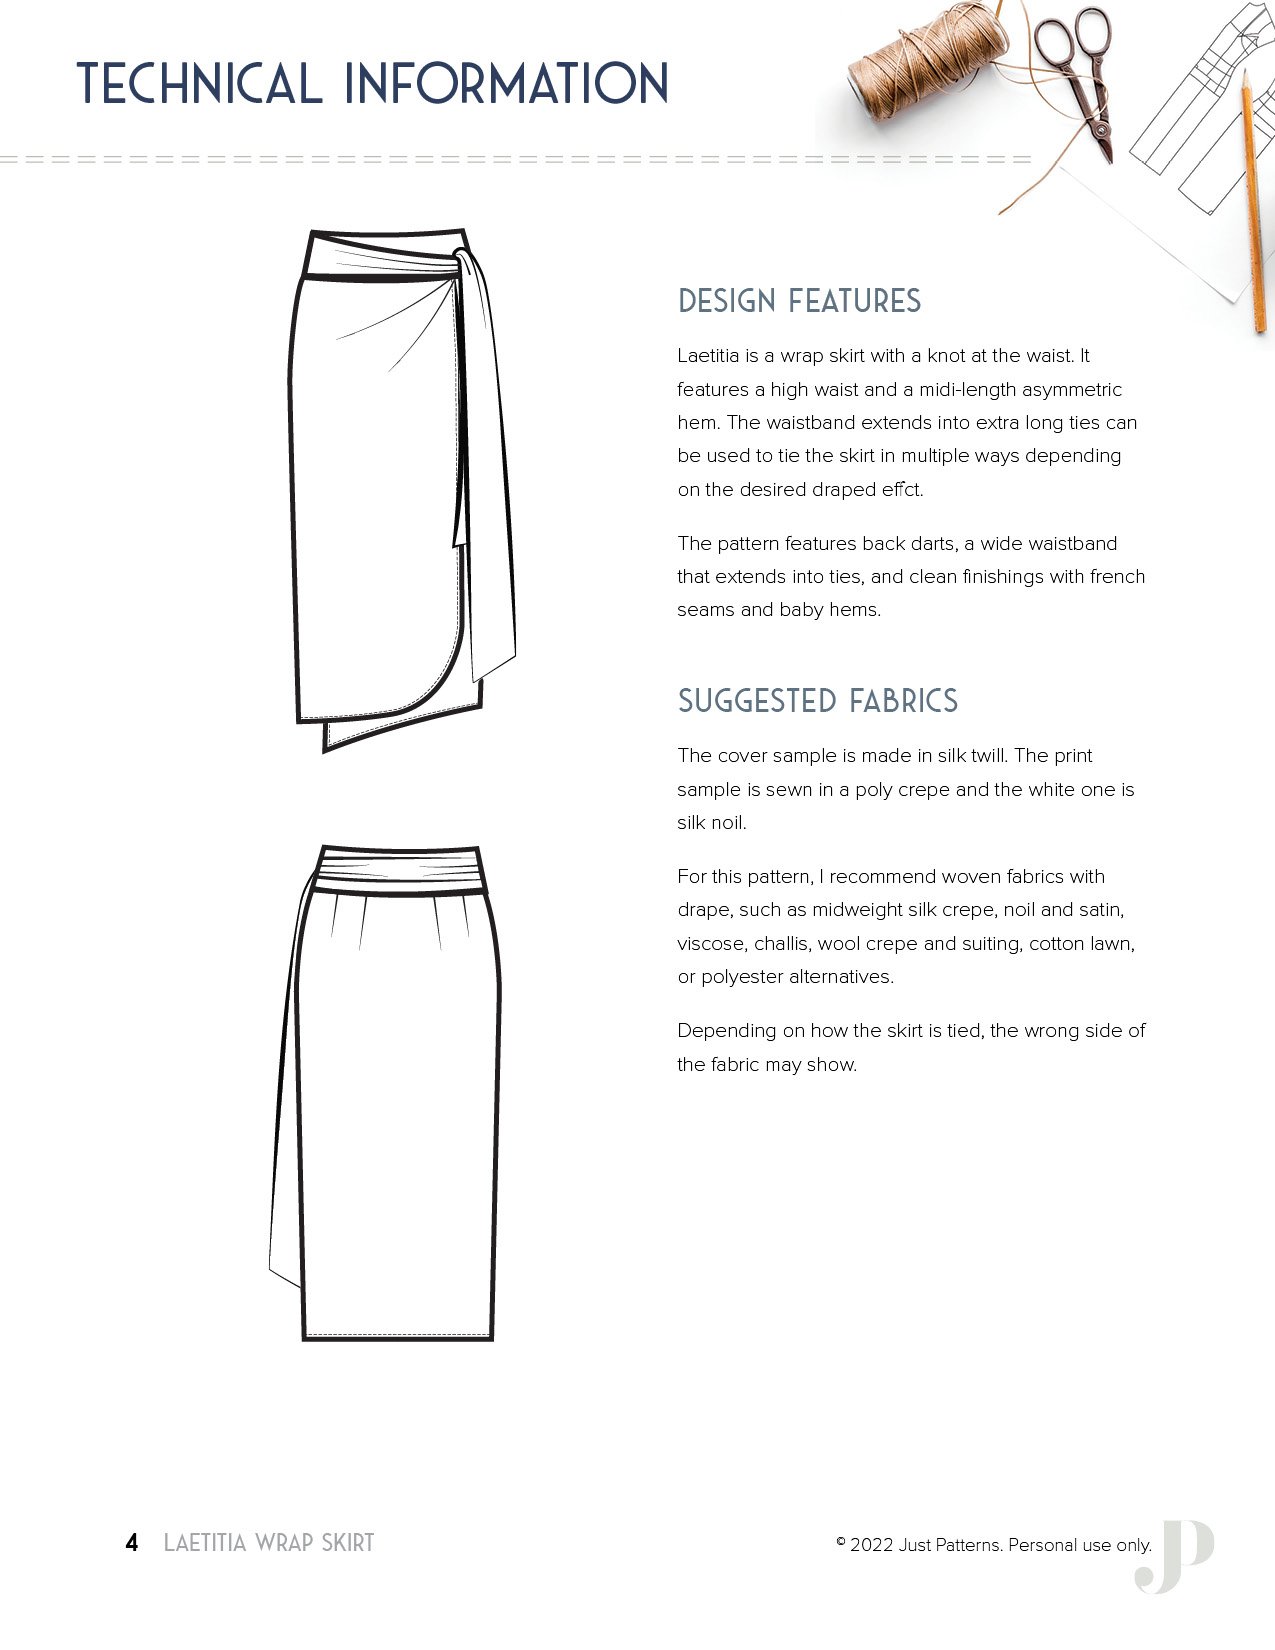
Laetitia is a chic and comfortable wrap skirt with a knot at the waist. It’s detailed with a high waist and a midi-length asymmetric hem. The waistband extends into extra-long ties that can be used to tie the skirt in multiple ways depending on much drape and show of leg you want. I am trying to edit the video in which I show you the three ways I tied the skirt for the photoshoot but maybe you will also come up with your own?

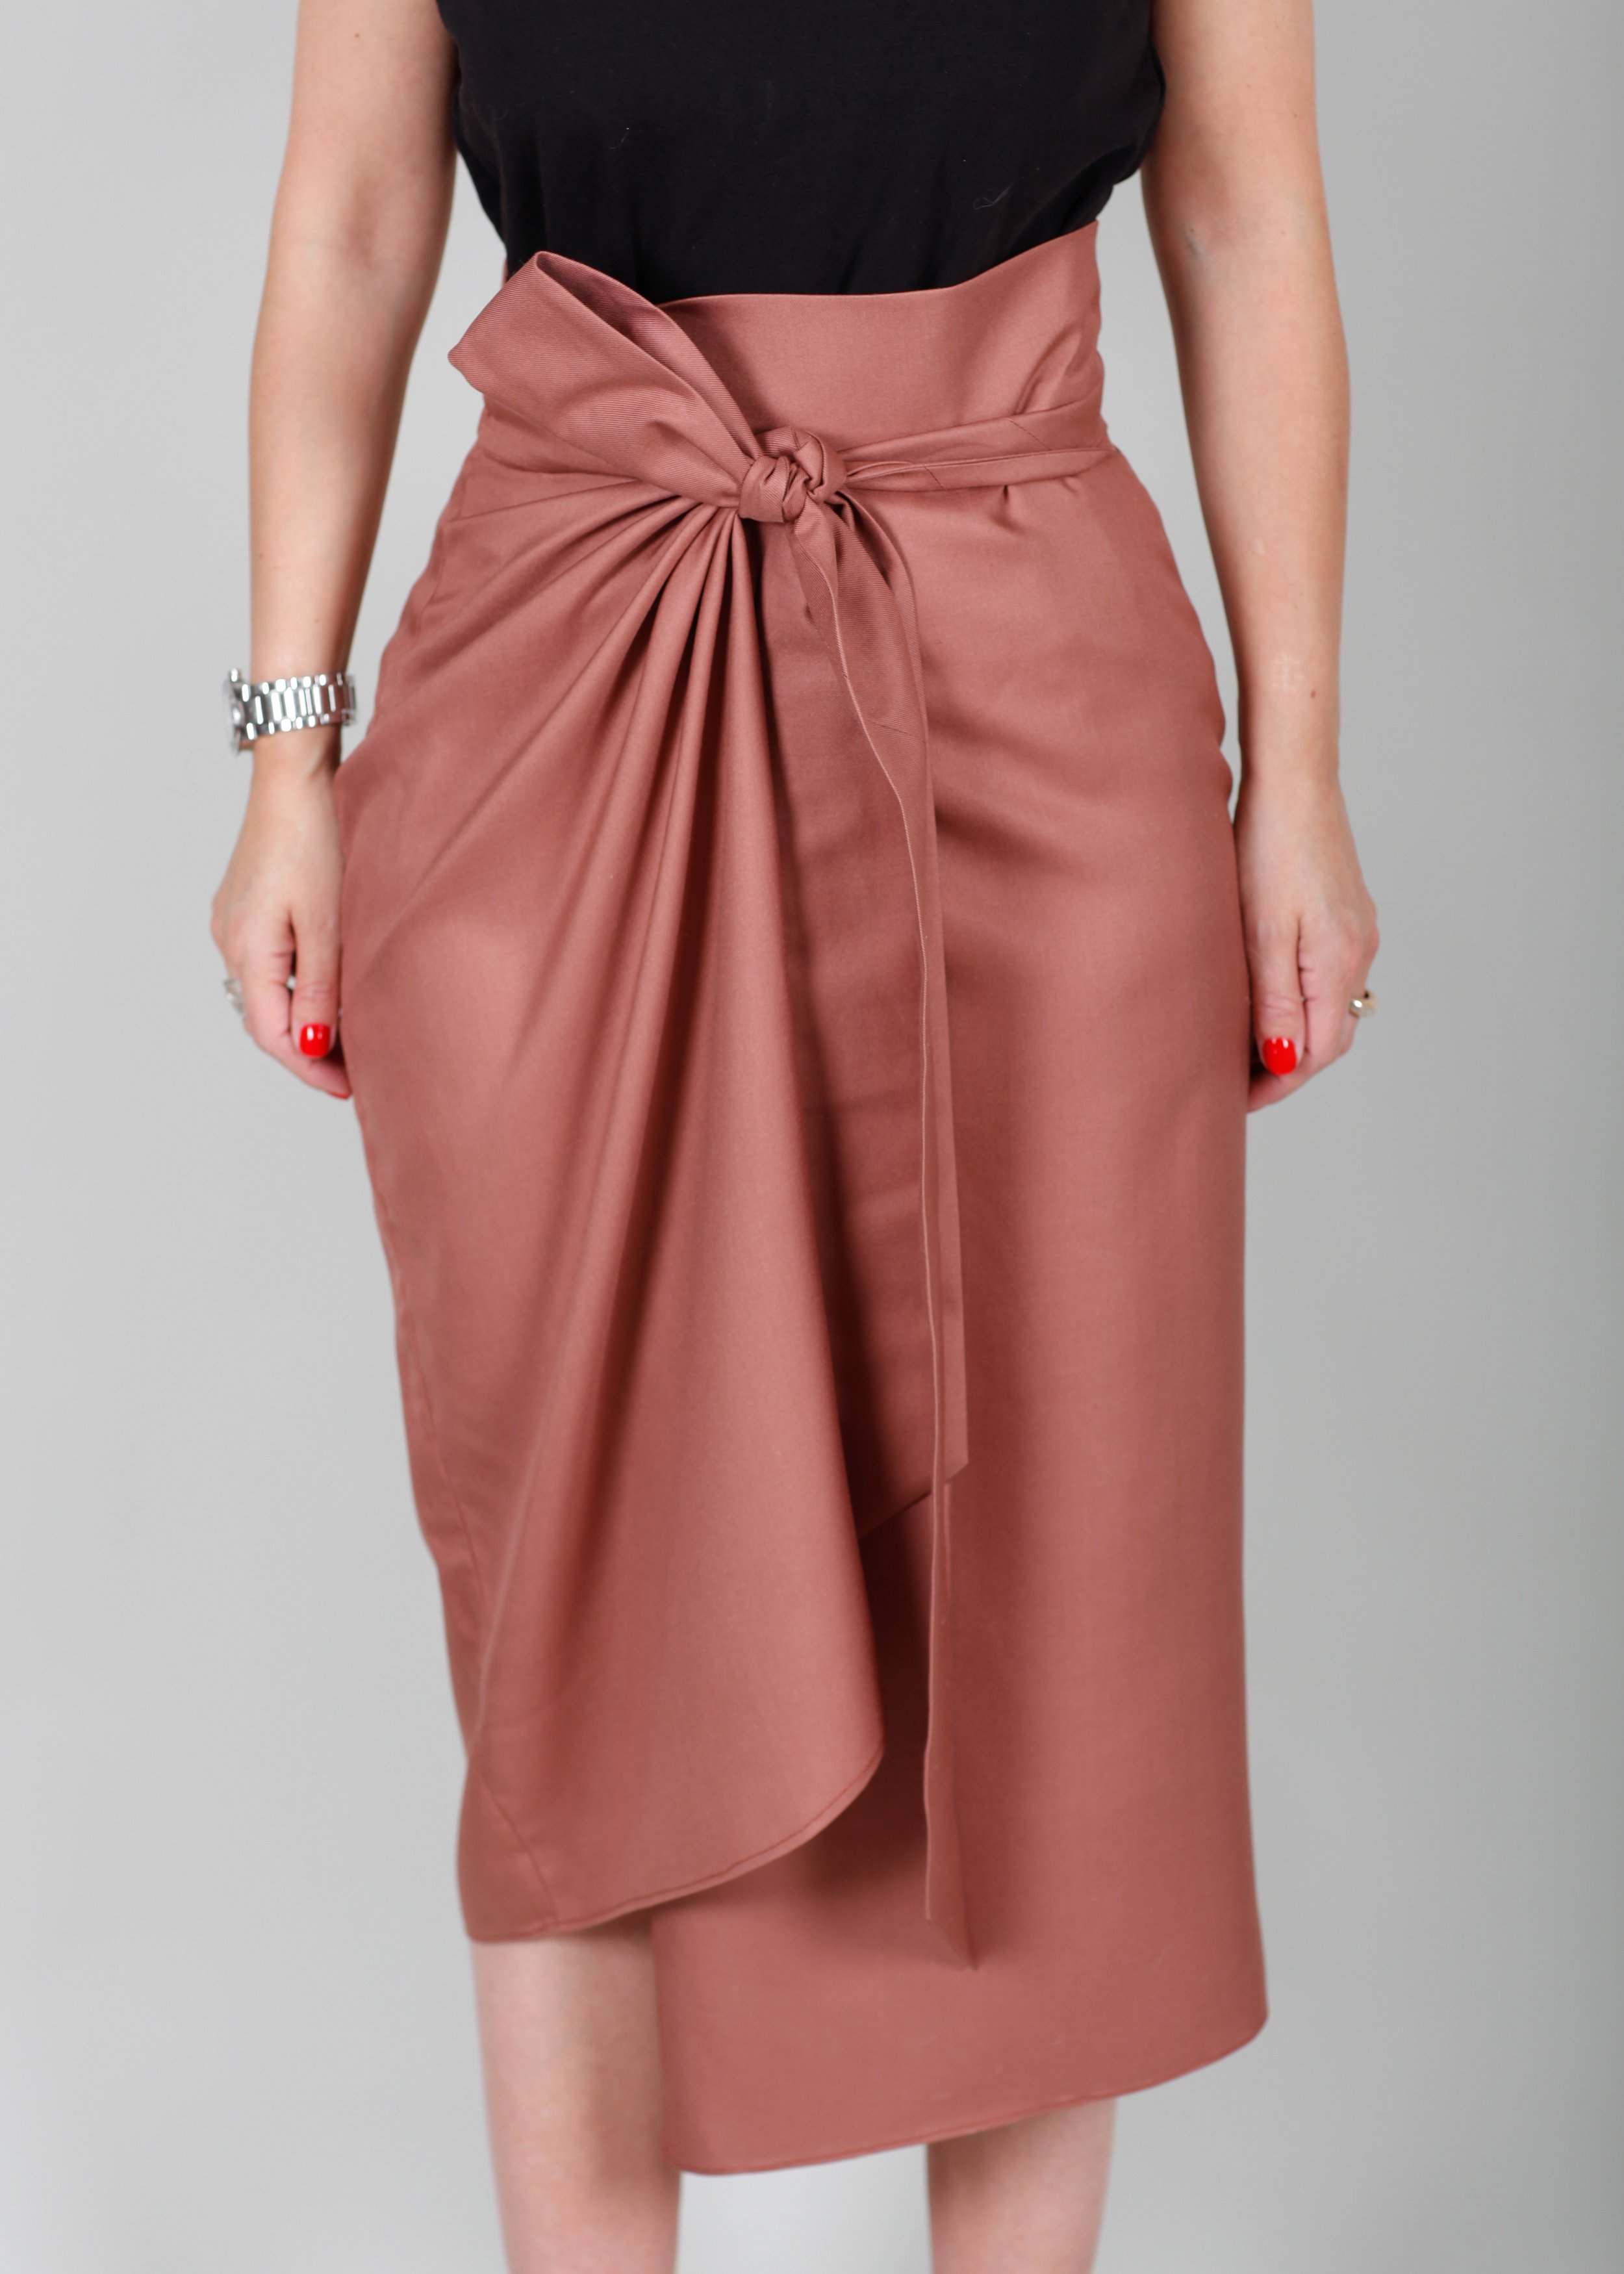
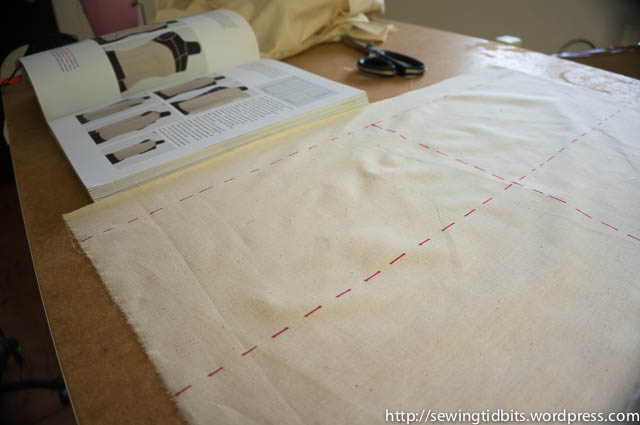
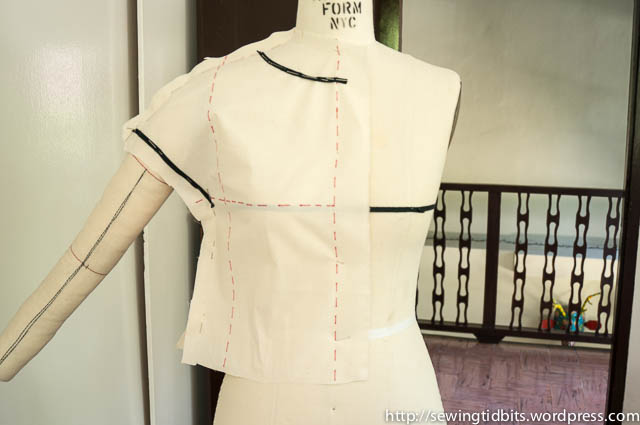
You all know that I love good fit and beautiful insides so the pattern has 4 back darts, a wide waistband that extends into ties, and clean finishings with french seams and baby hems.

Samples are cut from brown silk twill, a printed poly crepe and a white silk noil. For this pattern, I recommend woven fabrics with drape, such as midweight silk crepe, noil and satin, viscose, challis, wool crepe and suiting, cotton lawn, or polyester alternatives. Depending on how the skirt is tied, the wrong side of the fabric may show but you can definitely experiment with prints and plaid.

The pattern is drafted for a height of 5'5" (1m65) and is available in two size ranges: 34-46 and 46-60. Both size ranges, including sizes 46, are drafted in the same way but separated to make the files easier to use. This pattern is easy and quick to sew, but in case you need help, I curate a list of helpful tutorials on the resource page!

The pattern includes:

  • Layered PDF pattern in options for each of the two size ranges (print at home for letter or A4, A0 and projector);

  • a Cutter’s must (a summary table of the pattern pieces and cutting information);

  • PDF layout;

  • order of operations ;

  • and step-by-step illustrated instructions.

As usual, the pattern features Just Patterns’ signature “order of construction” as it comes in handy for experienced sewists who like to refer quickly to steps without scrolling through pages of instructions.

Laetitia is perfect when paired with any of the Just Patterns knit tops: Claudia, Tyra and Alek and I’m happy to let you know that all three also now go from size 34 to 60. For Laetitia and all the updated patterns, I offer to grade up or down at no extra cost if your measurements are at least one full size outside of the size range. You can read more about the size range and the updated calendar for the older patterns here.

I hope you will enjoy sewing Laetitia. Don’t forget to tag #LaetitiaWrapSkirt if you post on social media!

Happy sewing!

From Inspiration to Garment - Part 1 - Draping

Sewing Tidbits

chambray-draping-2

chambray-draping-2

Dear Readers,I mentioned in my last post that my sew-jo has been low since the beginning of the year. I can think at least of 2 reasons. One, I cleaned out my closet (and the whole house while in my Marie Kondo phase) and I like owning less things, which tends to be incompatible with sewing. Second, I'm quite satisfied with my wardrobe. It sounds counterintuitive but after cleaning it , I see less gaps than before. Probably because I actually know what I own now. If you add the fact that I also shop RTW, it means that I'll have to empty my wardrobe regularly and focus on less but better quality items.When I cleaned out my closet, I had to part with a lot of handmade items. I never managed to do it before. The Konmari approach helped me realized that they were garments that performed their "Joy-Giving function" by being made but no longer did it by being worn. They had to go, and they did. However, it was not a very pleasant and to avoid it in the future, I want to focus on sewing what I will really enjoy wearing. Different tools are available for that (Capsule planners, Wardrobe architect, etc.) but they are all too formal/definitive for my taste. So I decided to be simple and shop my own Pinterest fashion board for ideas. I created a Sewing Queue board to gather my ideas and help me maintain focus when fabric shopping.After finding a pretty Rag&Bone Chambray at Moods during my last trip to New York City, I decided to start by the first above picture. I believed that it has been pinned thousands of time. I went to find the original dress on the Cos website (see 2nd picture) and I was stunned at how this dress would never have caught my attention without Pinterest!Since I am also to renew my sewing appetite, I decided to brush up on my draping skills. I attended several FIT courses when I lived in New York, and this is probably what I miss the most from the city! When draping by myself, I have a draping book open for guidance and reference. I actually don't use it much but I like to have it next to me. I own several and my favorite is still one of the first books I bought: Draping - Art and Craftmanship for Fashion Design, by Annette Duburg. In my opinion, it has the clearest step-by-step instructions both for basic and advanced designs.No matter what book you use, the steps to draping are always the same and I will try to outline them.

Before starting, this is what I did:

  1. Design analysis - in this case I noted grown-on sleeves, front and back gathers for the bodice, font and back darts in the skirt, italian pockets and an invisible zipper at center back.

  2. Preparing the form - it includes adding style lines and in this case attaching my (self-made) arm which I taped to a cupboard to keep it way from the body (for the sleeve).

  3. Prepping the muslin - cutting the different pieces, straightening the grain, pressing it and adding the main lines (center front, center back, bust, hip and others as necessary).

I then proceeded with the actual draping. There is a general order to this (neckline at center front, waist, bust at side seam, neckline at the shoulder, etc.) and it becomes natural once you have done it a few times because it's quite logical.I like to use style tape not only to mark the line on the form but also on the muslin. You may need to re-do it a few times and it will help keeping the toile relatively clean until you are ready to mark on it. Tape is also very useful to drape pleats or gathers.

When one think about draping, we tend to picture ourselves creating beautiful "drapés" and laboring over tiny gathers. The reality is that you spend a lot of time removing the muslin from the form, ironing it flat, "true-ing" your lines, cutting the excess of fabric, repining together and putting it back on the form. After each change, you repeat the process to assess whether it works or not. In that sense, draping is not necessarily much faster than flat pattern making. Of course, it depends on the design and your own preference.

The waistband is a simple straight band, nothing particularly is particularly challenging about it. The only thing you have to get right is the positioning. In my case, I realized that it looked better a little higher than what I initially thought.

Once I was happy with the bodice and the waistband, the next step was the skirt. You can see it below but I was unsatisfied with the hip curve. I ended up using the pattern of my open skirt project. I removed the pegging at the hem and I widened the side seams to match the waistband.I have to add that the overall this is tighter than how you should drape. I lost some weight since my form was made to measure 4 years ago. My solution is to drape "skin tight" on the form and I get a comfortable garment on myself. I never had bad surprises so far...

My least favorite step is next: copying onto paper. I find it an intrinsically imprecise process.  Once done, I added my seam allowances, drafted all the details such as facings, closures and pockets. It's the perfect time to mentally sew the garment to make sure the process is engineered in the pattern as much as possible. Doing this, you will be amazed at how much easier it is to sew a pattern you drafted compared to one you bought. Everything just comes naturally and I make less mistakes.I don't do many process posts so I hope this was useful to you. If you follow me on Instagram you may have seen the dress finished already! 

Let me know if you have any questions or if you have any draping tip you would like to share!

One final point, I'm currently spending the month in Ottawa, Canada (for work). If any of you are around, I would love to engage in some sewing gossiping/fabric shopping/coffee drinking!