
Alek Rib Top - Neckline tutorial and alterations
Delphine (Sewing Tidbits)
Dear readers,
The Alek Rib Top is really fun and easy to sew but the neckline construction is a little unusual and that can make it a bit of a head-scratcher when sewing or when trying to figure out how to alter the pattern to get more/less coverage. As I mentioned in the launch post, the fabric content also hugely influences how high or low the neckline sits (in summary, the higher the spandex/elastane content, the higher the neckline) and the easiest way to adapt is to size up or down since the negative ease gives a lot of flexibility. But there are also times when you want to just alter the neckline. This is what I will be covering today, in addition to a sewalong of the neckline construction.

The 34-46 size range is designed for a B/C cup and might require using a strapless bra, a balconette/demi-cup bra (or no bra at all) if you're fabric has a weaker recovery and you don't want your undergarments to show. As feedback from testing, the 46-60 size range is drafted for a DD cup and it provides more coverage so that it can be worn with a full cup bra without showing it (something that came up in the testing phase. As a result, here I use the 34-46 size range to add coverage and the 46-60 size range to remove some. But you will see the principles are the same and can be used interchangeably for both size ranges. You will need to make those minor changes to the sleeve, front and both neckband pattern pieces.
Adding coverage
Let’s start by adding some coverage to the neckline of the 34-46 size range:
Start by shortening the section of the sleeve that becomes the front neckline. Here I removed 5/8” (1.5cm). It might seem little but it already makes a big difference when worn.
Draw a new curved line on the sleeve that will be sewn to the front bodice. Measure the difference between the initial line and the new one. Here it’s 3/8” (1cm).
Remove 0.8*5/8'“ (or the amount you removed in step 1) to the back neckband. Here it will be 1/2” (1.2cm).
Move the notch on the front piece by 3/8” (1cm) towards the center front.
Move the notch on the front neckline by 0.8*3/8” (or the amount you measured in step 2) towards the center front. Here it’s 5/16” (0.8cm)

Removing coverage
I will be using the size range 46-60 to demonstrate removing coverage. As feedback from testing, it is drafted for a DD cup and it provides more coverage so that it can be worn with a full cup bra without showing it. However, if you want a lower, wider neckline, you can follow these steps:
Start by lengthening the section of the sleeve that becomes the front neckline. Here I added 5/8” (1.5cm).
Draw a new curved line on the sleeve that will be sewn to the front bodice. Measure the difference between the initial line and the new one. Here it’s 1/4” (0.7cm). Add an intermediary small notch in the middle of that new line.
Add 0.8*5/8” (or the amount you removed in step 1) to the back neckband. Here it is 1/2” (1.2cm).
Move the notch on the front piece by 1/4” (0.7cm), or the amount you measured in step 2, away from the centre front. Move the intermediary notch so that it sits halfway between your new notch and the side seam. Here I moved it 1/8”(0.3cm) towards the side seam.
Move the notch on the front neckband by 1/4” (0.7cm), or the amount you measured in step 2, away from the center front. Here it’s 3/16” (0.5cm)

Construction
Start by pre-pressing the front and back neckbands folded lengthwise, with the wrong sides together. Compare the length of the pressed bands with the pattern pieces in case they grew. This often happens in fabrics without a good recovery. Trim the excess if necessary.

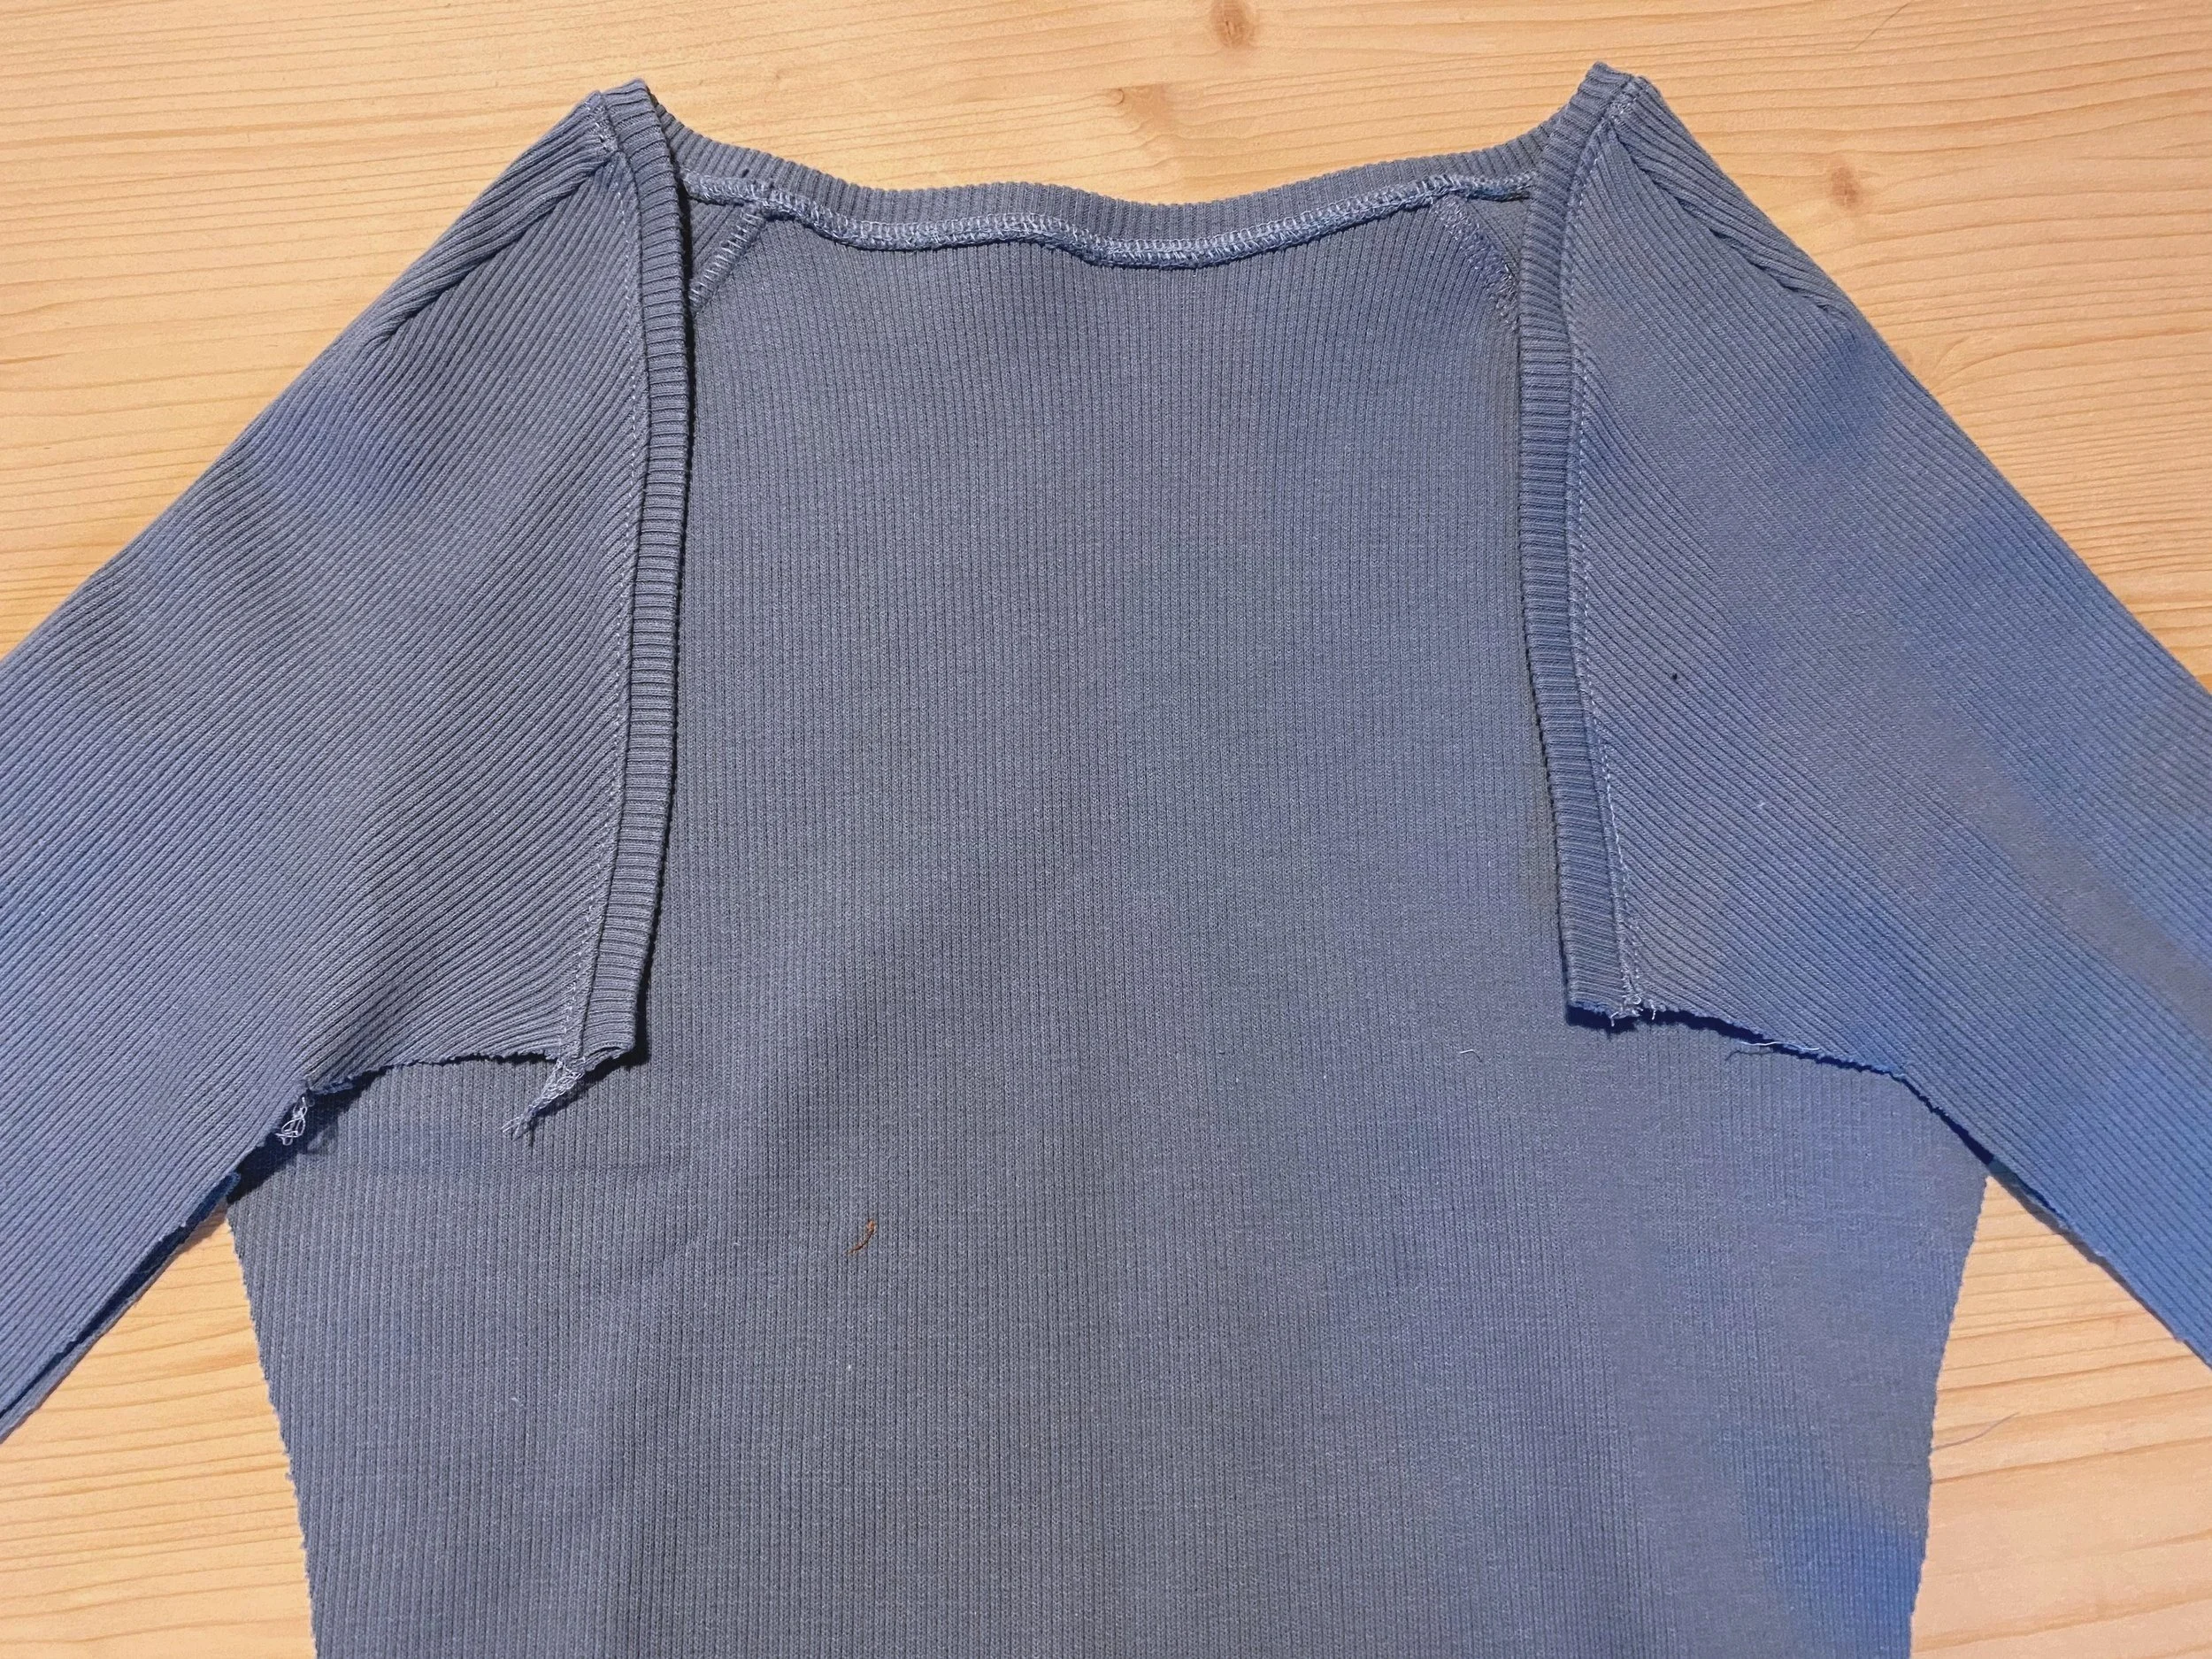
Using an overlocker or a stretch stitch on a domestic machine, stitch the folded back neckband to the sleeves and back joined by raglan sleeves, right sides together with 1/4" / 0.6cm seam allowances. Slightly stretch neckband while sewing to match notches with shoulder dart, raglan seams and center back.
Press seam allowances down towards body and topstitch the back neckband seam allowances using a narrow zigzag, another stretch stitch or a chainstitch on a coverstitch machine.
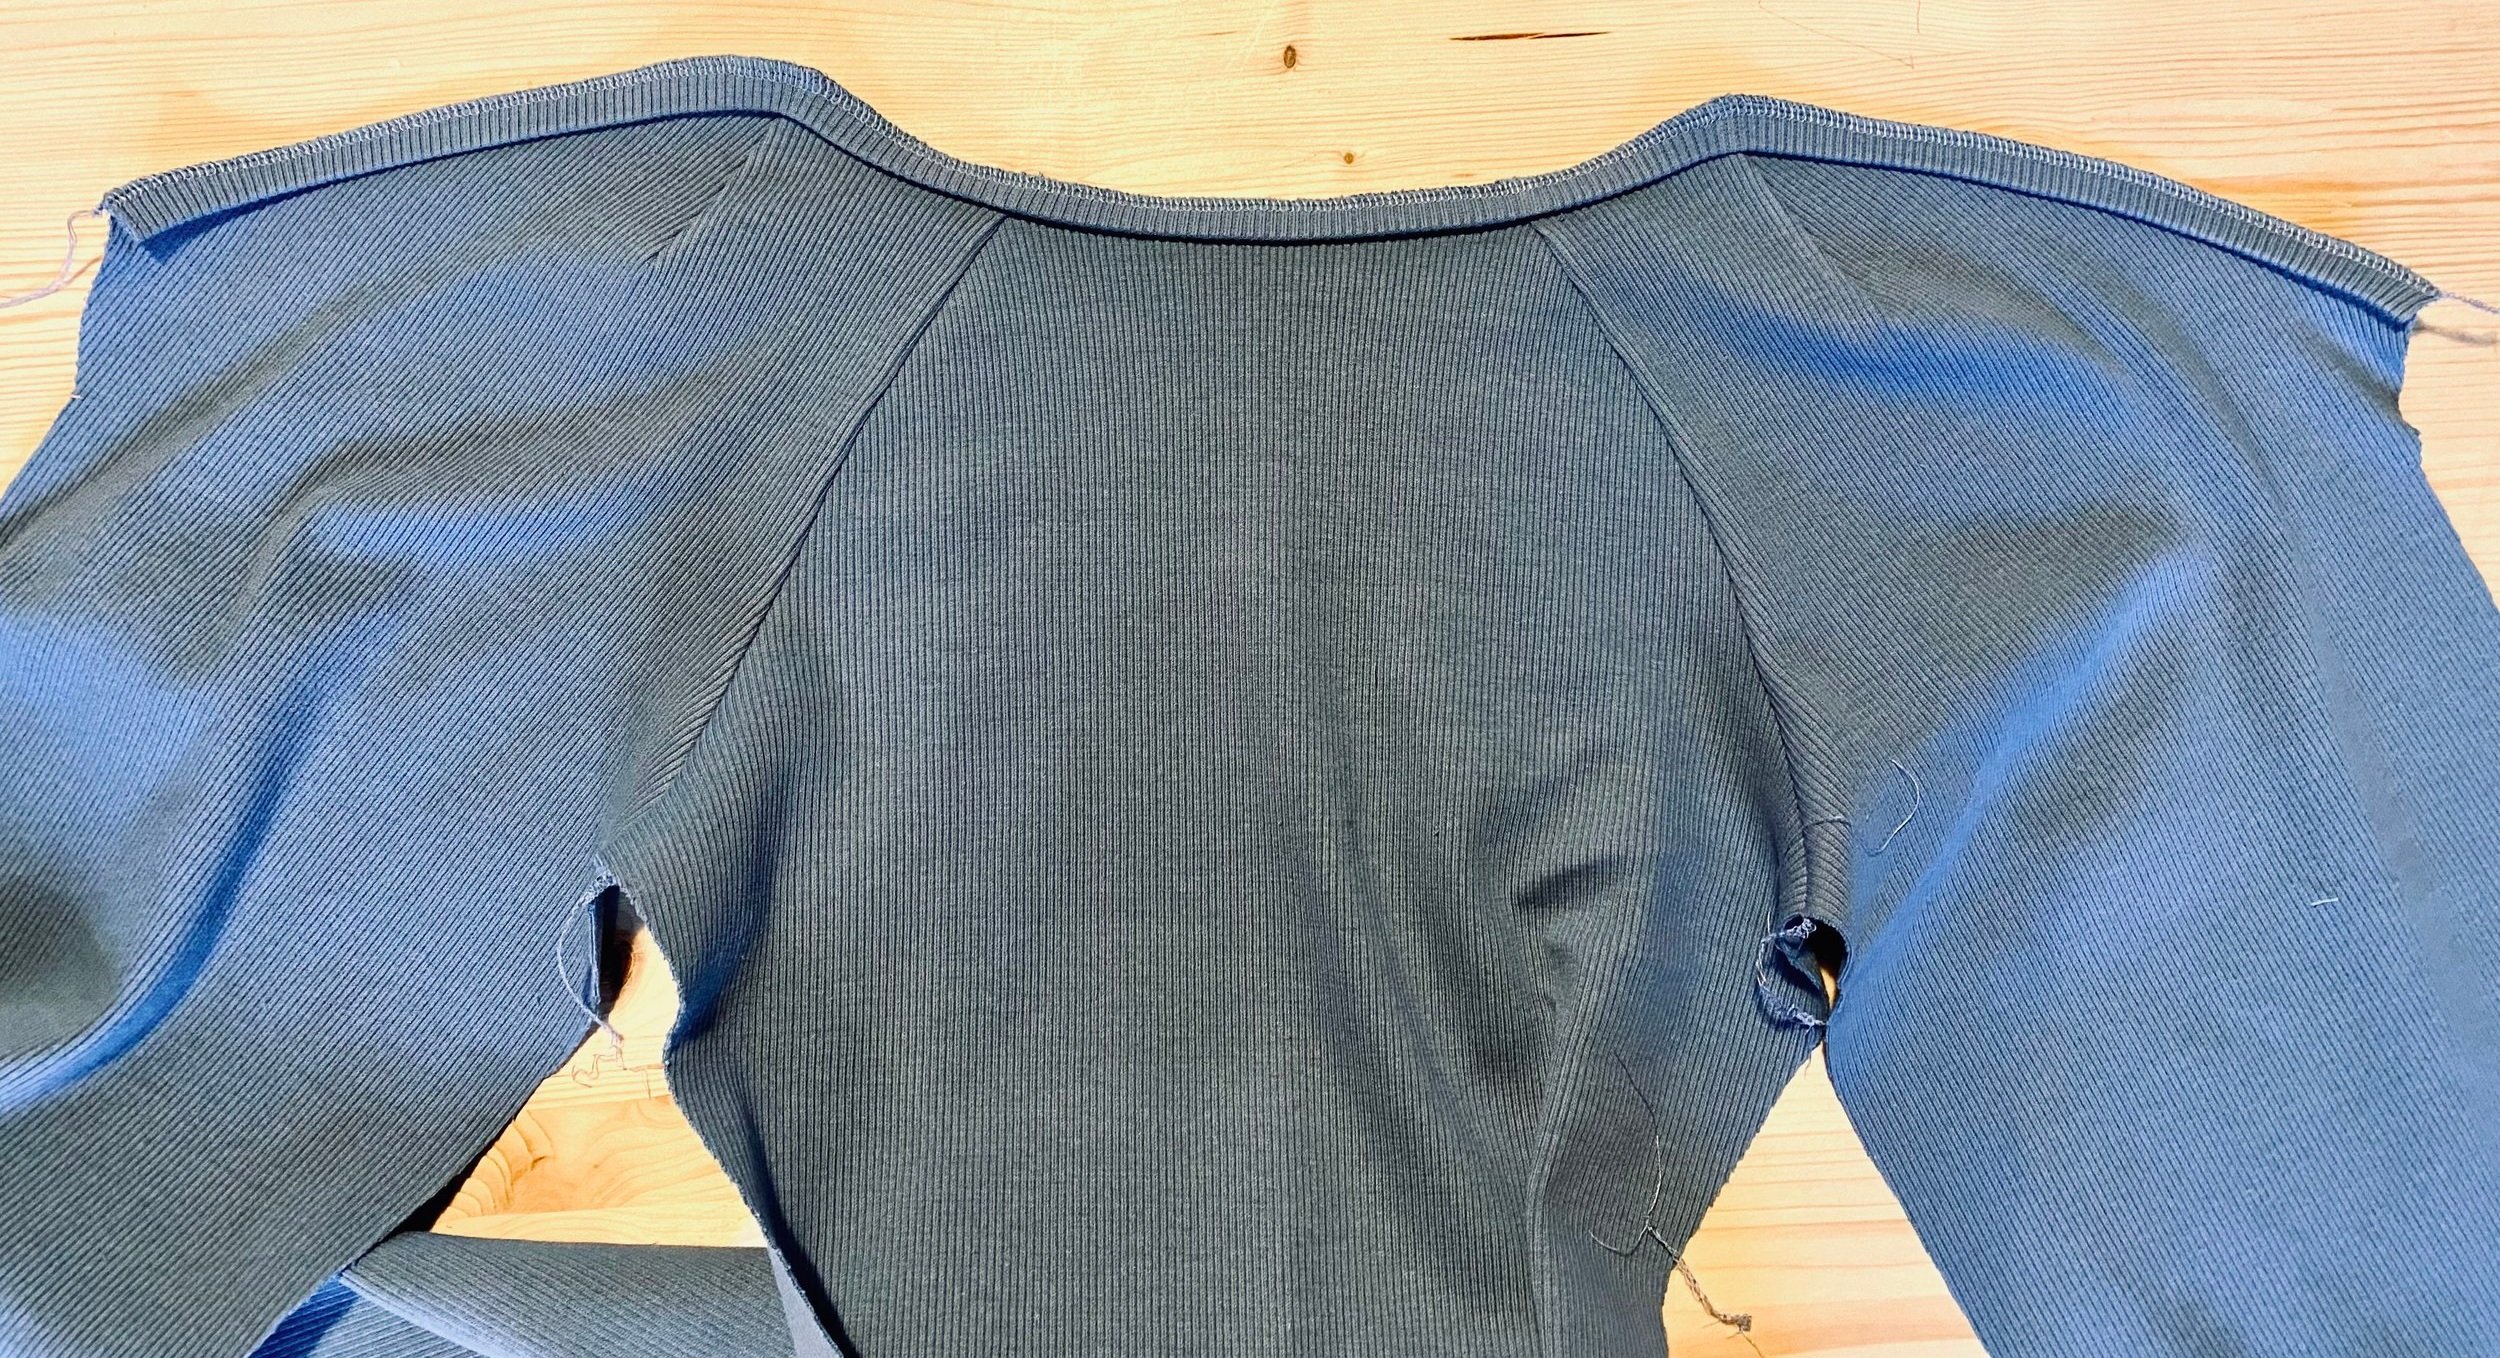
To understand better the layers in the next steps, I like to put the front bodice and the front neckband in their final position temporarily. The pattern instructions will make you sew the front neckband so that it disappears under the sleeve, but an alternative design choice could be to show it throughout. You just need to change the order of the layers in the next steps (place the front neckband between the sleeves and the front bodice while sewing).

Place sleeves on top of the front bodice, with the right sides together. Pin or baste front sections of sleeves to the front bodice, matching sleeve notch with the beginning of bodice and neckline notch with the folded edge of back neckband.


Place the pre-pressed front neckband on top of the sleeve and front bodice.

Stitch folded front neckband to the front bodice, catching sleeves in between, right sides together with 1/4" / 0.6cm seam allowances, using an overlocker*. Slightly stretch neckband while sewing to match notches. Size range 46-60 also has an intermediary notch to facilitate even stretching of the neckband.
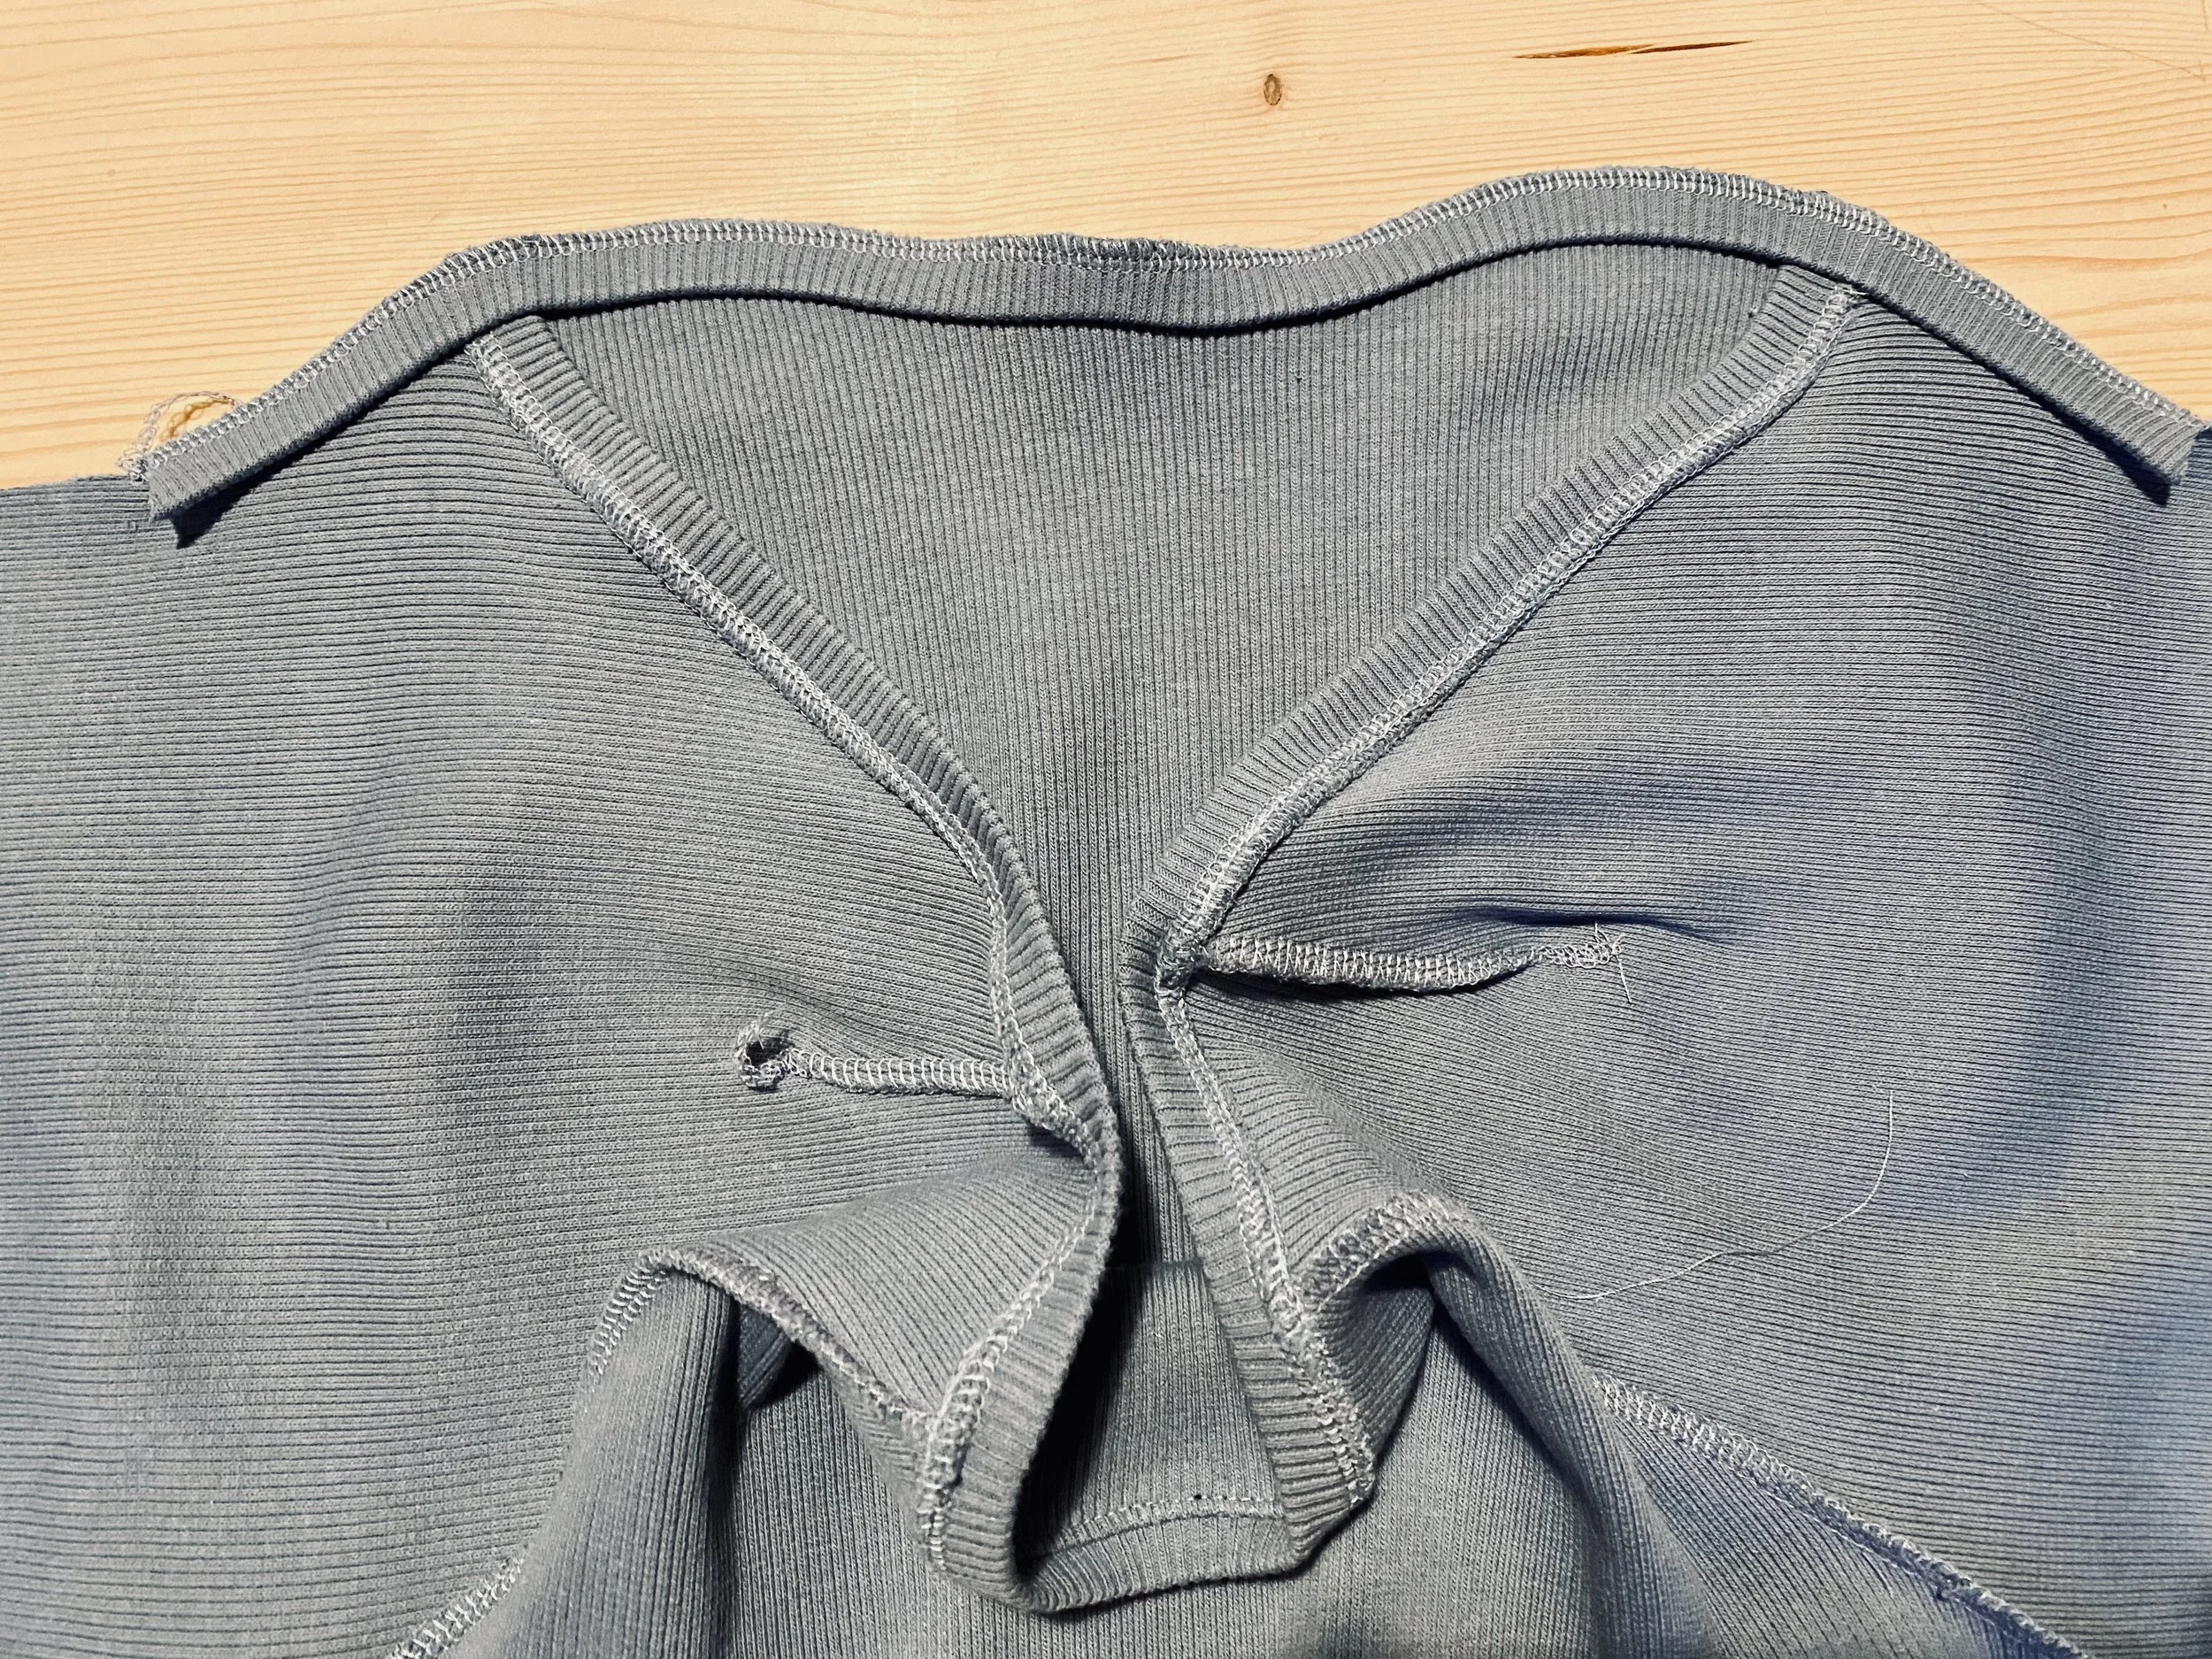
Press the seam allowances down and topstitch front neckband seam allowances down using a narrow zigzag, another stretch stitch or a chain stitch on a cover stitch machine. Stitch over topstitching of back neckband to secure corners.
Then you can move to sewing the bodice side seams and underarm seams in one pass, right sides together with 1/4" / 0.6cm seam allowances. So that the intersection of seam allowances under the arm is neat, ensure that back seam allowances are pressed up (towards the sleeve) and the front seam allowances are pressed down (towards the bodice).

You can now resume following the instructions with hemming the bottom and the sleeves of Alek. I hope that today’s post was useful and do let me know if there are other steps or alterations you would like me to cover in the future!
Happy sewing,
Delphine