
Tatjana Trousers - Zipper fly tutorial
Delphine (Sewing Tidbits)
Dear readers,
It’s becoming increasingly difficult to keep the blog up to date, but I’m happy to be back today with a tutorial for the zipper fly of the Tatjana Trousers. I adapted it from one of my favorite construction books: Sewing Techniques from The Fashion Industry by Laurel Hoffman (I highly recommend this book if you are serious about sewing and interested in RTW construction). Some customers have told me it’s their new favorite way of sewing a fly but I also know that others were confused so I hope that the pictures can help!
Before starting, you need to cut your fabric, and follow the instructions regarding fusing and overlocking the inseam edges and crotch seams on front and back. For this tutorial, I’m sewing a shorts version of the pattern (the legs are therefore much shorter) in lightweight linen so I apologize for the wrinkle effect! If you compare to the instructions, you will notice that I do not follow the exact same order but that’s because there are dozens of ways to do the same thing in sewing, and sometimes I’m on autopilot 😅.
Let’s get started:
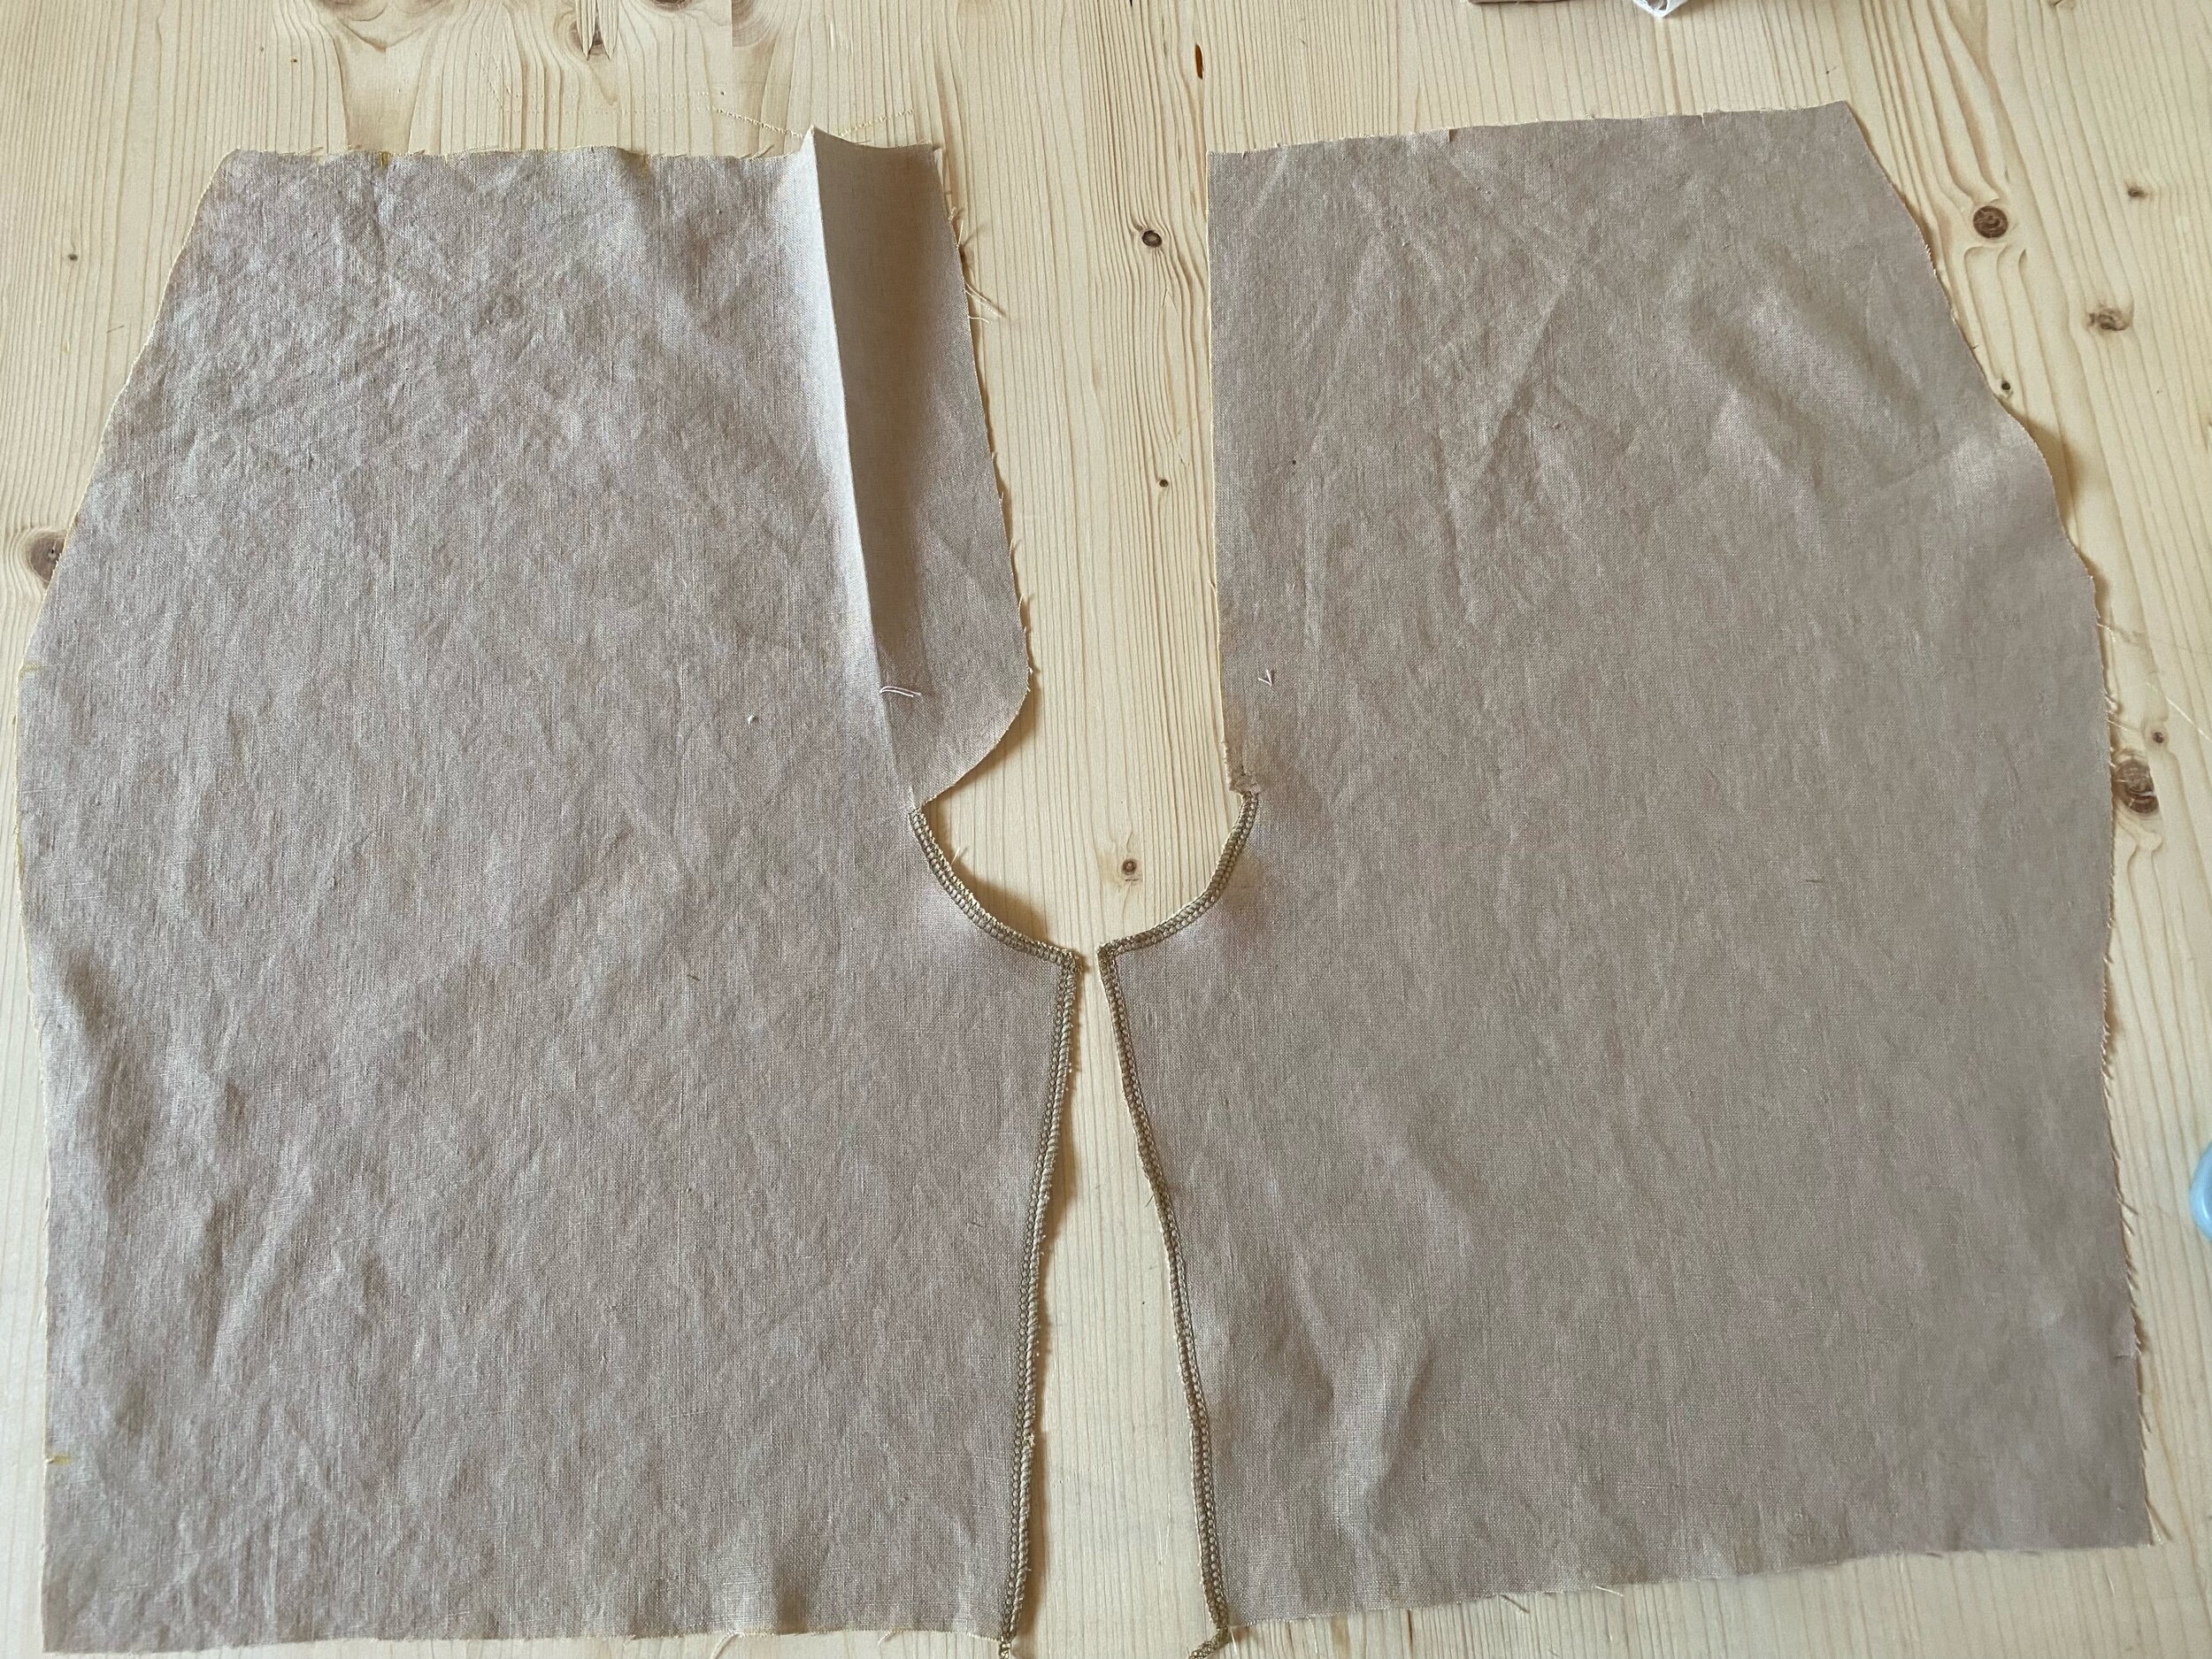
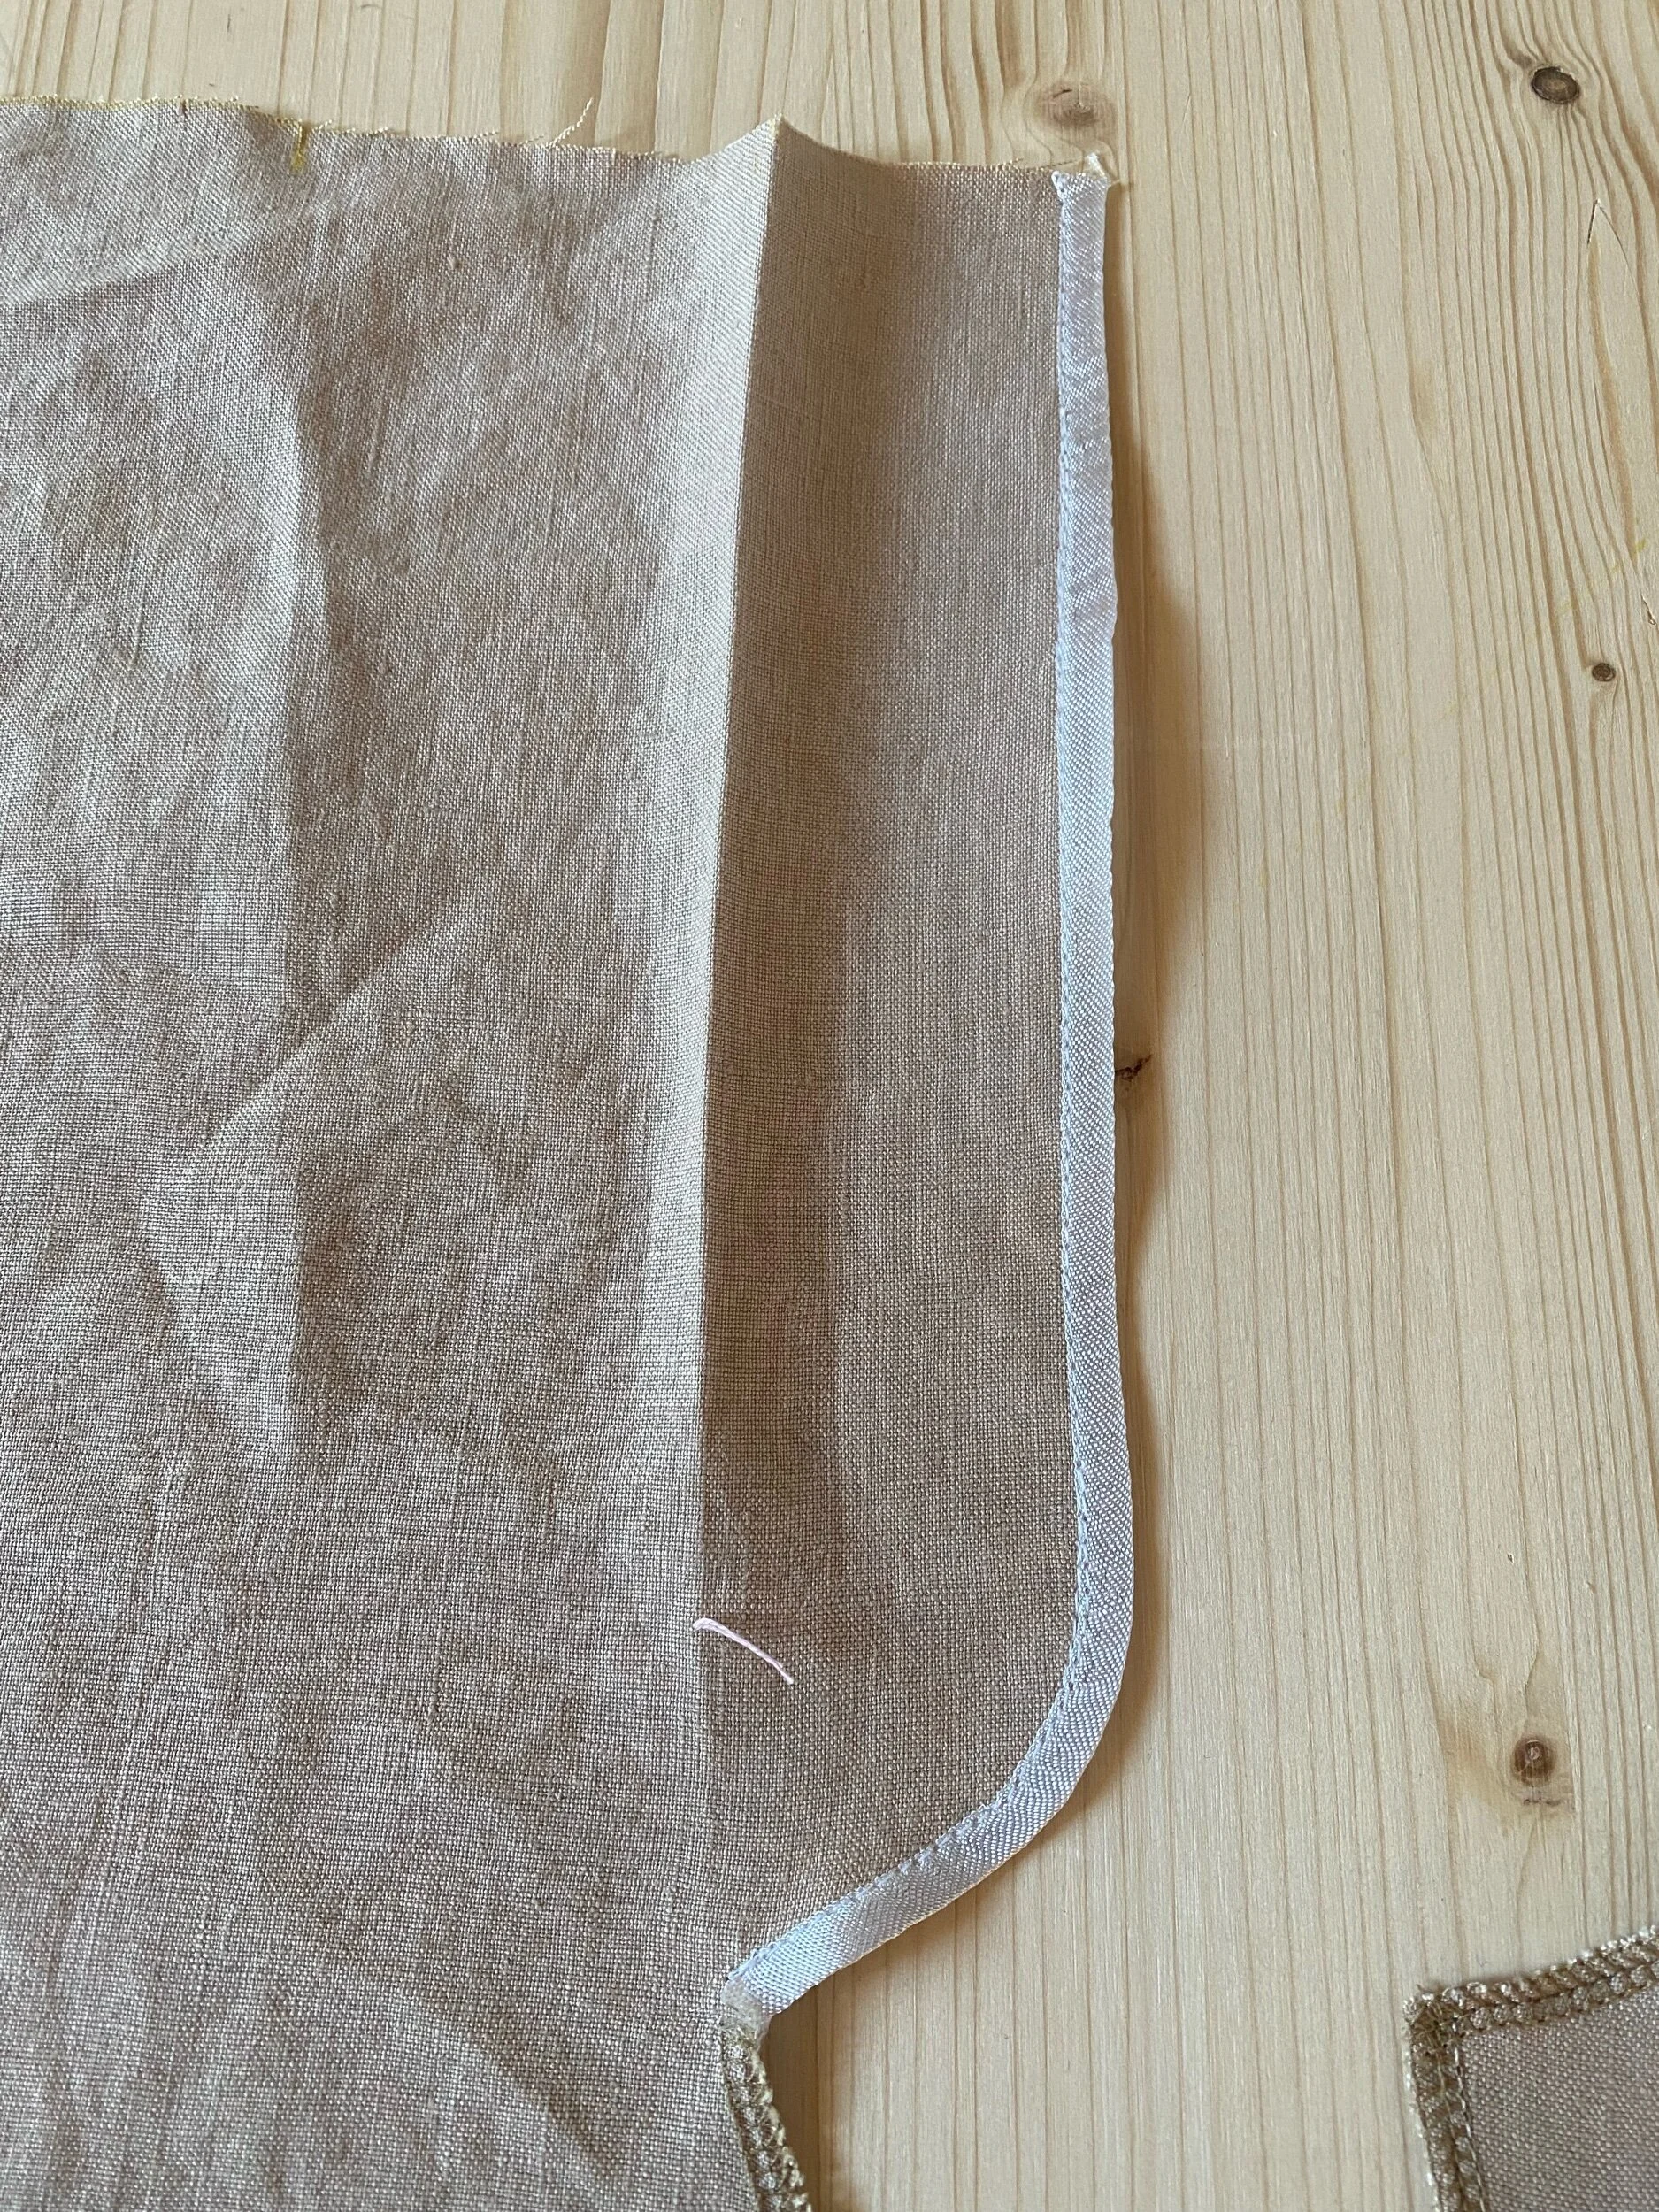
Bind curved edge of fly facing (I use rayon seam binding here but you can also used packaged or self made bias binding and do a hong kong finish) and then fold fly facing to wrong side along center front line, and press.
Fold fly shield lengthwise along the middle, right sides together. Stitch the slanted seam with a ¼”(0.6cm) seam allowance.
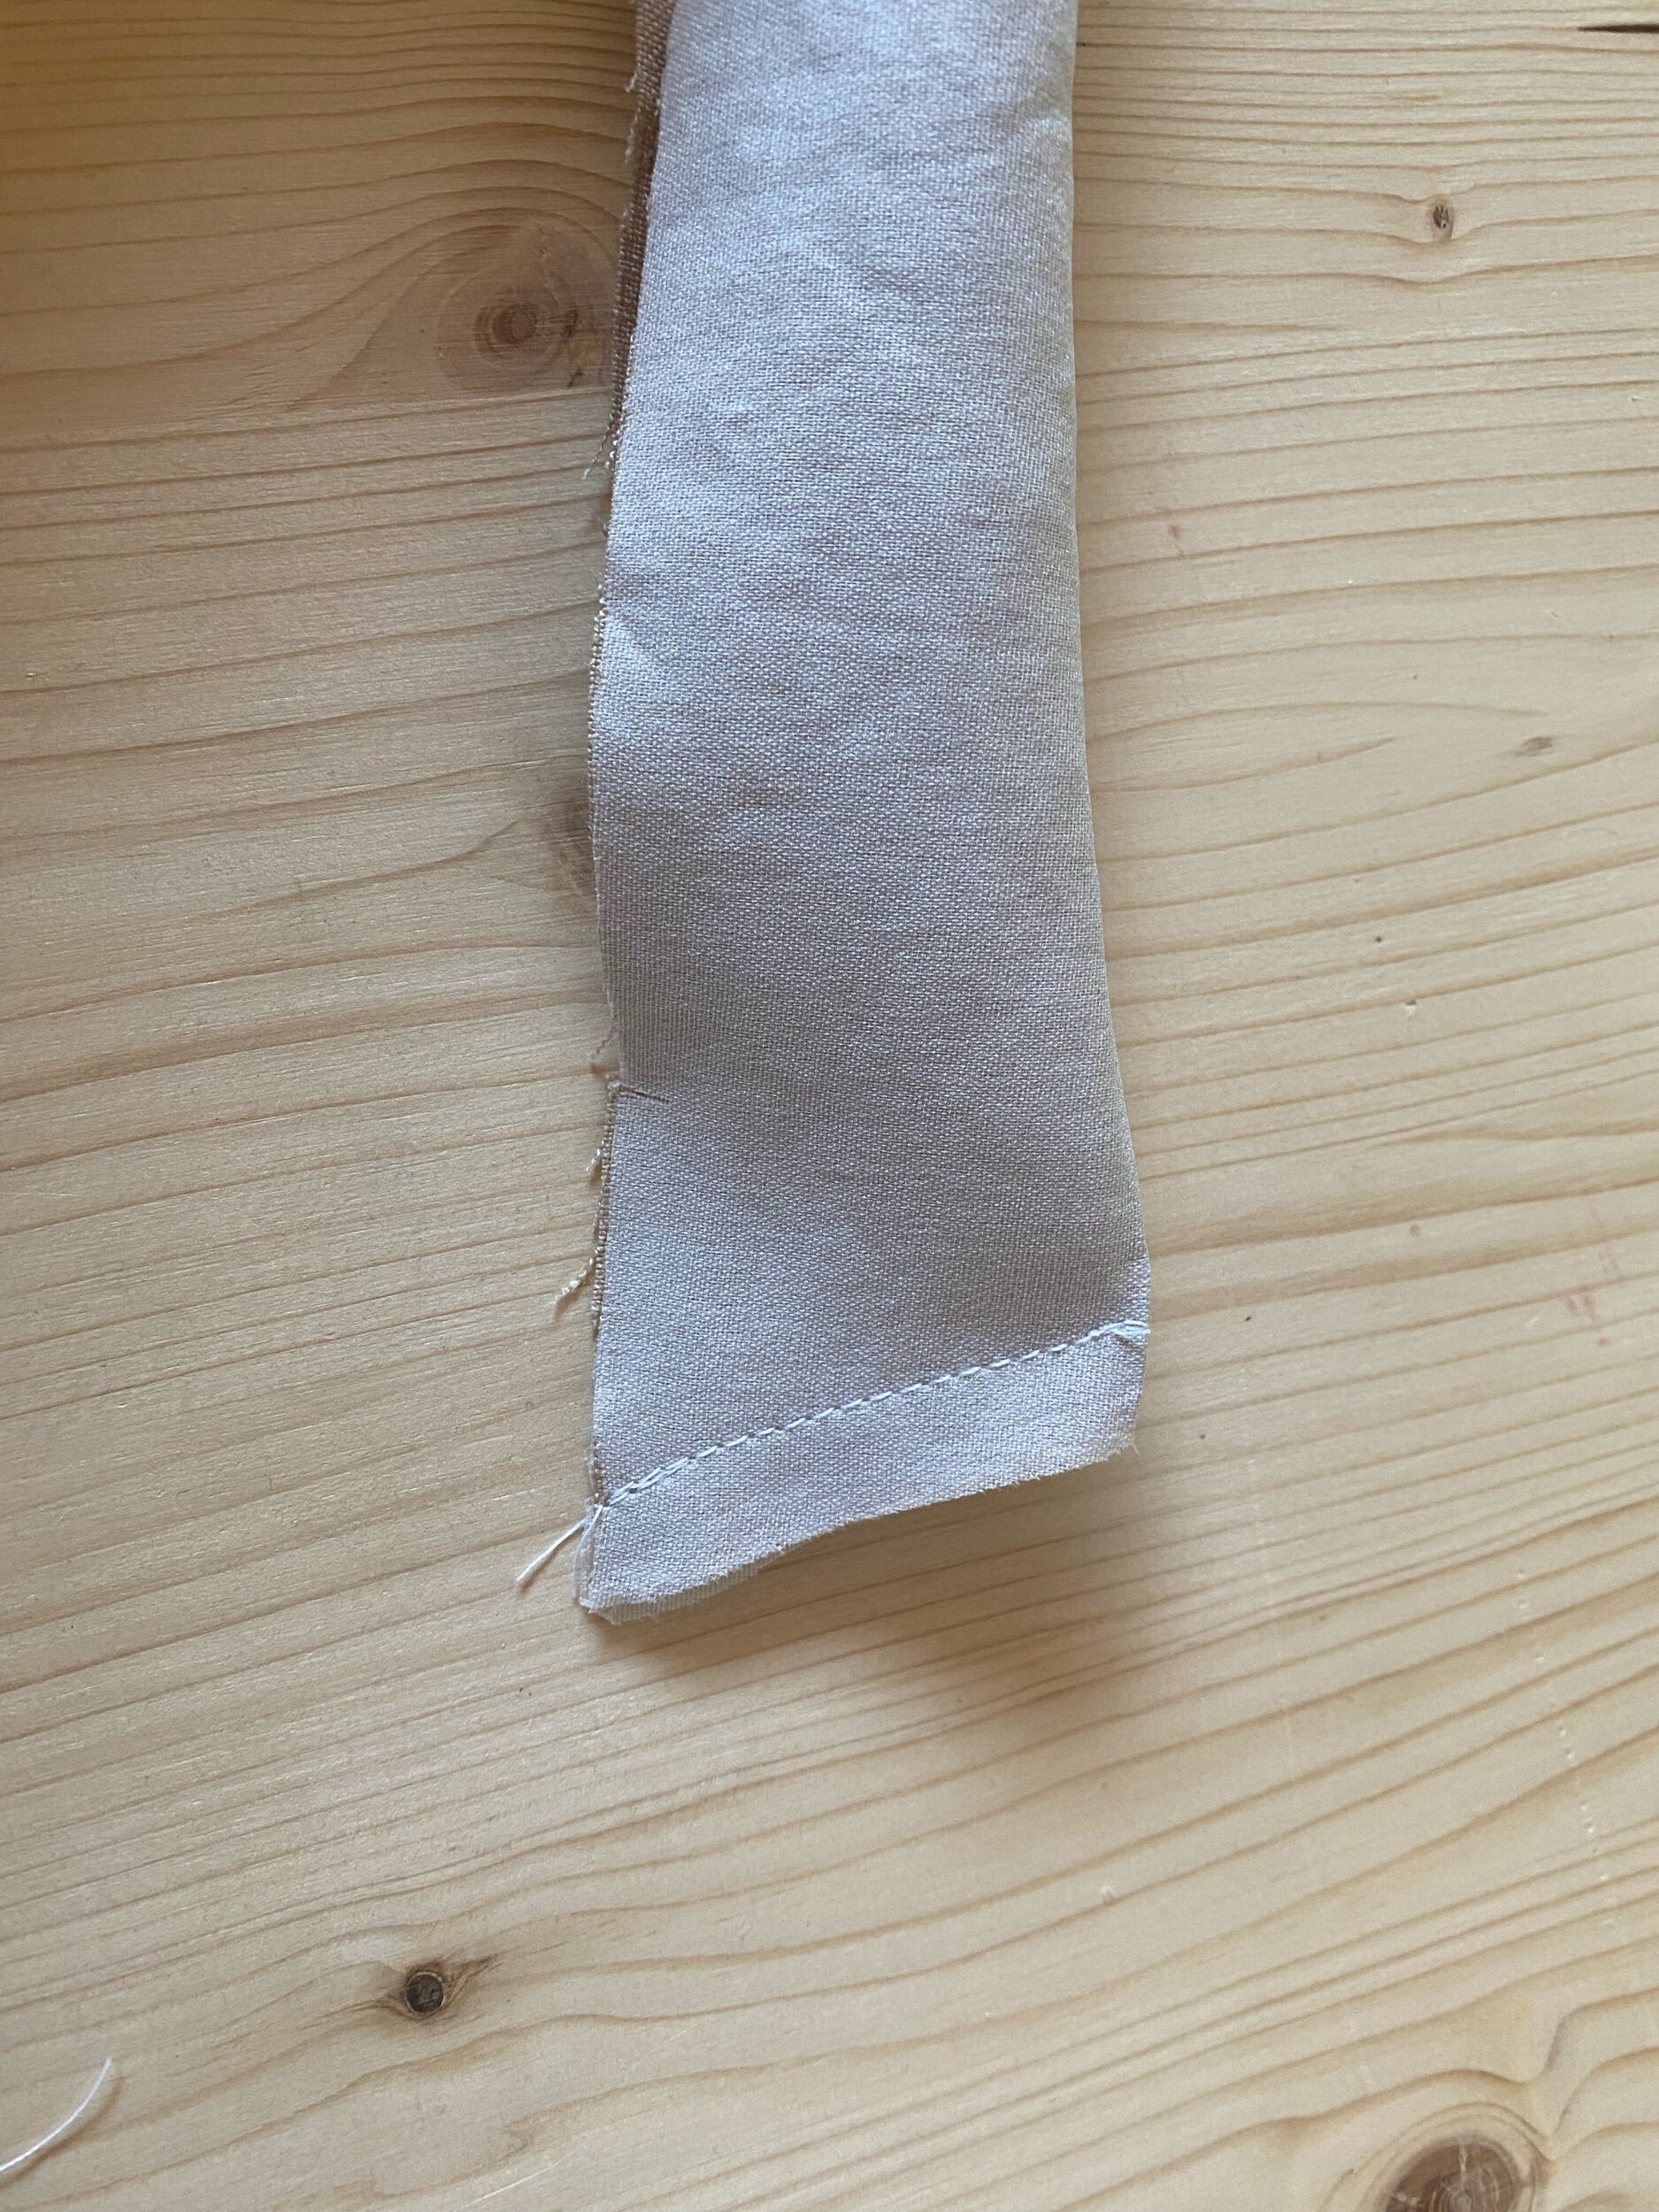
Turn right side out and press.

Baste zipper to shield, keeping zipper ribbon edge ¼”(0.6cm) away from shield raw edge, with top stop ⅝”(1.5cm) below raw edge. Here my zipper is a little closer to the edge than ¼”(0.6cm) but it doesn’t impact the result. The further away from the raw edge, the more coverage by the right fly facing it will have.

Turn over fly shield and place on top of left front. Stitch fly shield to left front with zipper sandwiched in-between, right sides together with a ⅜”(1cm) seam allowance.

Bind raw edges.

Edge stitch left front seam joining zipper shield through all layers to secure.

Place right front on top of left front and fly shield, right sides together.

Stitch crotch seam as indicated with a ⅜"(1cm) seam allowance. Start 2"(5cm) from inseam and stop exactly at circle mark.

Close zipper and overlap right front ¼”(0.6cm) over left front. Center Front notches should match. Pin along right center front fold.

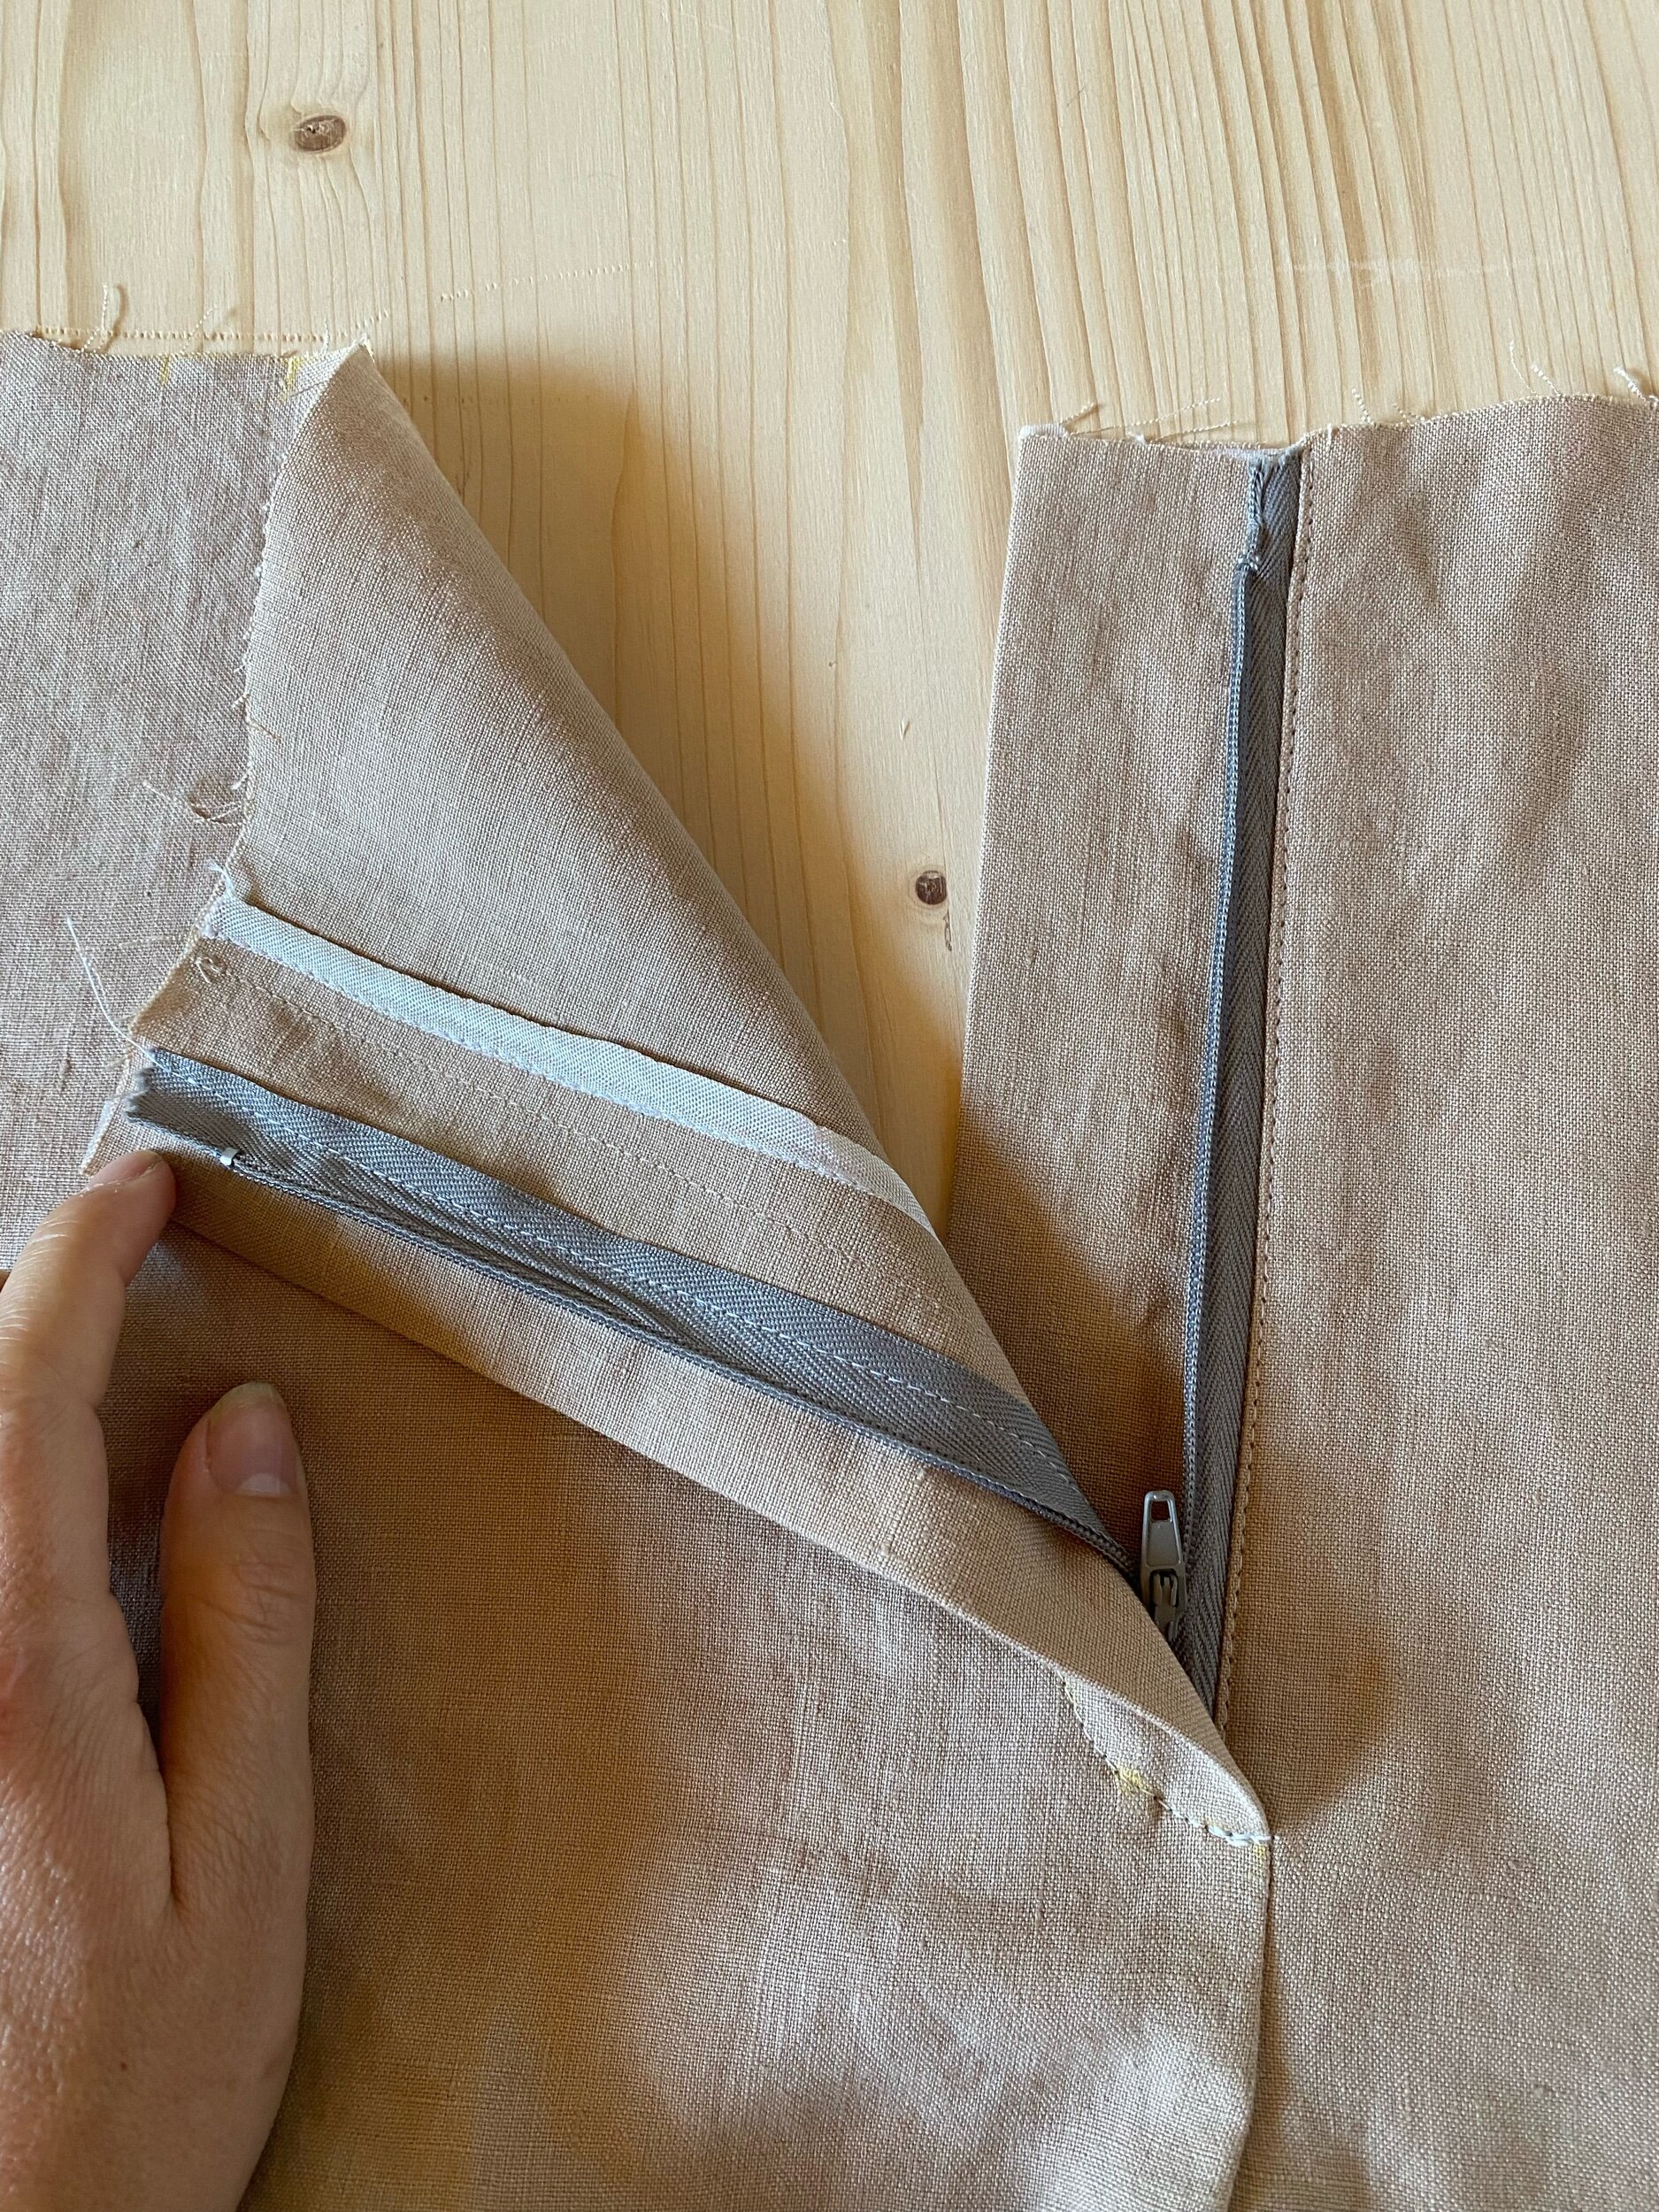
Turn work to wrong side. Fold zipper shield out of the way, pin unstitched zipper ribbon to fly facing (do not pin the zip to front piece, only to fly facing).

Stitch in place, catching only facing.

Turn your work so right side is facing up, draw the fly topstitching with chalk or an erasable pen 1"3/8(3.5cm) parallel to center front.

Pin fly shield out of the way.

Topstitch fly.

Secure fly shield to fly facing by stitching them together at bottom (keep fronts out of the way so you don't stitch through them).

And voila! Congratulations on a beautiful fly!
I hope this was helpful, let me know if you have questions or comments.