
Veronica Vest - Assembling the lining and facings
Delphine (Sewing Tidbits)
Hello readers!
Before I start today’s post, I wanted to let you know that I’m thinking a lot these days about how I can engage better with you and address your fitting and sewing questions about my patterns in real time. I’m thinking of using my newsletter to share behind the scenes and potentially starting a discord channel. If you are not a newsletter subscriber, you can sign up here. It’s going to be fun!
During the testing phase of my pattern development, I’m always surprised by which construction steps tend to generate questions and those that are more stress forward. Interestingly, I thought assembling the front lining and facings would be more difficult for the new Veronica Vest, but no one struggled with that. On the other hand, I thought the back lining facing construction was straightforward, but it generated many questions! So I decided to show to a tutorial with pictures for both, just in case.
But before we jump into the tutorial, I think it’s helpful to understand how the inside of the vest looks. The front has 2 facing pieces: one for the neckline and the armhole and one for the curved hem. It has a lining for the rest. The structured/tailored look of the vest in the front owes a lot to the upper chest area being 2 layers of self-fabric interfaced (the front and the facing) rather than a partial facing and lining. In addition, the front lining has an ease pleat at the hem. This pleat is standard in jackets and coats, and it’s essential to prevent the lining from pulling the outer layer from the inside.


The back has only a neckline facing and a lining for a softer look. The lining joins the vest at the hem and armhole. It is drafted to stay inside and not peak through. Everything is assembled by machine, except the center back opening of the lining that you use to turn the vest to the right side and you close by hand at the end. You can see that mine is still open because it’s convenient for me to still access the inside if I want to take a picture or show you something, but I’ll close it eventually!

Now that we understand better what we are getting into let’s start with the tutorial. We are covering steps 8 to 11 in the instructions if you want to follow along. First, you should have assembled the two back linings together at the center back, leaving the opening I mentioned, and stitched the waist darts.

The longer curved edge of the back facing is assembled to the lining (the lower one in this picture), not the short one that goes around your neck. That shorter edge will be sewn as to the vest itself.

Stitch back lining to back neck facing, right sides together with 1/4" / 0.6cm seam allowances. You can start by aligning the notches at the center back and the shoulders and ease the curves in between. I prefer to sew this step with the facing on top at the sewing machine.
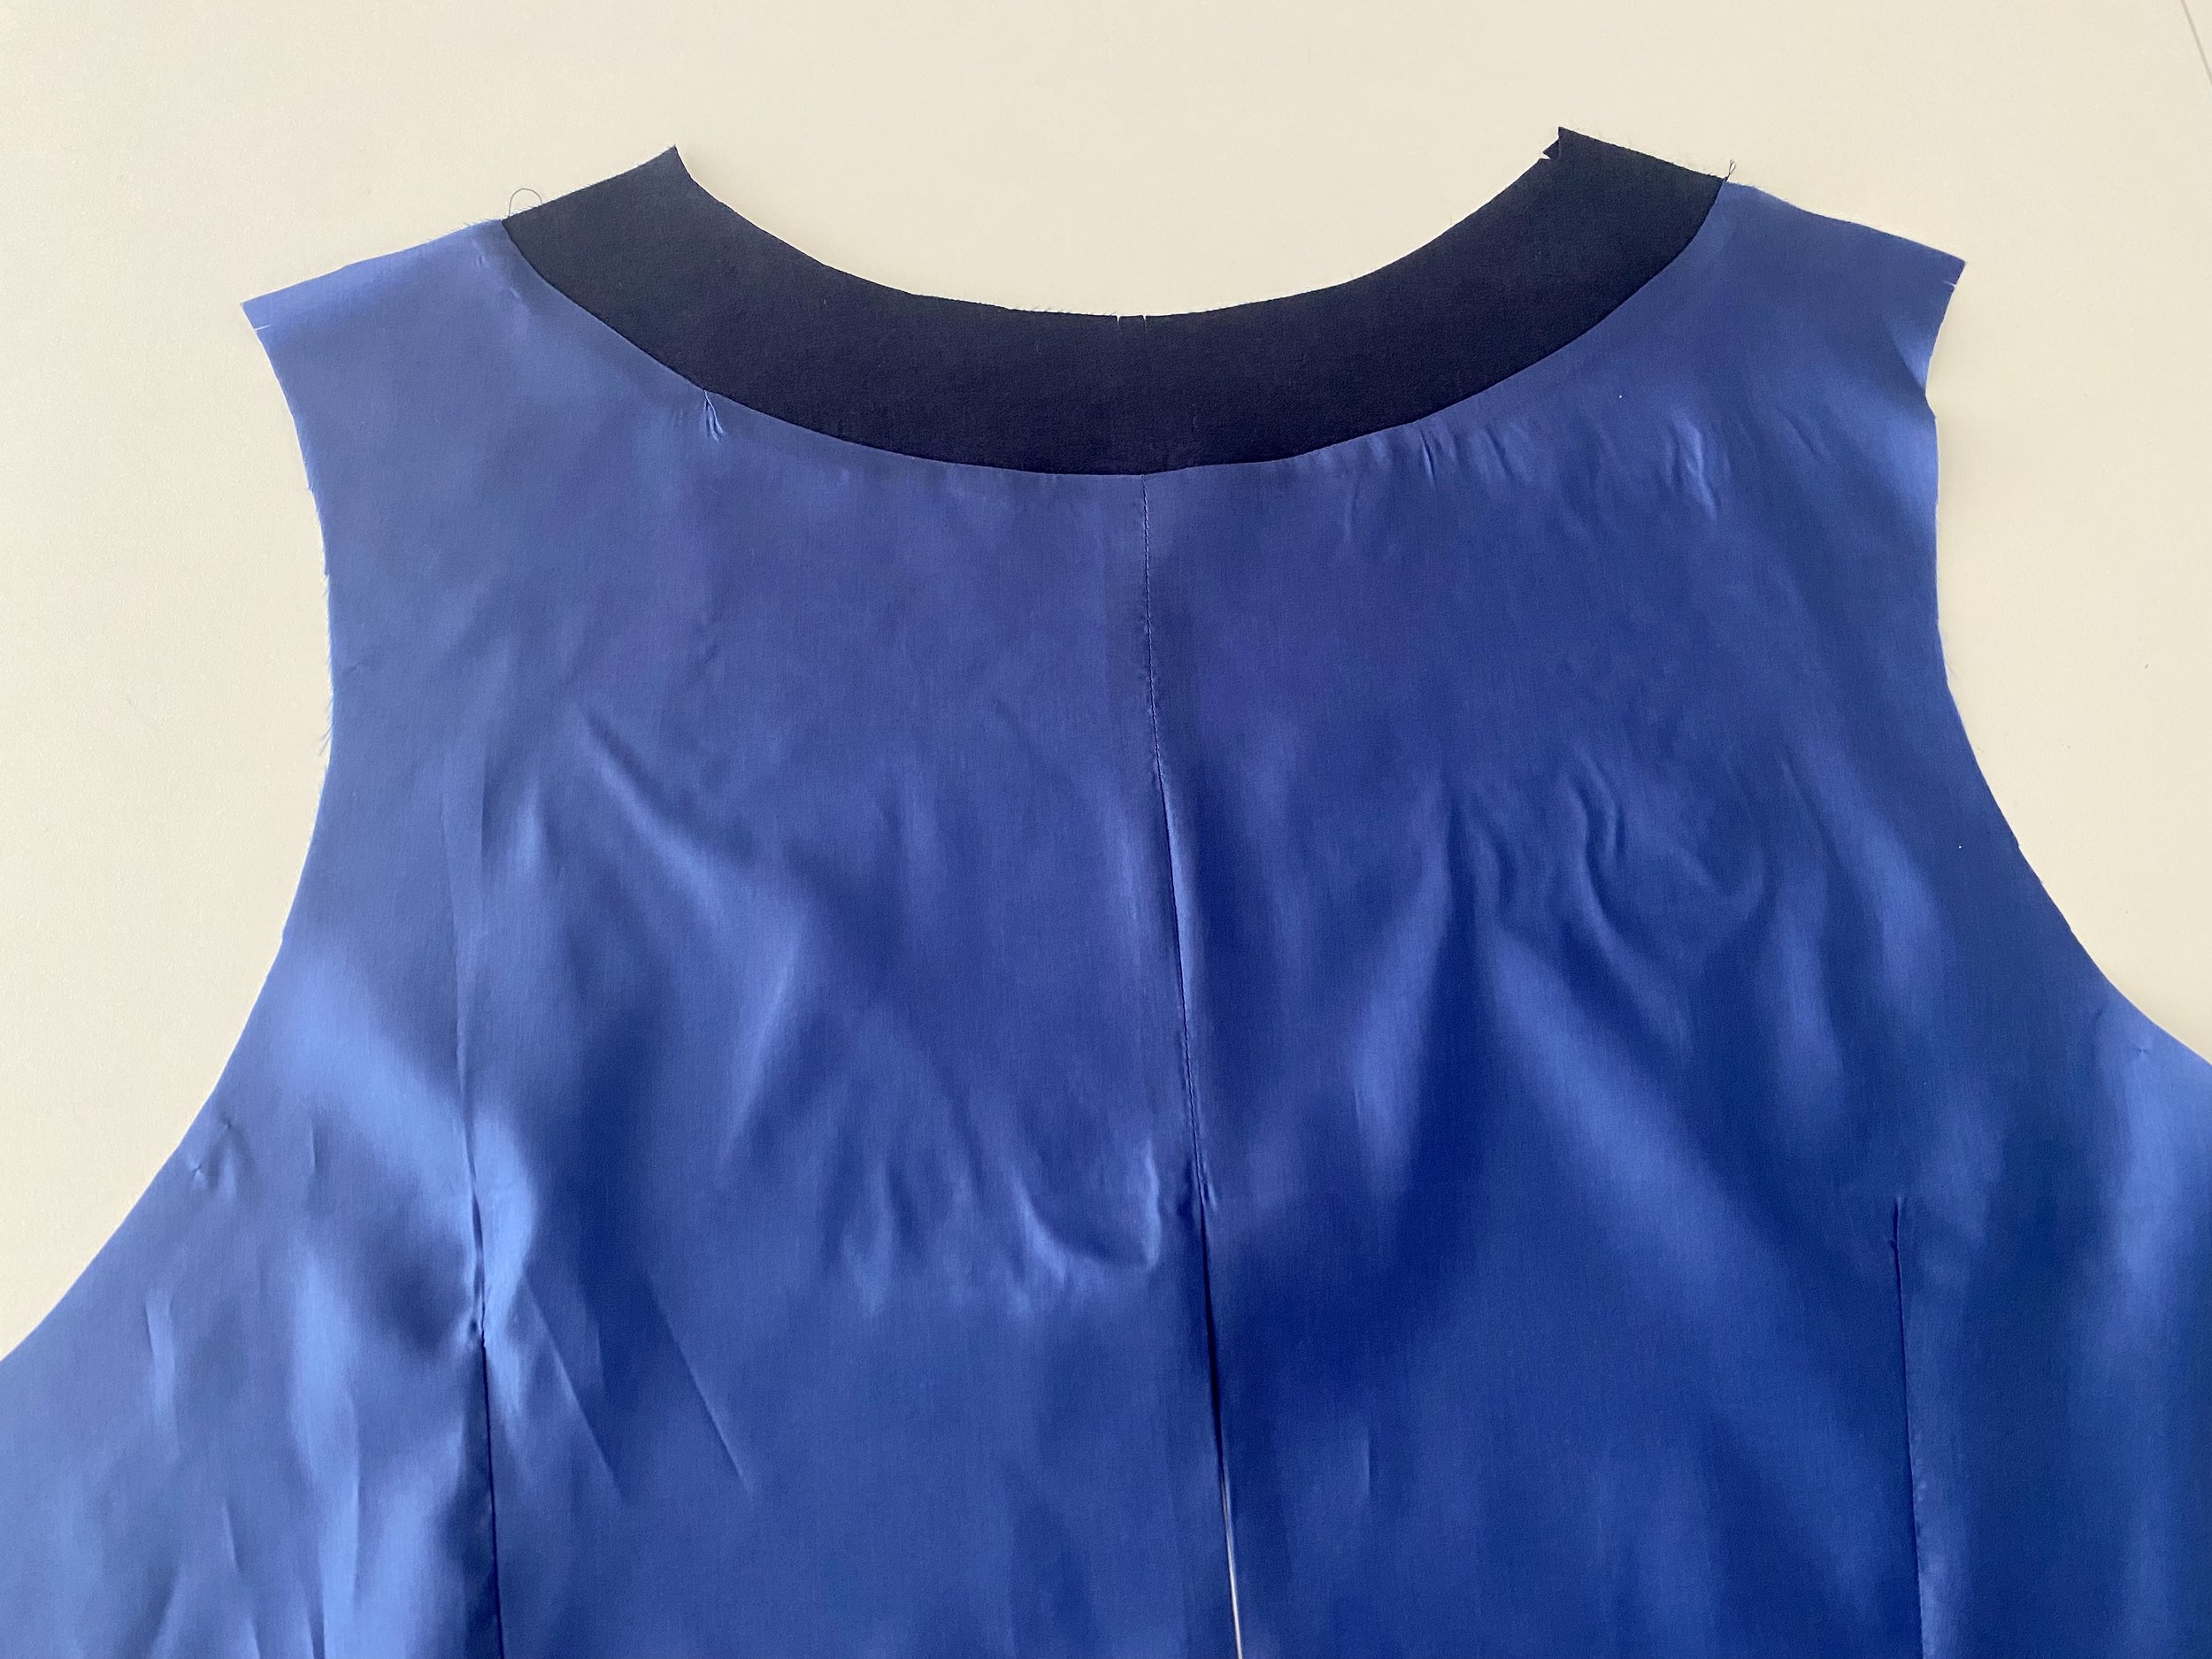
Press the seam allowances towards the lining. Et voila, you have your back! Now let’s work on the front.

Start by stitching front lining darts, right sides together, starting with 3/8" / 1cm seam allowances down to nothing at tip marking. Press the darts open and clip the tip so that you can press it press it towards side seam.

Make sure that you locate the notch on the hem facing piece that signals the bottom of the side seam (the one I’m pointing out above). It’s super important to understand the orientation of that piece.
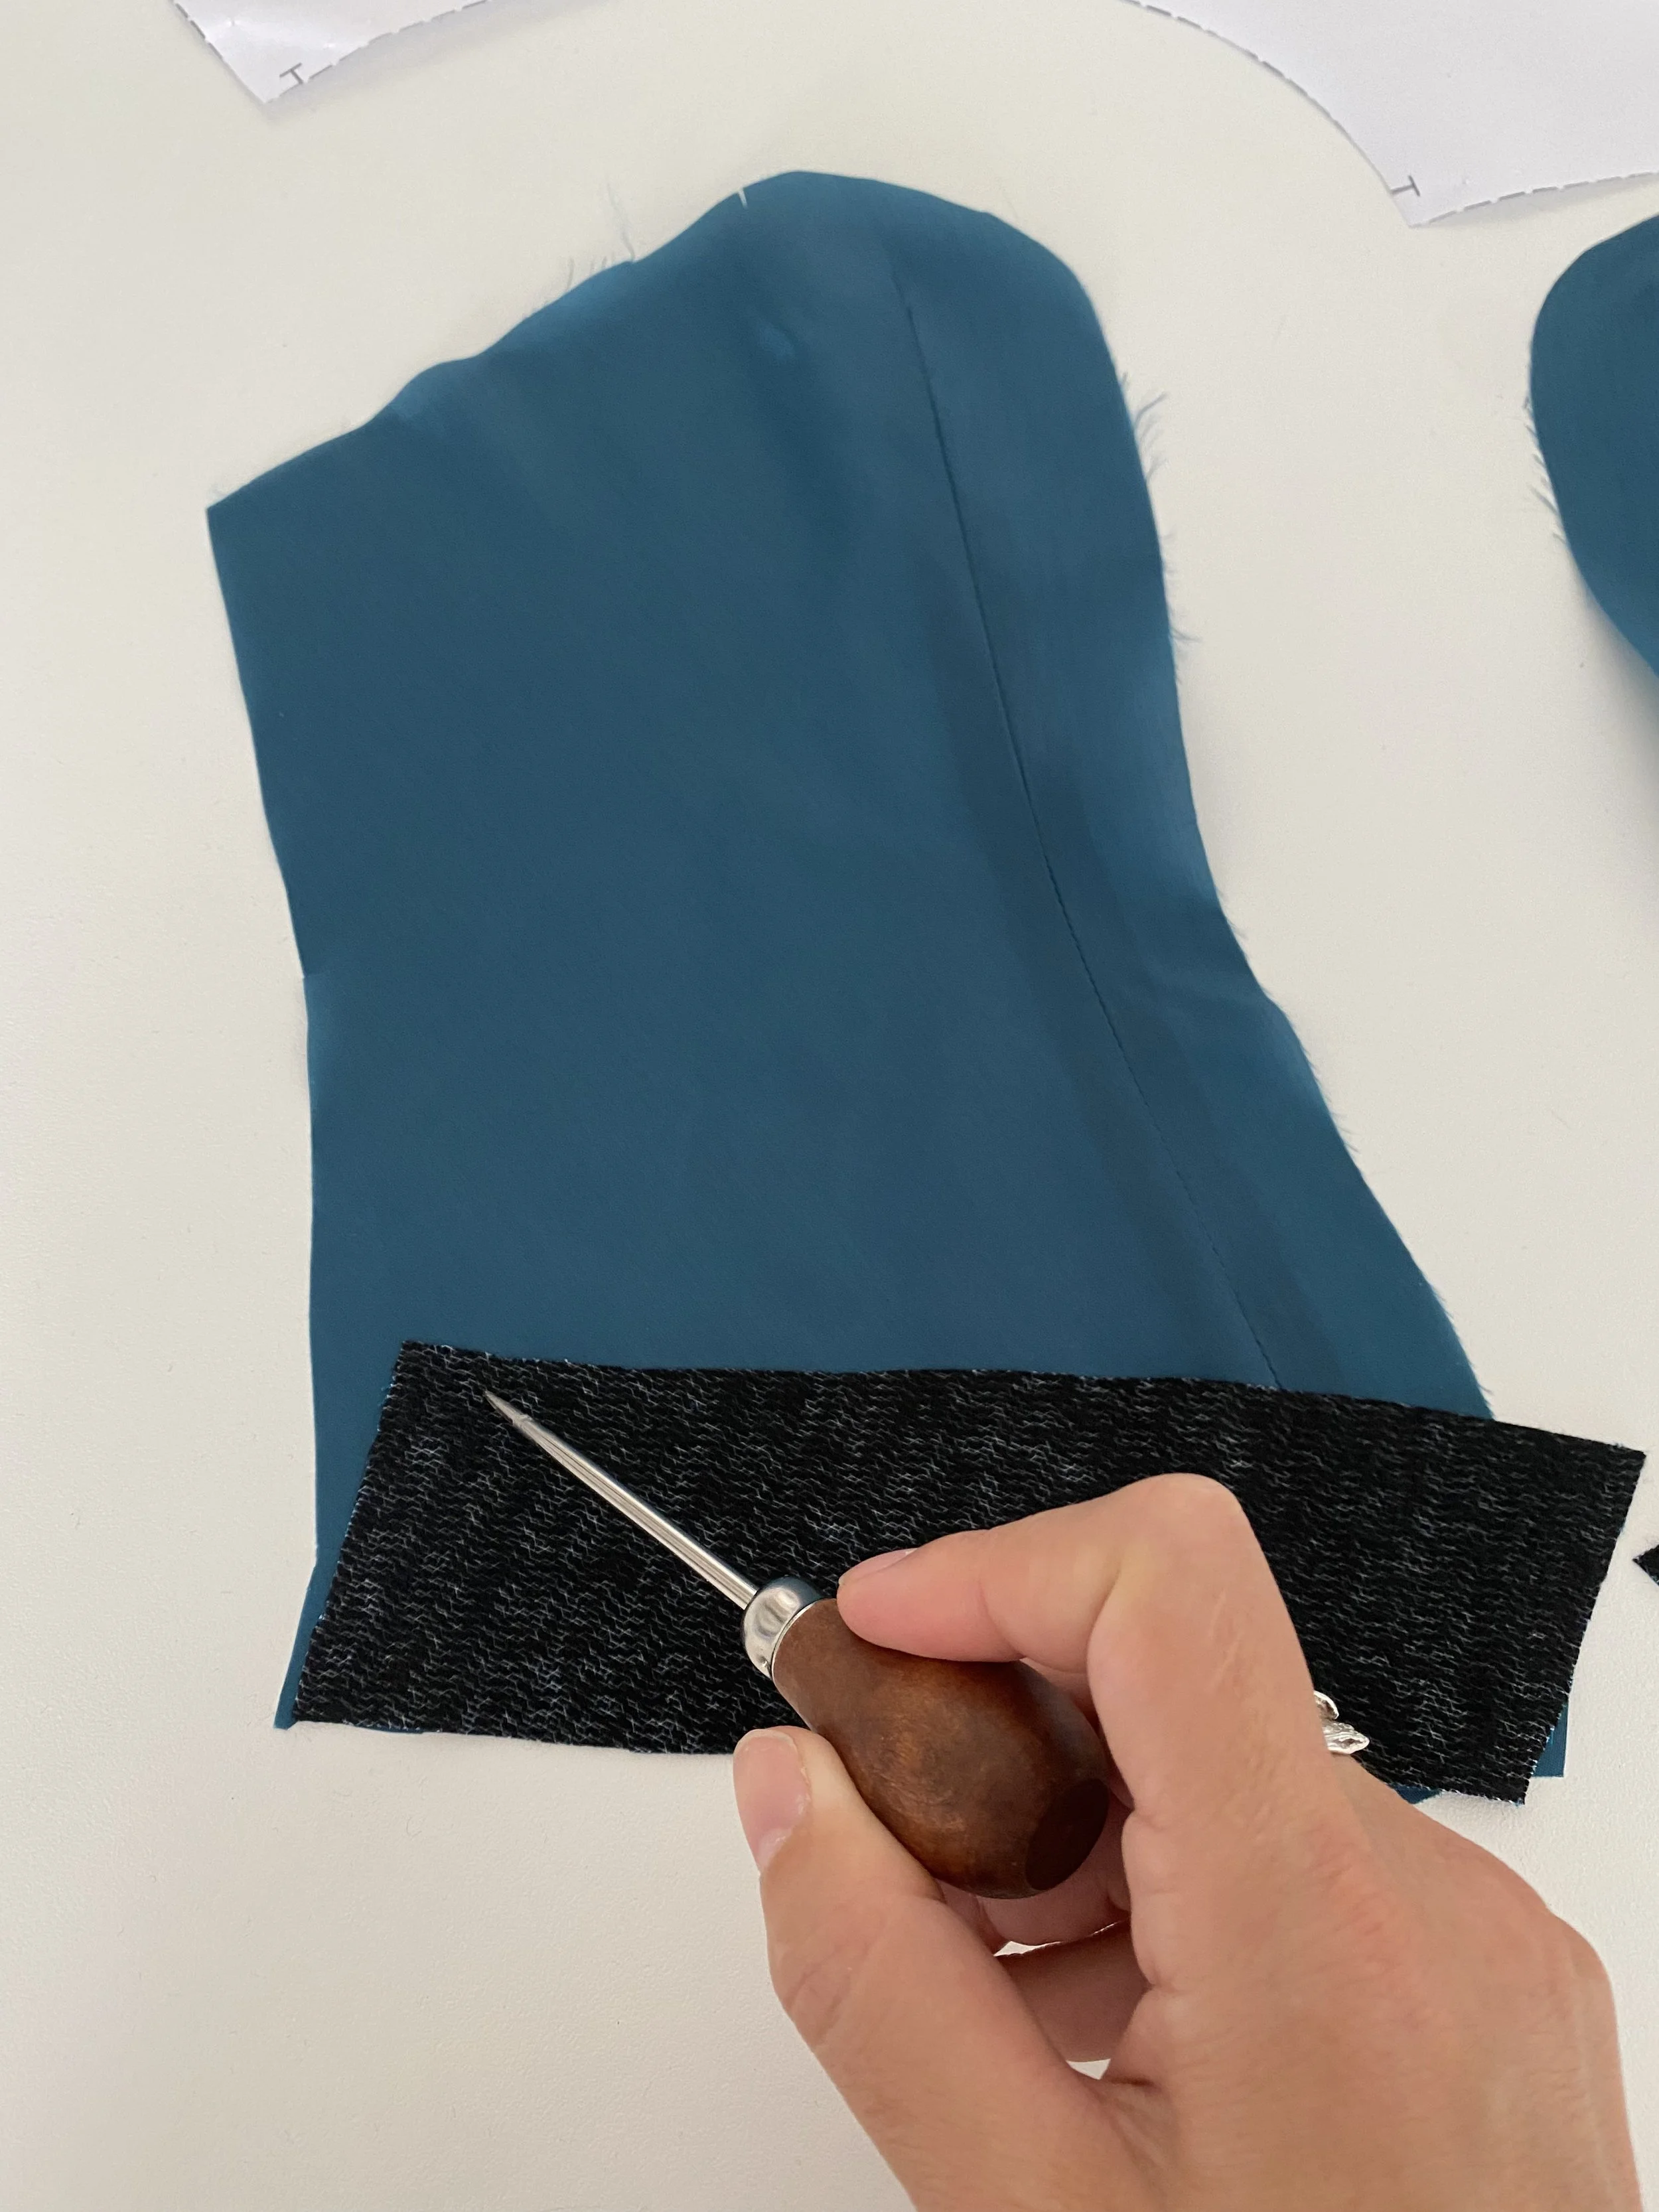
Stitch the front lining to the edge of the hem facing that has no notches, right sides together, with 1/4" / 0.6cm seam allowances. Above I’m pointing out again the location of the side seam notch on the hem facing. Press towards the allowances of the lining.

The notches on the lining indicate where to form the ease pleat. You can press it very lightly because sometimes you will adjust slightly the depth of the pleat.
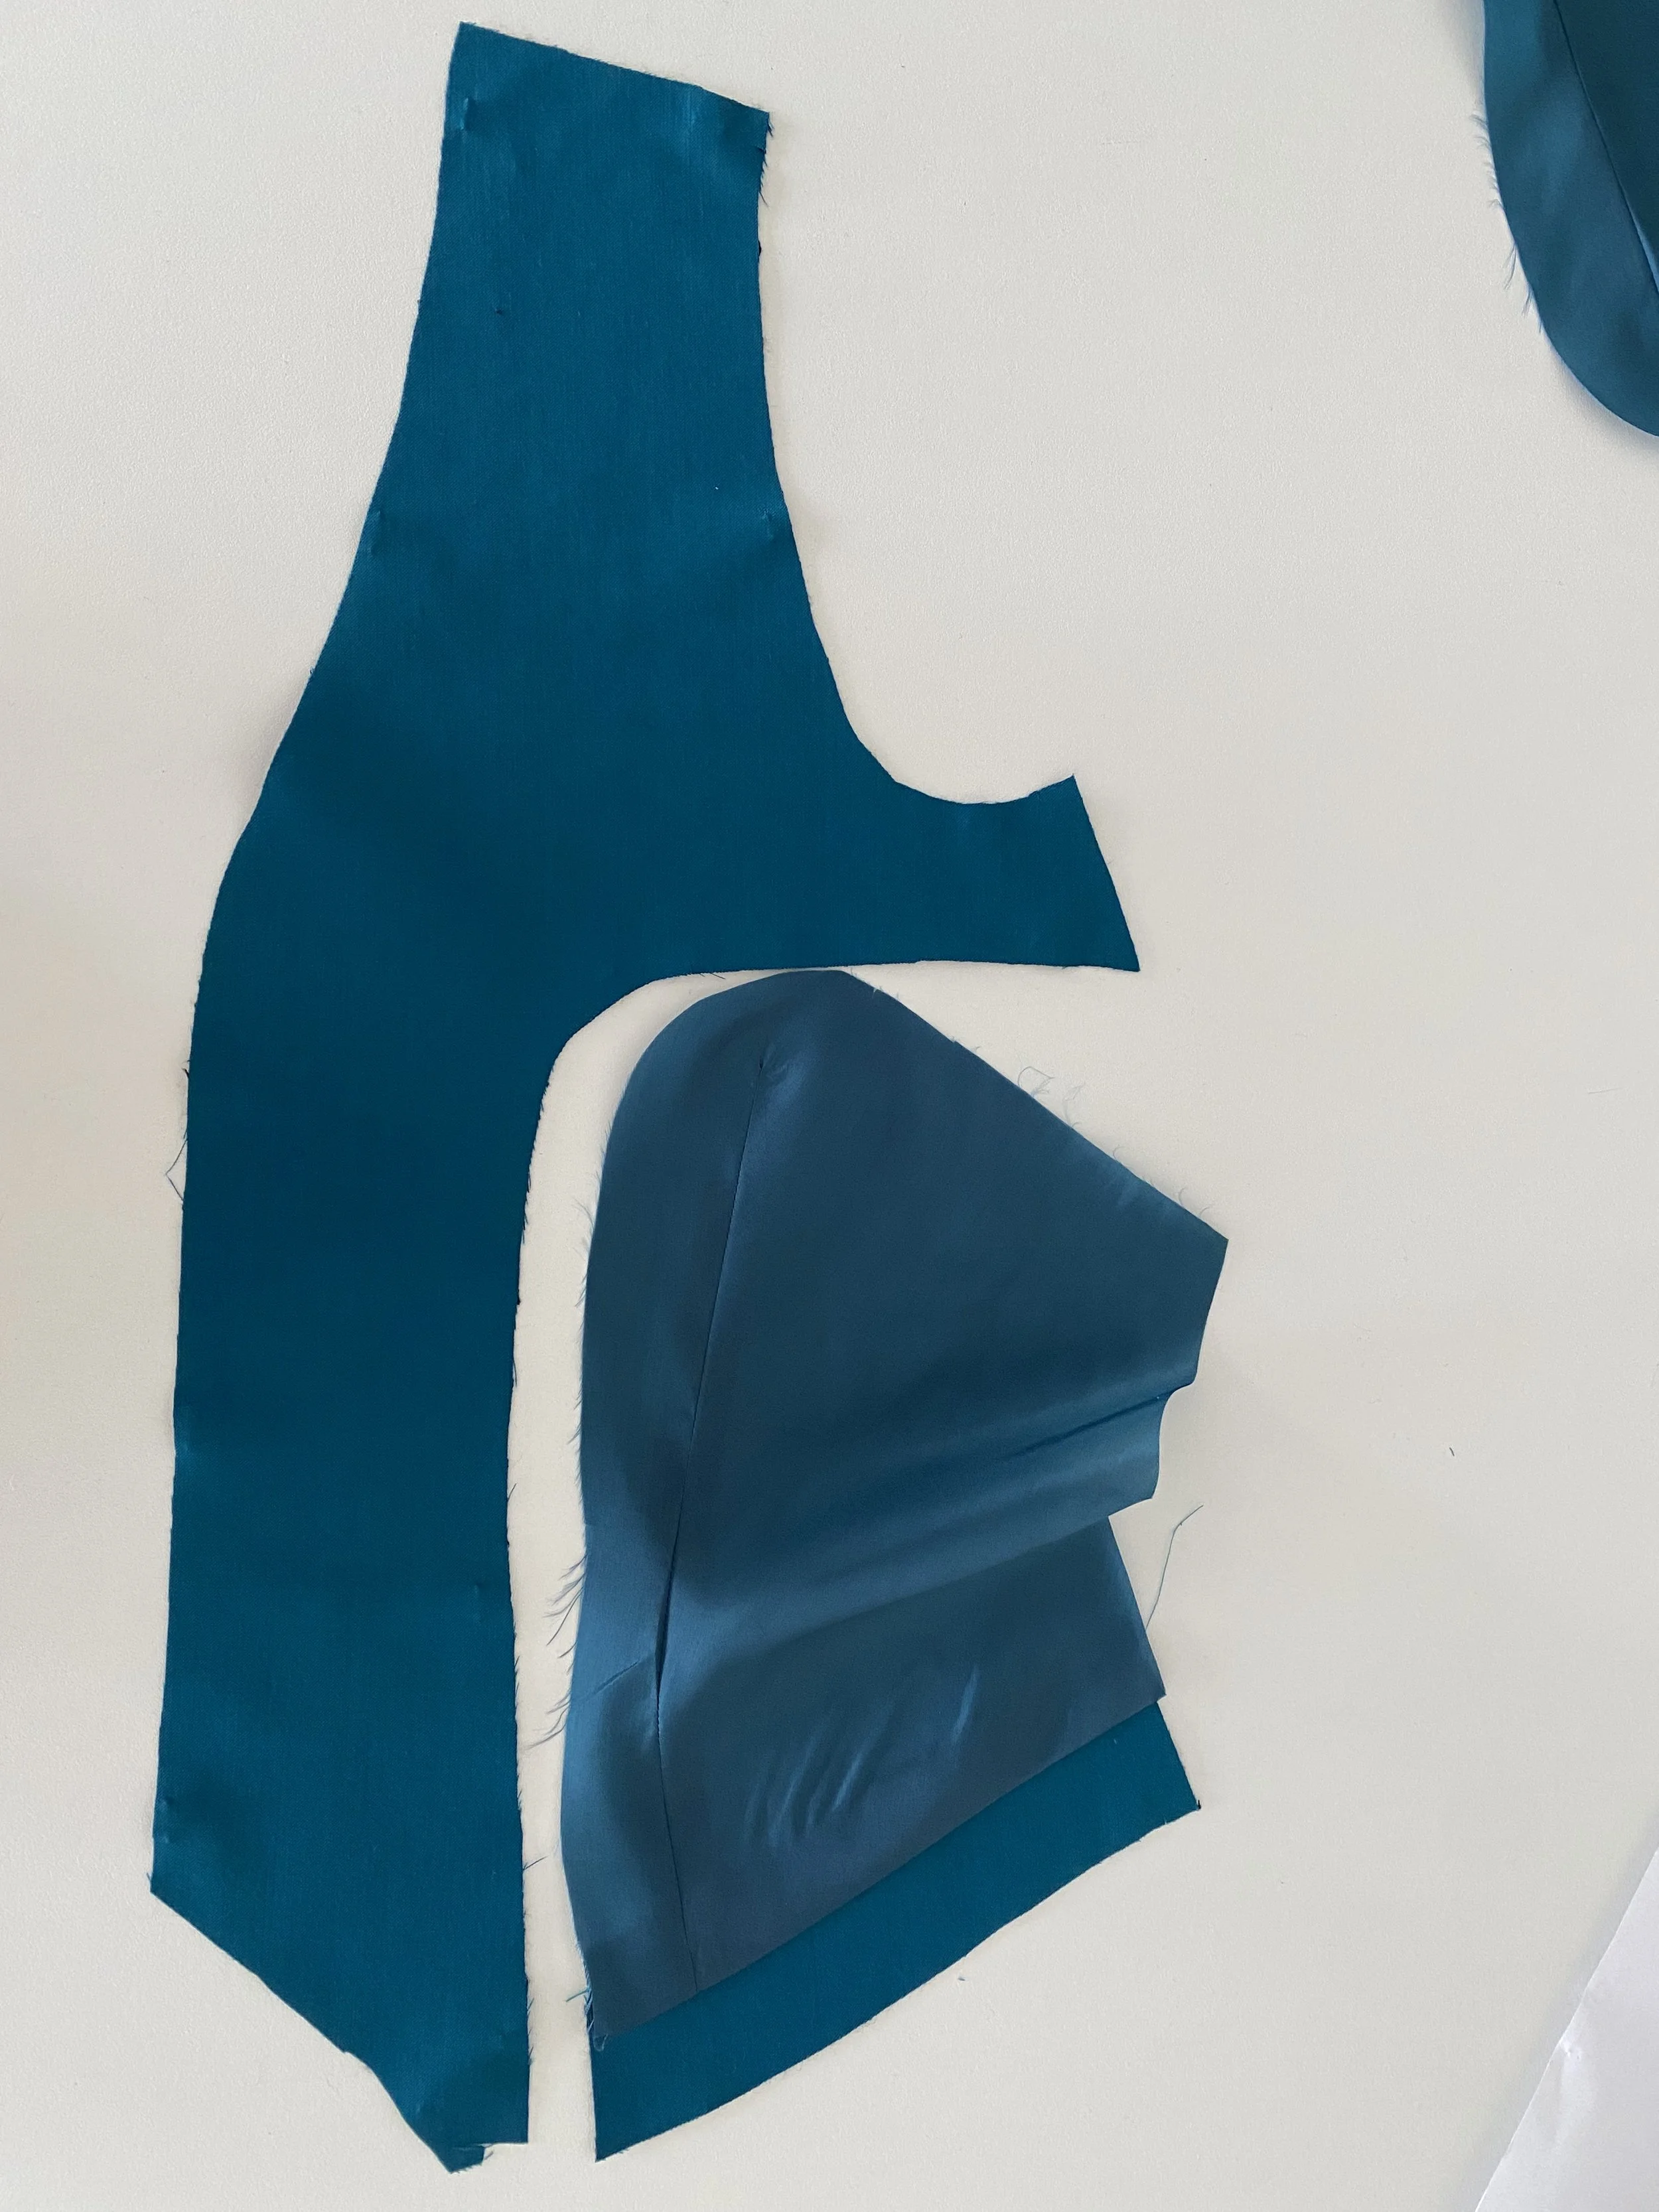
Now you can pin/baste the front facing to the lining/hem facing you just assembled. Make sure you match the notches and keep the lining pleat formed.

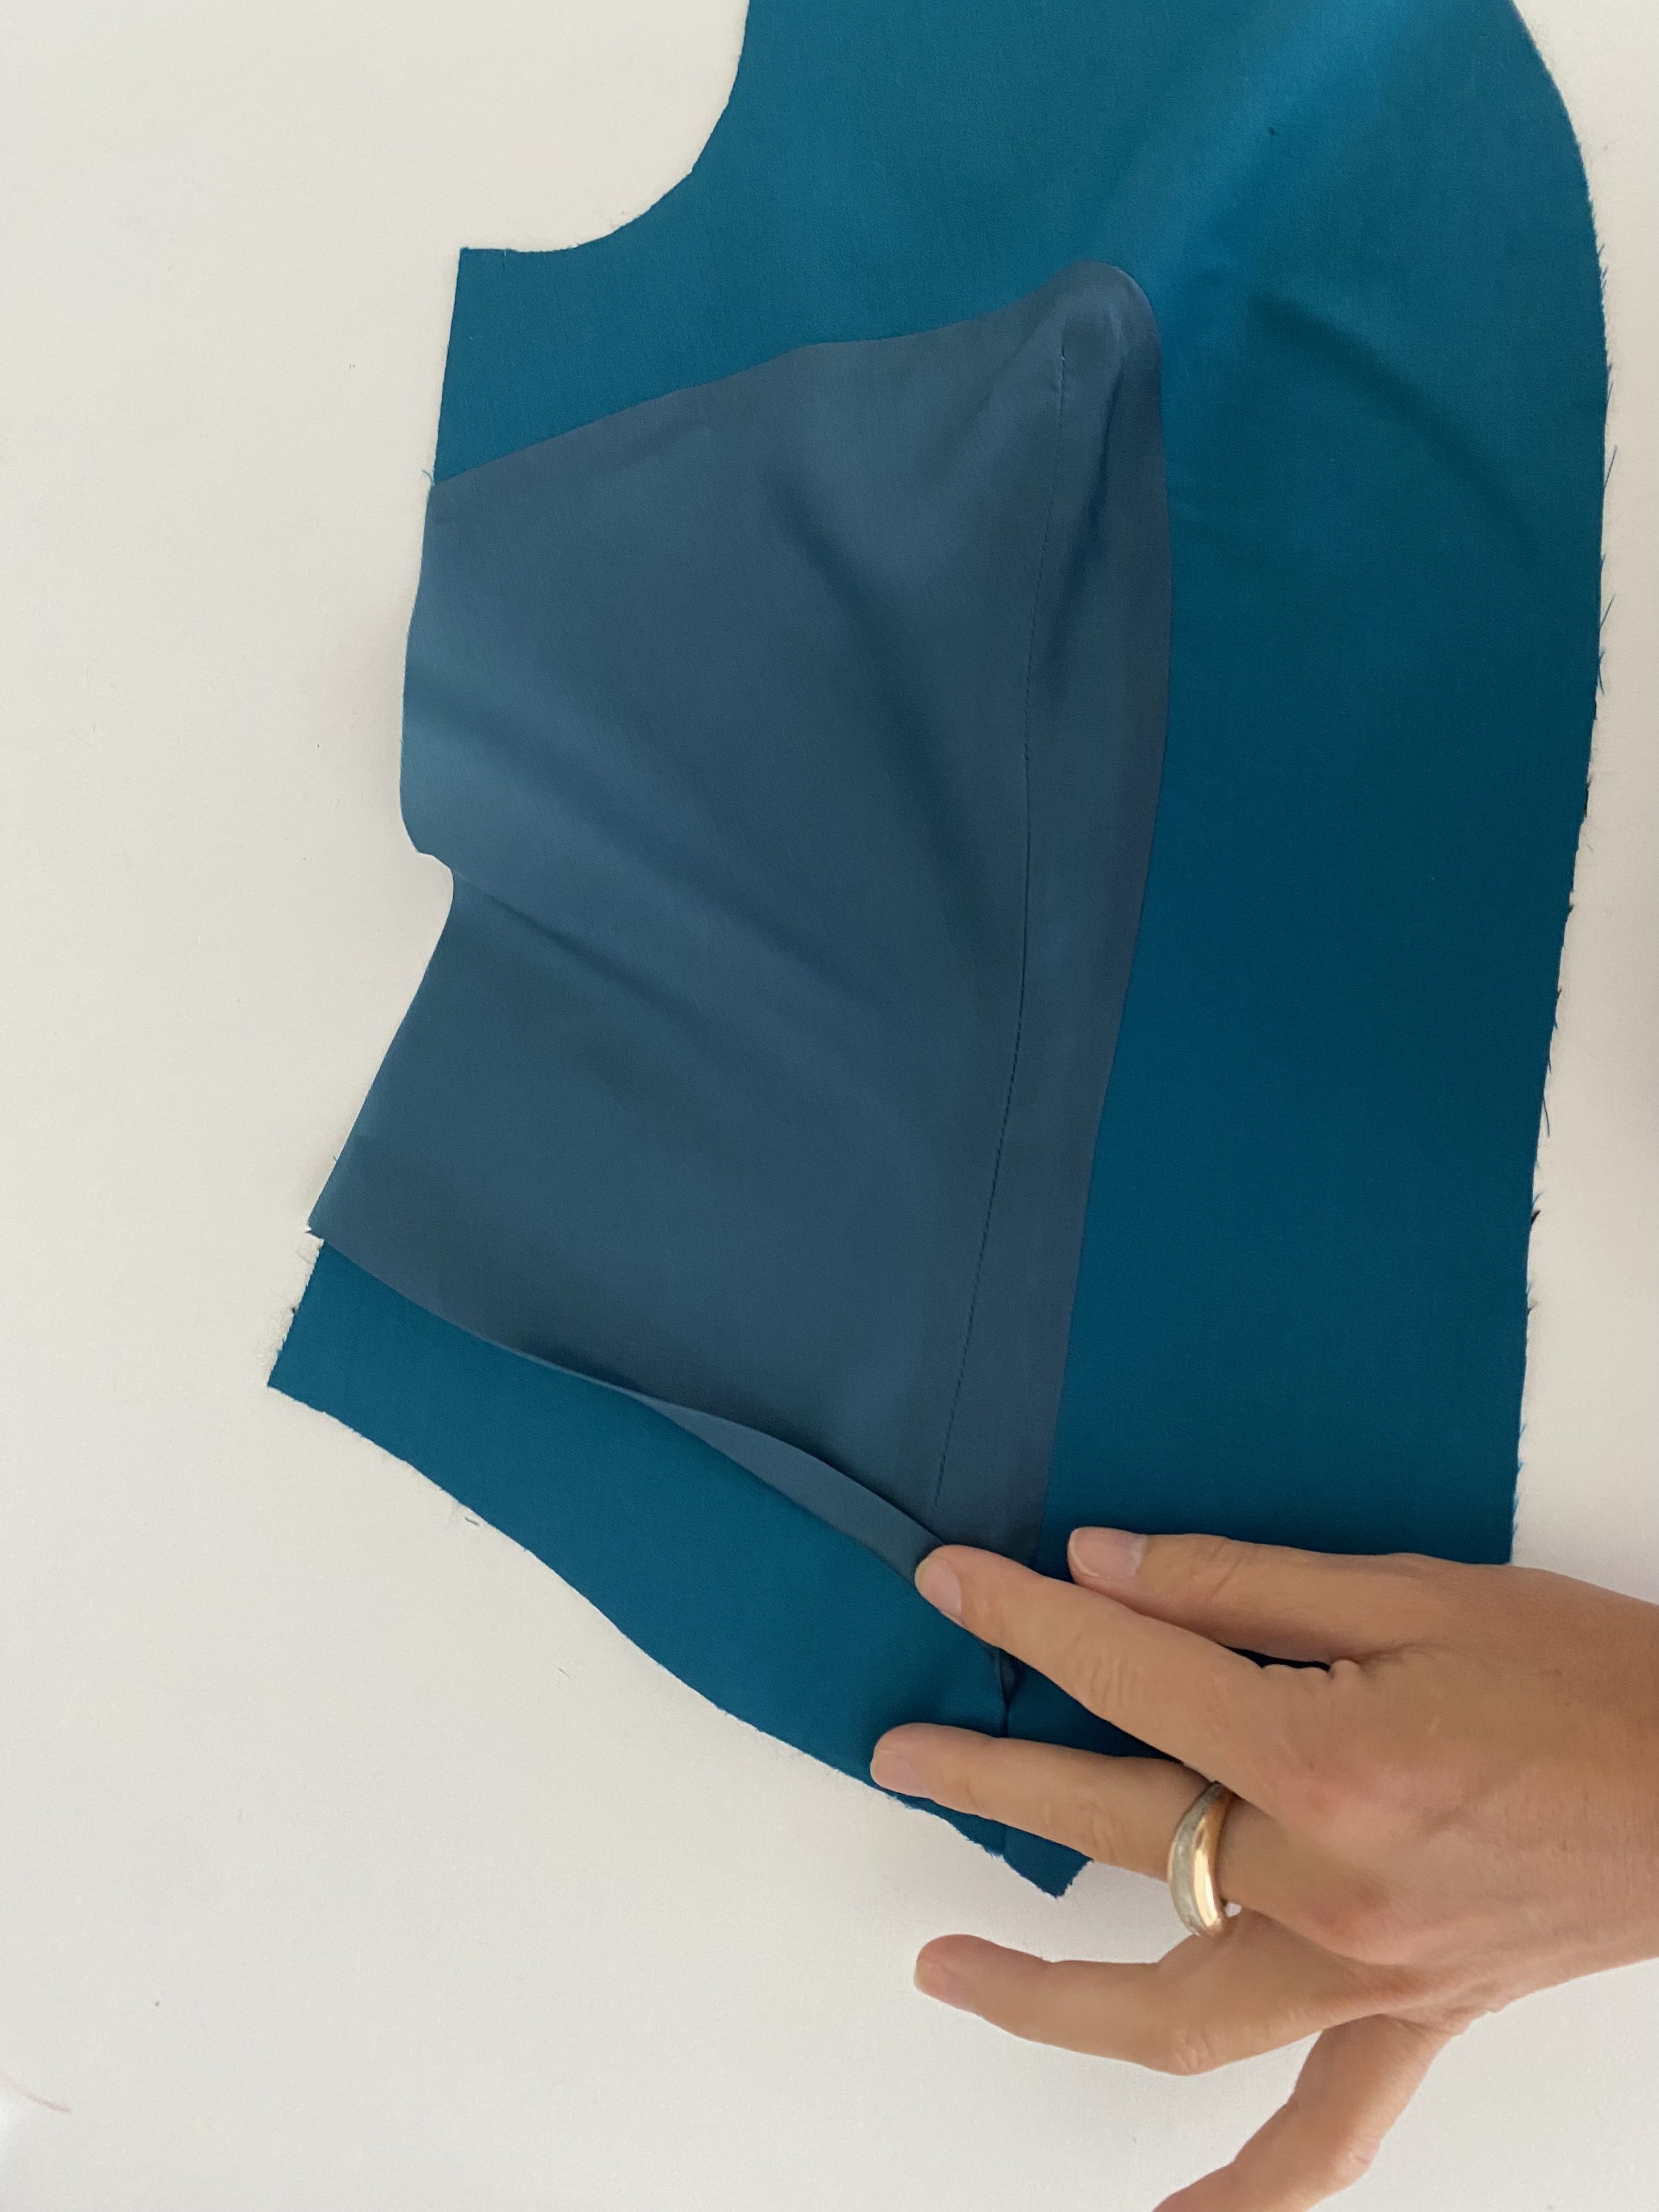
Stitch with 1/4" / 0.6cm seam allowances, sides together. Here I also like to have the front facing on top when I’m at the sewing machine. Clip seam allowance at the top of the hem facing and press hem facing seam allowance towards center front and rest of seam allowance towards lining.

That’s it! Now you have super neat front and back inner layers that are ready for step 12 of the instructions: assembling them at the shoulder seams.
I hope this was helpful. Let me know if you have questions or comments.