
Helena Wrap Dress - Attaching the skirt to the waistband
Delphine (Sewing Tidbits)
Dear readers,
Welcome to the fourth and last tutorial (for now 😅) of the Helena Wrap Dress. Today, I’m showing you how to attach the skirt to the waistband and finish the waistband. It corresponds to steps 20 to 24 in the instructions. In the previous tutorial for the Helena Wrap Dress, I covered the neckband construction, the bodice to waistband assembly, and the in-seam pocket construction. You can also find all the tutorials related to Helena and more on its dedicated resource page. My hope with these tutorials is to make the sewing of Helena more accessible, but I also took the opportunity to re-work the instructions based on the feedback I received. To celebrate, I have a surprise discount for you at the end of this post 😉.
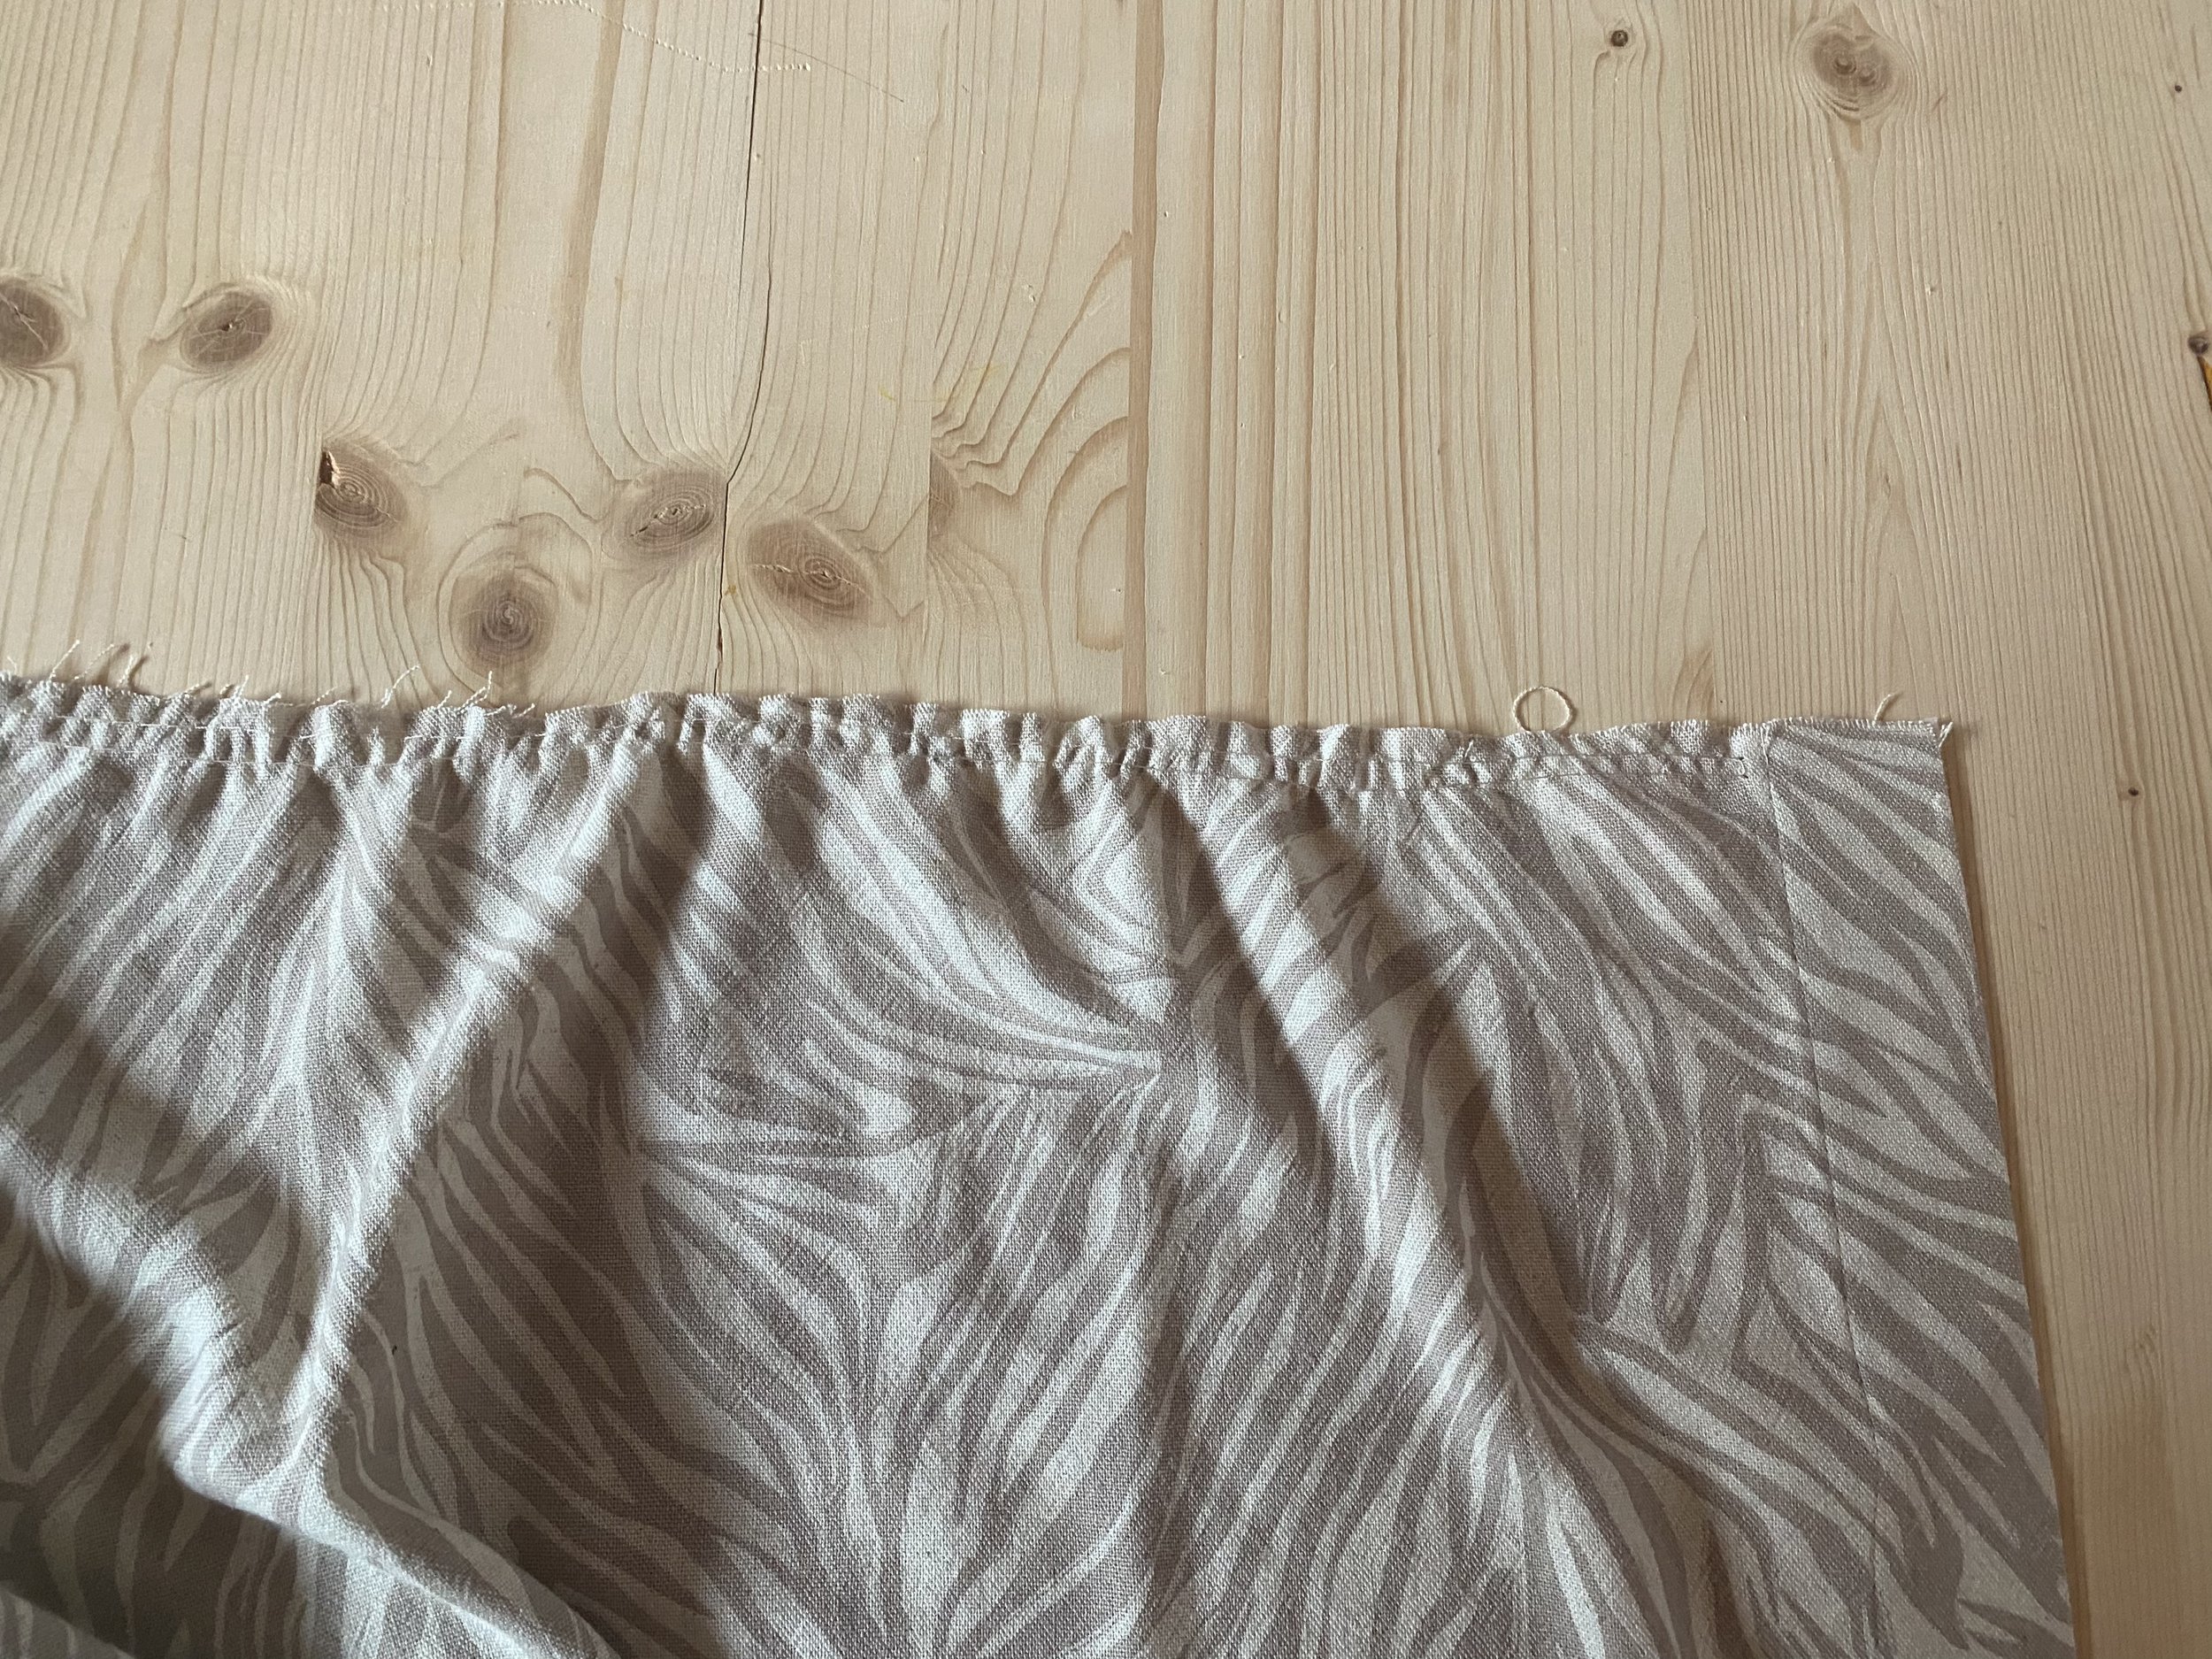
Let’s get into today’s tutorial! Start by gathering the front and back skirt. You can use a regular sewing machine to do the first pass of gathering stitches is at ¼”/ 0.6cm and the second pass at ½”/ 1.2cm. Remember to leave long thread tails at the start and end and use a long stitch length with reduced tension. If you are using the patch pockets, you can gather the whole skirt in one go, but if you are using the inseam pockets, I suggest doing three sections separate (one back and two fronts), and you will see why in a minute. Next, gently pull on the bobbin threads to gather.
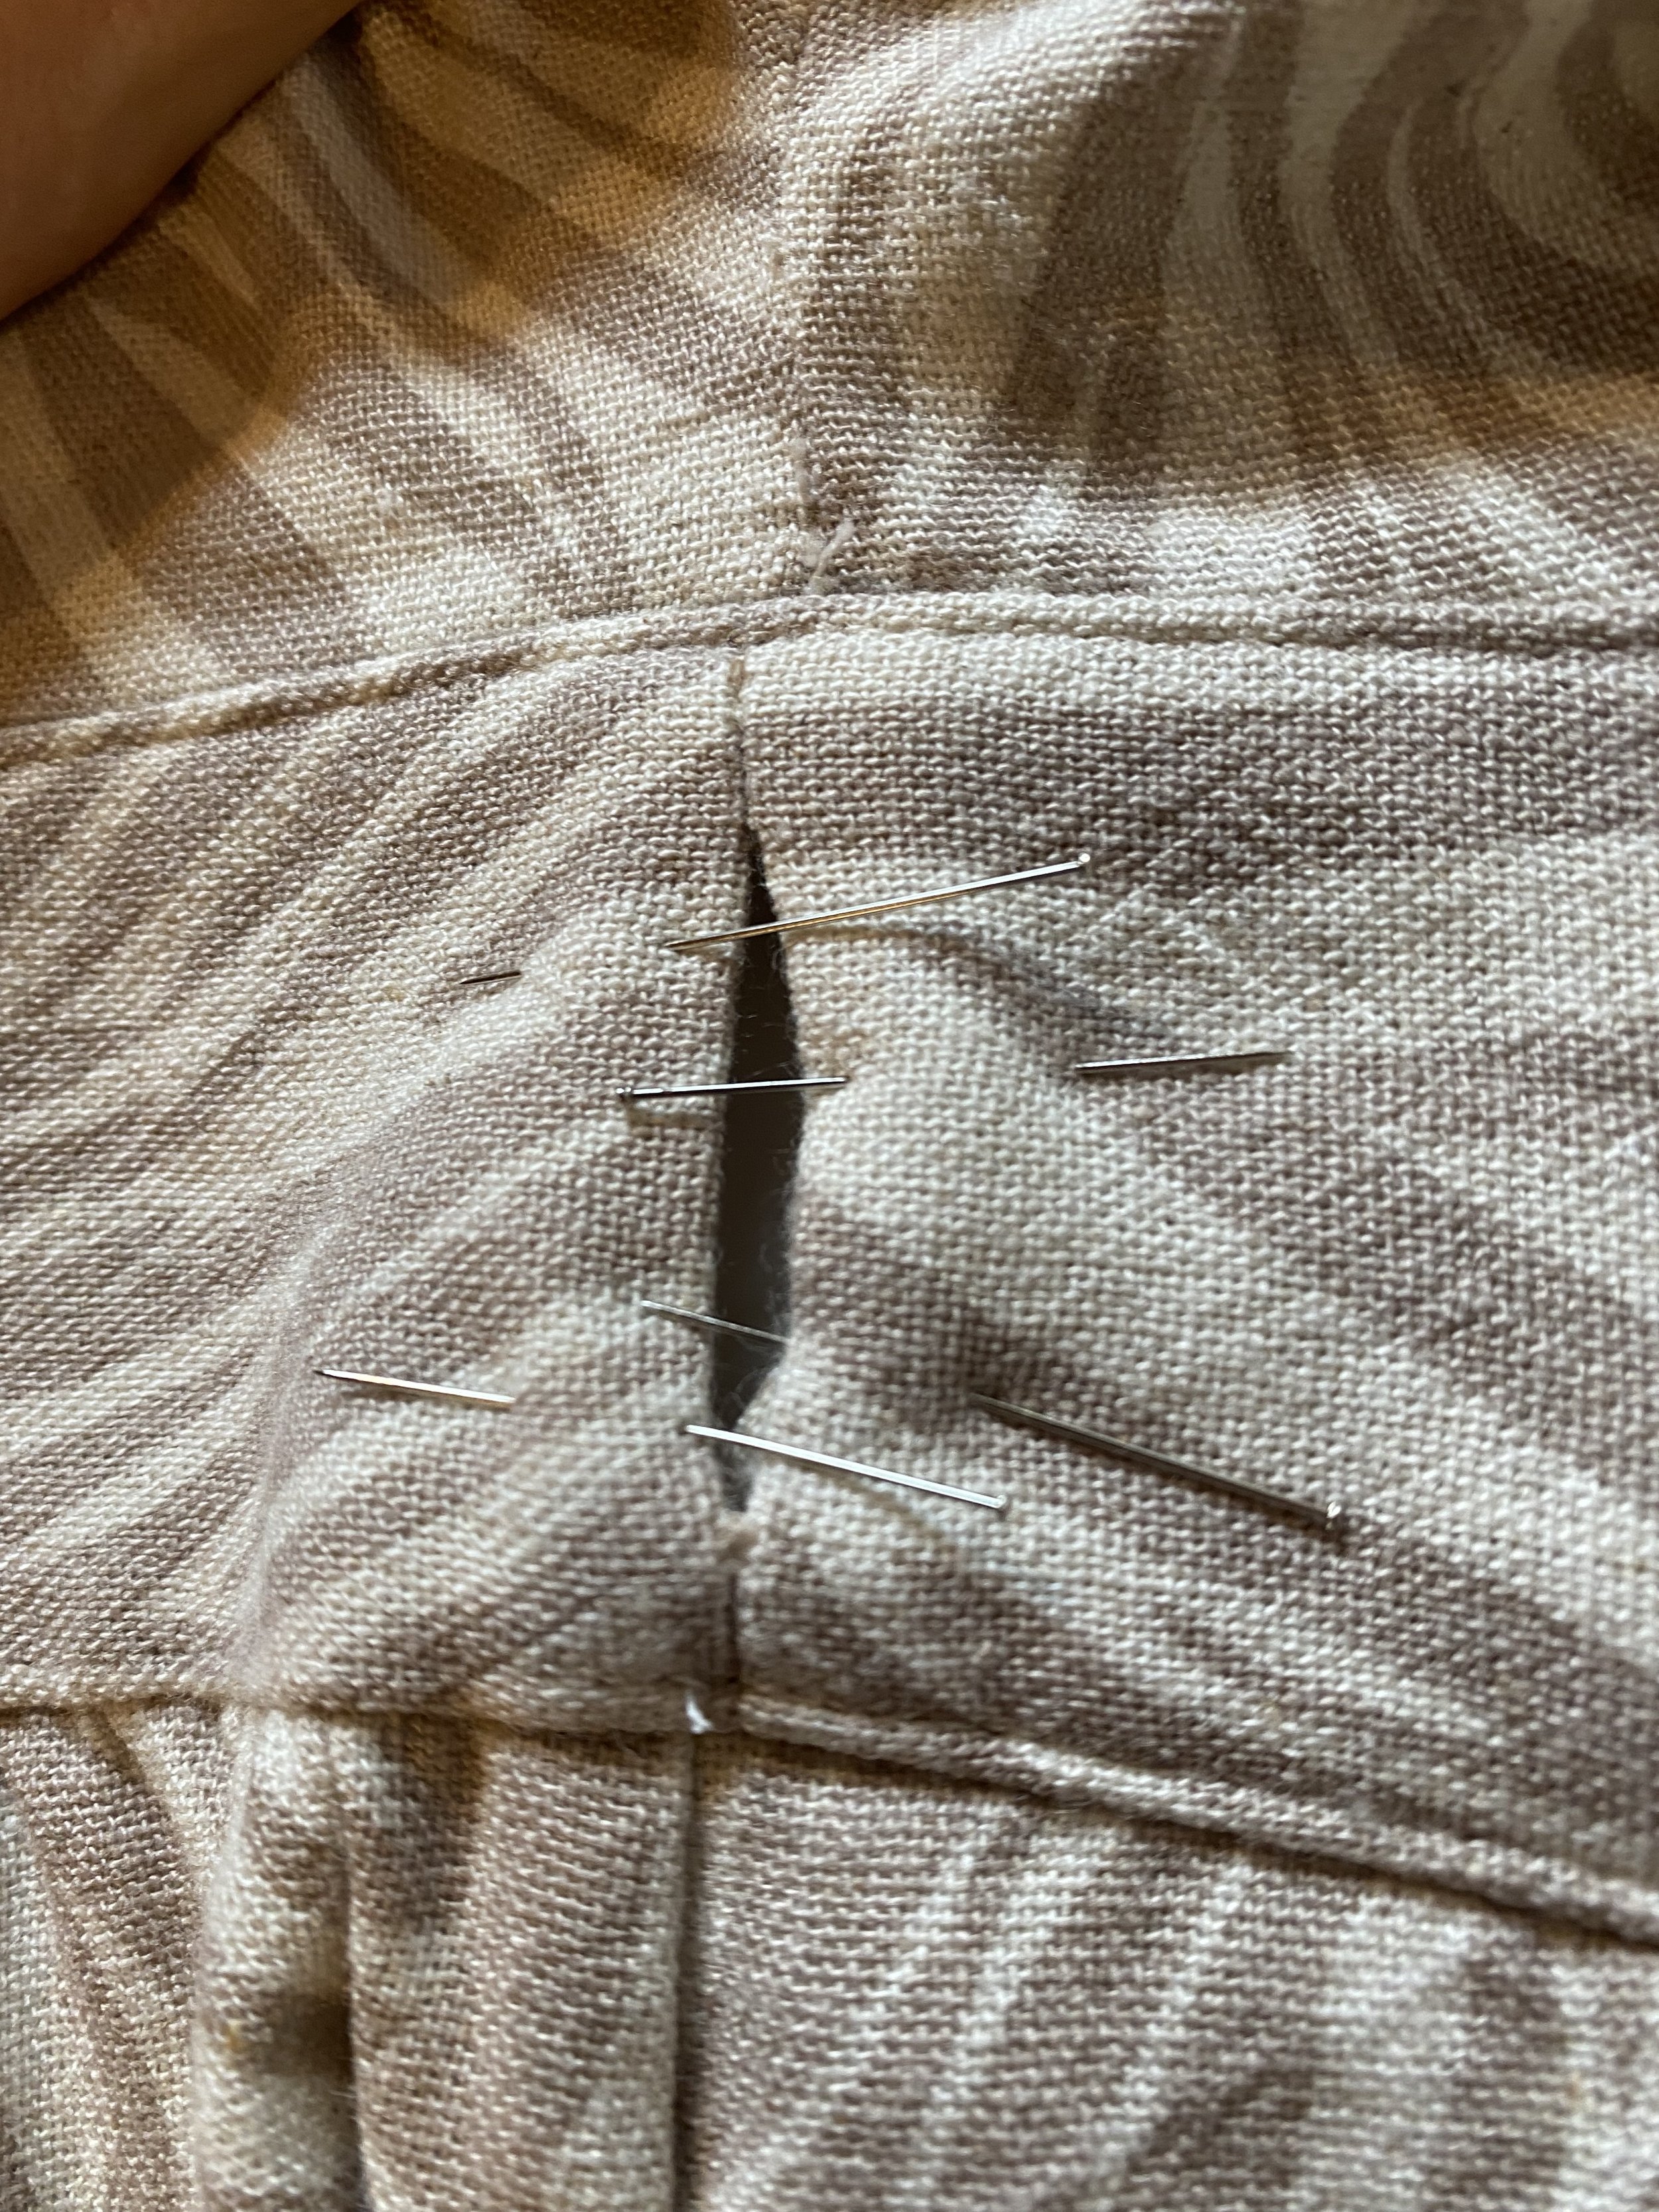
Pin or baste the skirt to the outer waistband, adjusting the gathers to match the side seams, the centre back and front notches. The skirt edge should align with the step in the waistband where the seam allowance changes.
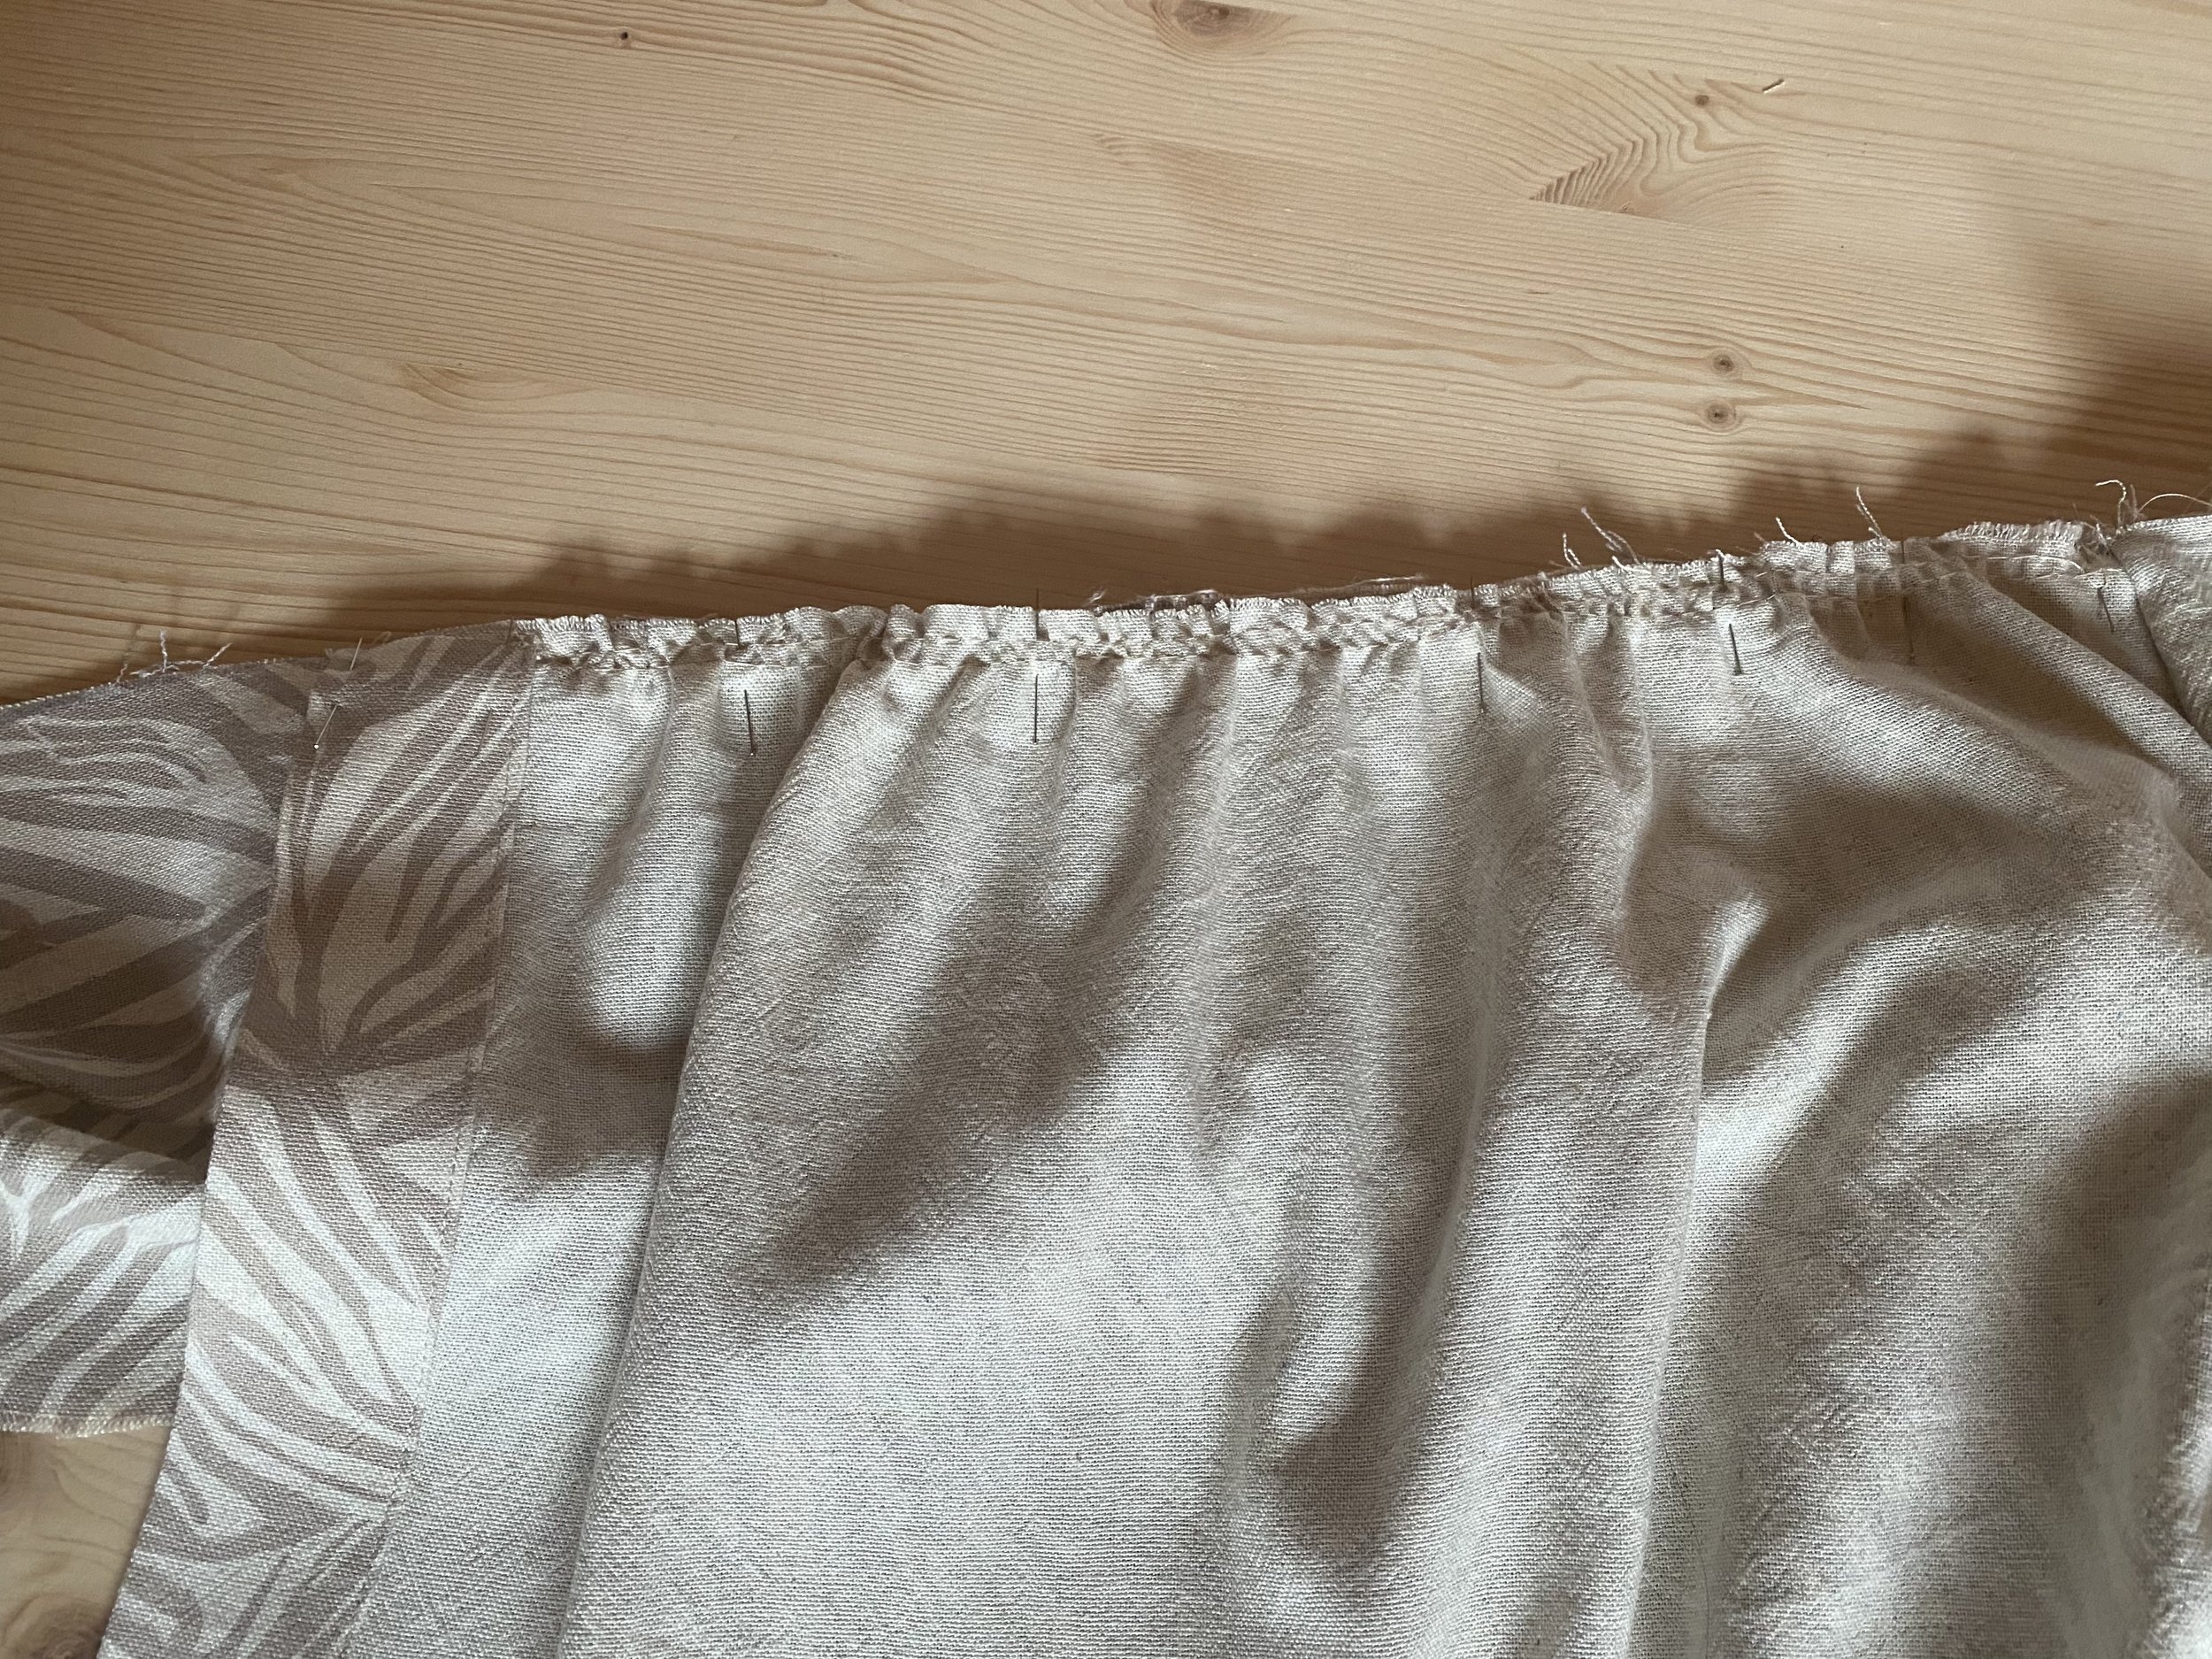
If you sewed the in-seam pockets, baste/pin the pocket bag flat on top of the gathering. That way, you are avoiding the bulk of a gathered pocket bag, which is why we did not baste it to the waist before and did the gathering in sections.

Stitch with a 3/8" / 1cm seam allowances. Then remove gathering threads and press the seam allowances towards the waistband.
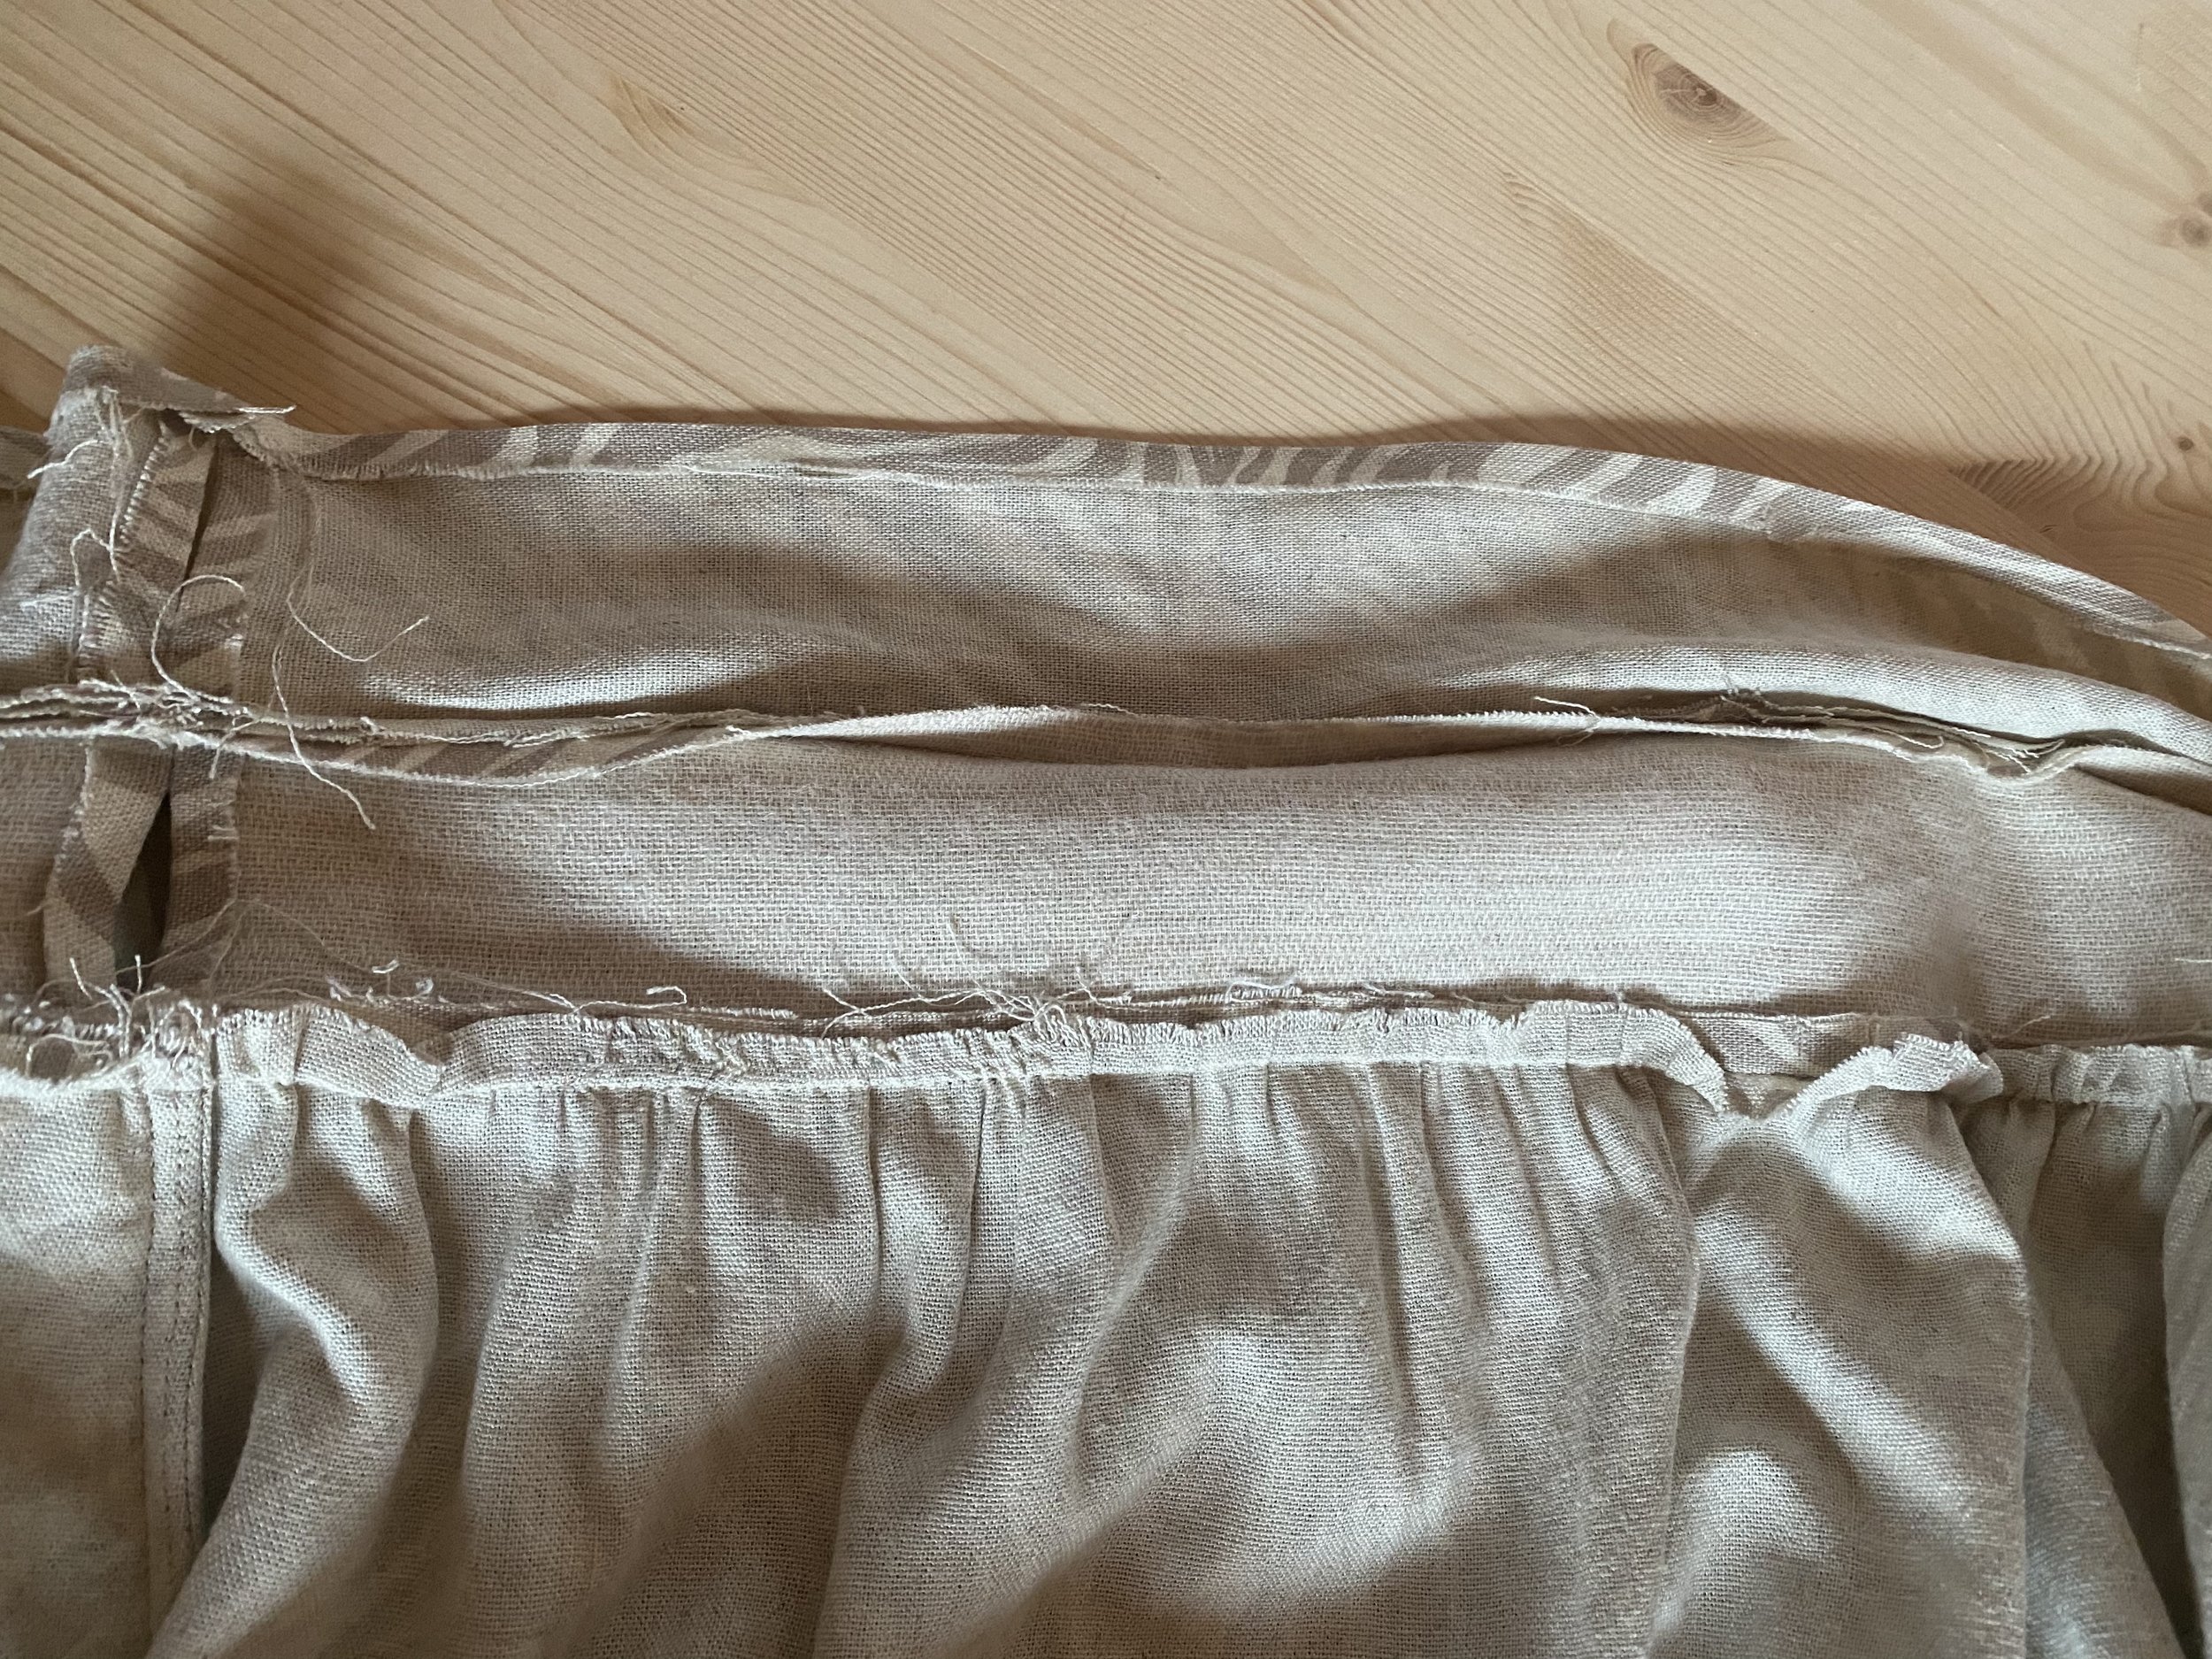
Press the section of the inner waistband between steps indicating a change in the seam allowance (the same section of the outer waistband that you attached to the skirt) towards the wrong side by ⅜” / 1cm.
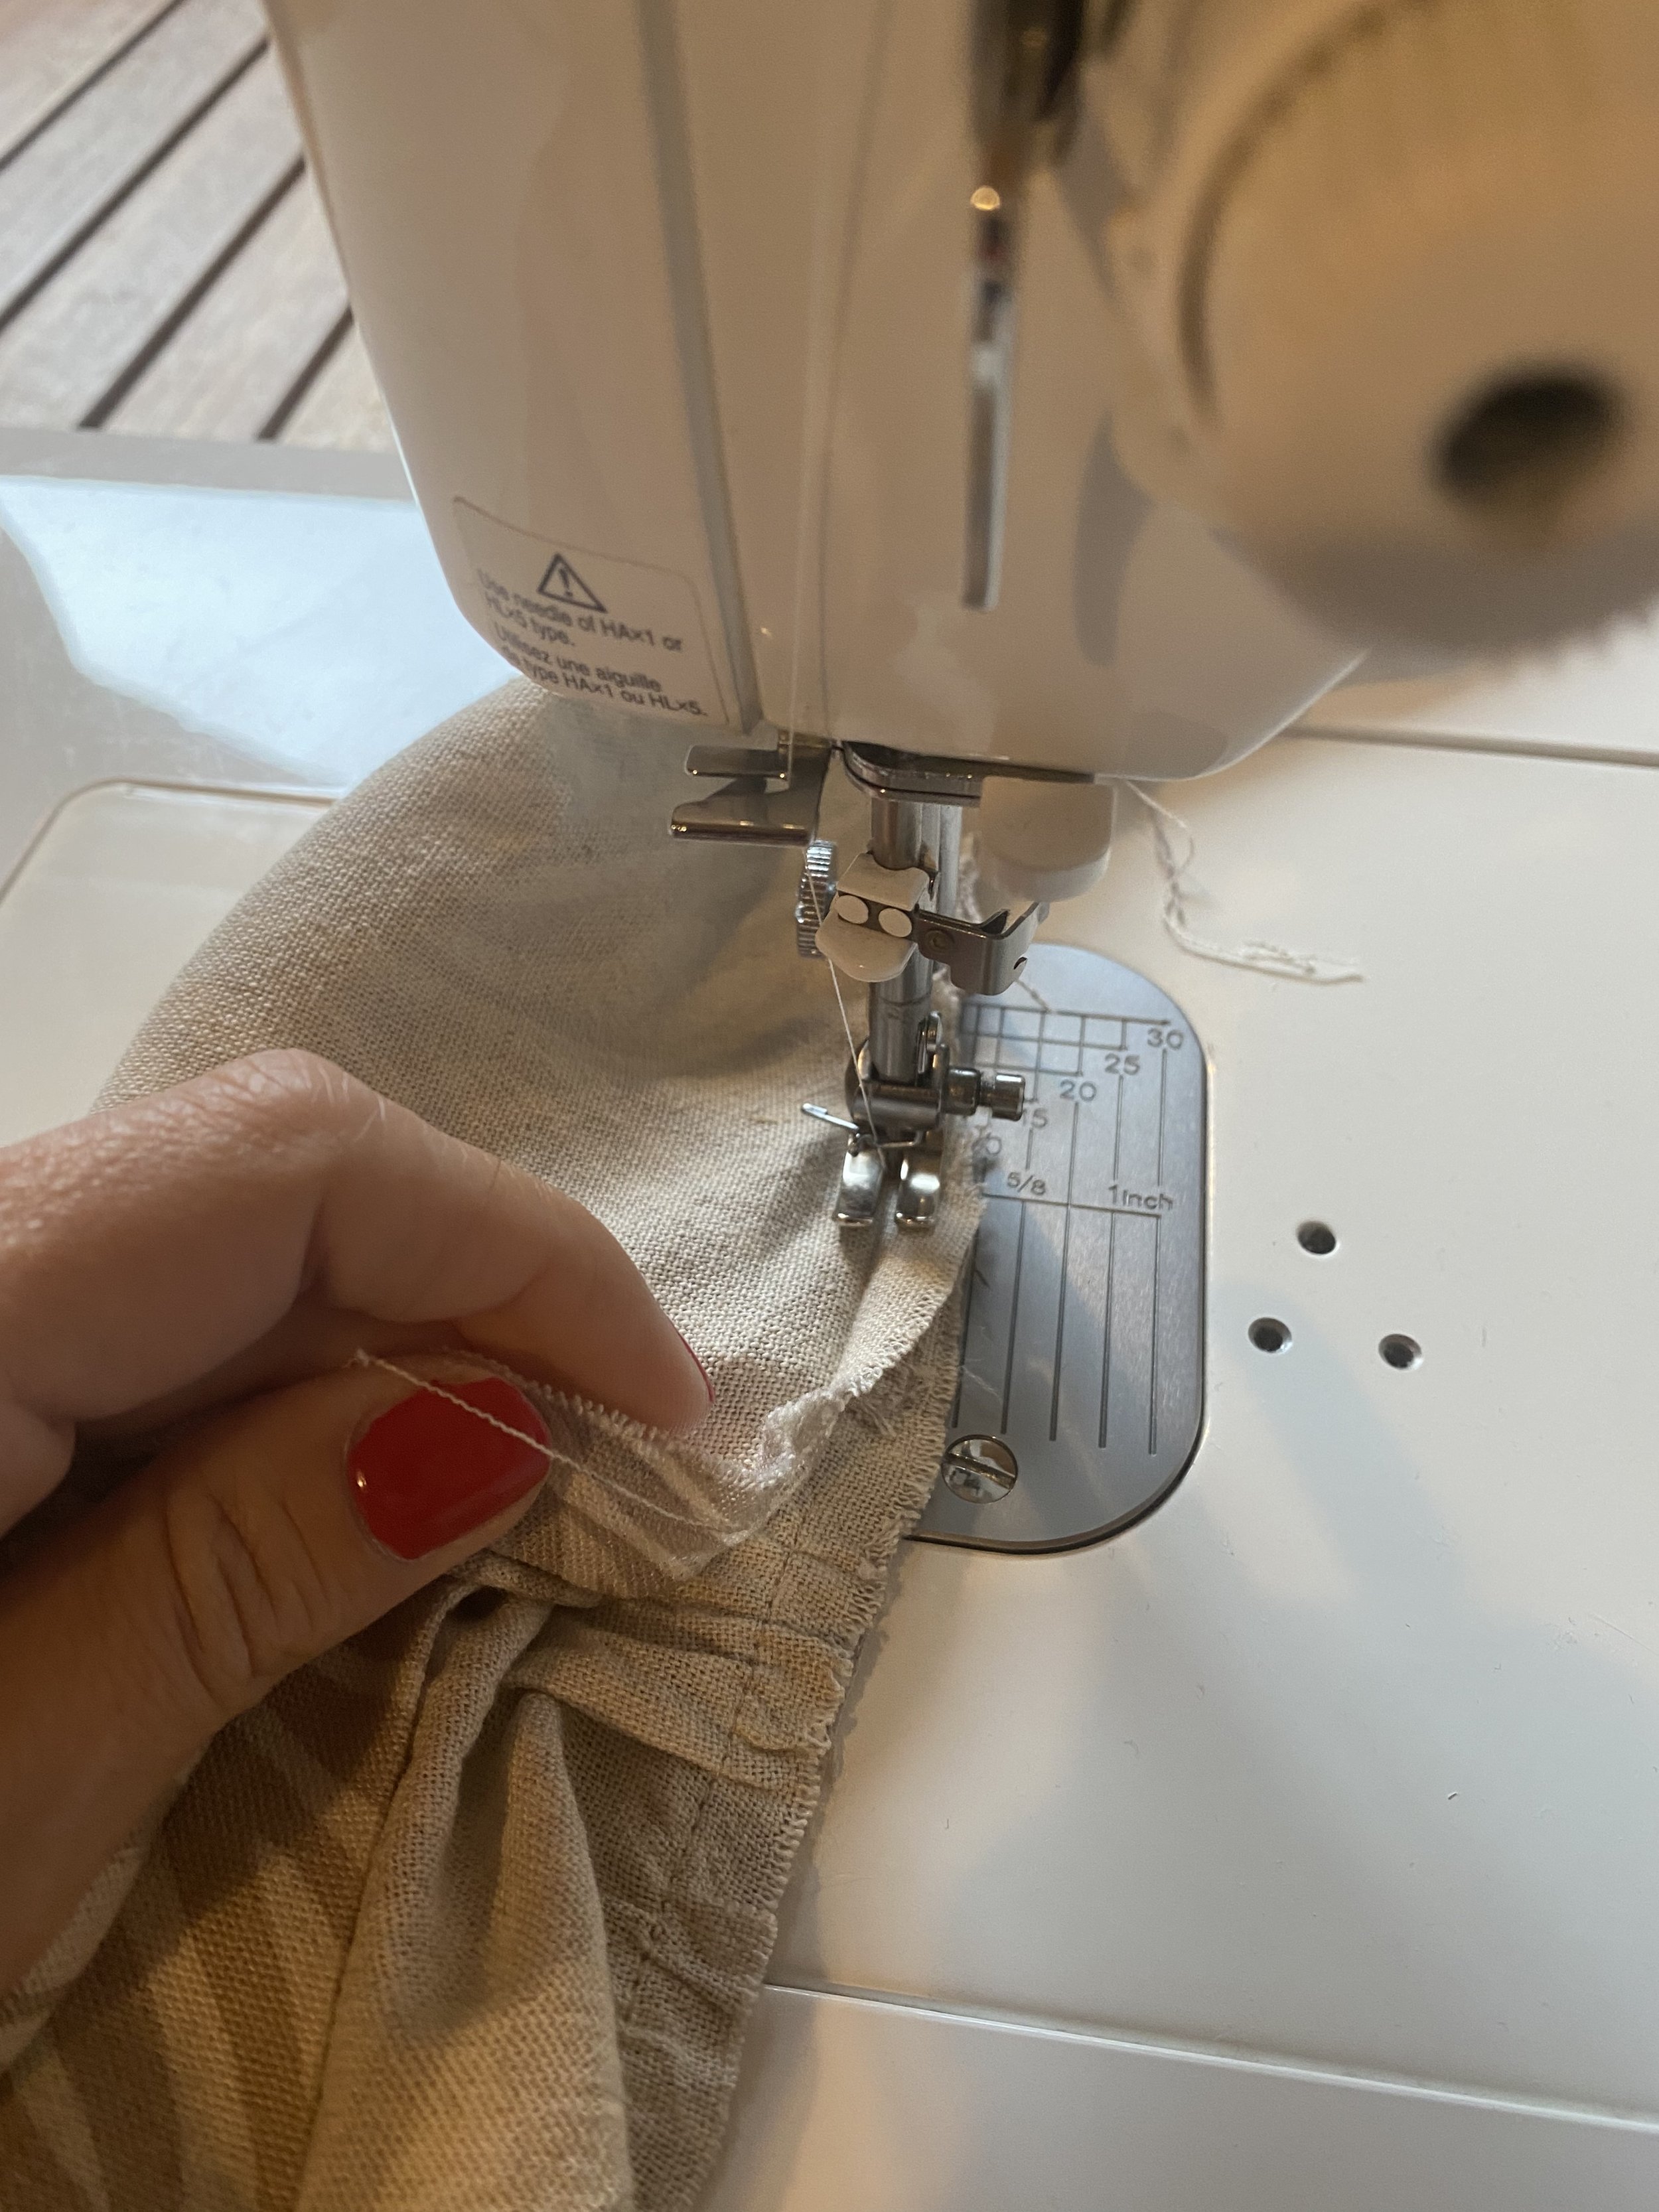
Fold the waist ties right sides together and stitch them with 1/4” / 0.6cm seam allowances. Start at the short ends of the tie and stop at the edge of the front skirt (see diagram).

On social media, I also stumbled on this neat technique that you can use to turn wide belts, sashes and straps at the same time as you are sewing them.

If you are familiar with the “burrito” method of attaching a collar (the one demonstrated by Janet Pray, it’s different from the yoke “burrito”), you can use it here. Fold the skirt towards the waistband and continue sewing the inner waistband to the already stitched skirt+outer waistband for 5 to 10 inches more with 3/8” / 1cm seam allowances.
When you turn your work right side out, it will have reduced the length of the section of the inner waistband that remains open.

Turn the ties to the right side and press the waistband and ties. Baste/pin the inner waistband folded edge of the waistband so that it overlaps slightly with the first seam.

Now you can edge stitch all around the waist band and ties for a neat finish.
Finally, topstitch a rectangle around the opening of the waistband on the right side. You will use the opening to thread the left tie through.

Since the launch of Helena, there have been comments on the pattern difficulty and a lack of clarity in the instructions. If you were already familiar with my other patterns for woven garments, you probably were not surprised by certain things specific to the way I sew. But this is also my most successful design to date. So, it brought in many new customers who had to adjust to my way of sewing on top of a lack of clarity. And while it’s not a beginner pattern, I want Helena to be more accessible.
So, in addition to these tutorials, I thoroughly reviewed and edited the instructions for clarity and consistency. If you bought the pattern in the past, I will send you a link with the new instruction files (in English and French).

Let me know if there are other steps you would like me to cover in the future!
Happy sewing,
Delphine