Peppermint Milton Pinafore - Waistband tutorial and a peek at the next pattern
Delphine (Sewing Tidbits)
Dear readers,
Happy new year and best wishes! I have a serious backlog of tutorials to share with you as well as the annual financial report (get ready for some big numbers!). I would love to make promises and plans about how Just Patterns will evolve in 2022 but that would be doomed to failure. All I can commit to is to continue to bring patterns to the world when I’m passionate about designs (scroll to the bottom of this post for a peek at my upcoming one) and to strive to improve my current patterns. But what better way to start the year than with a tutorial? Today I’m showing you how to connect the waistband of the free pattern I developed for Peppermint Magazine: the Milton Pinafore (you can download it here). Like my other patterns, I constructed it in such a way as to keep the finishes as clean and tidy as possible on the inside.
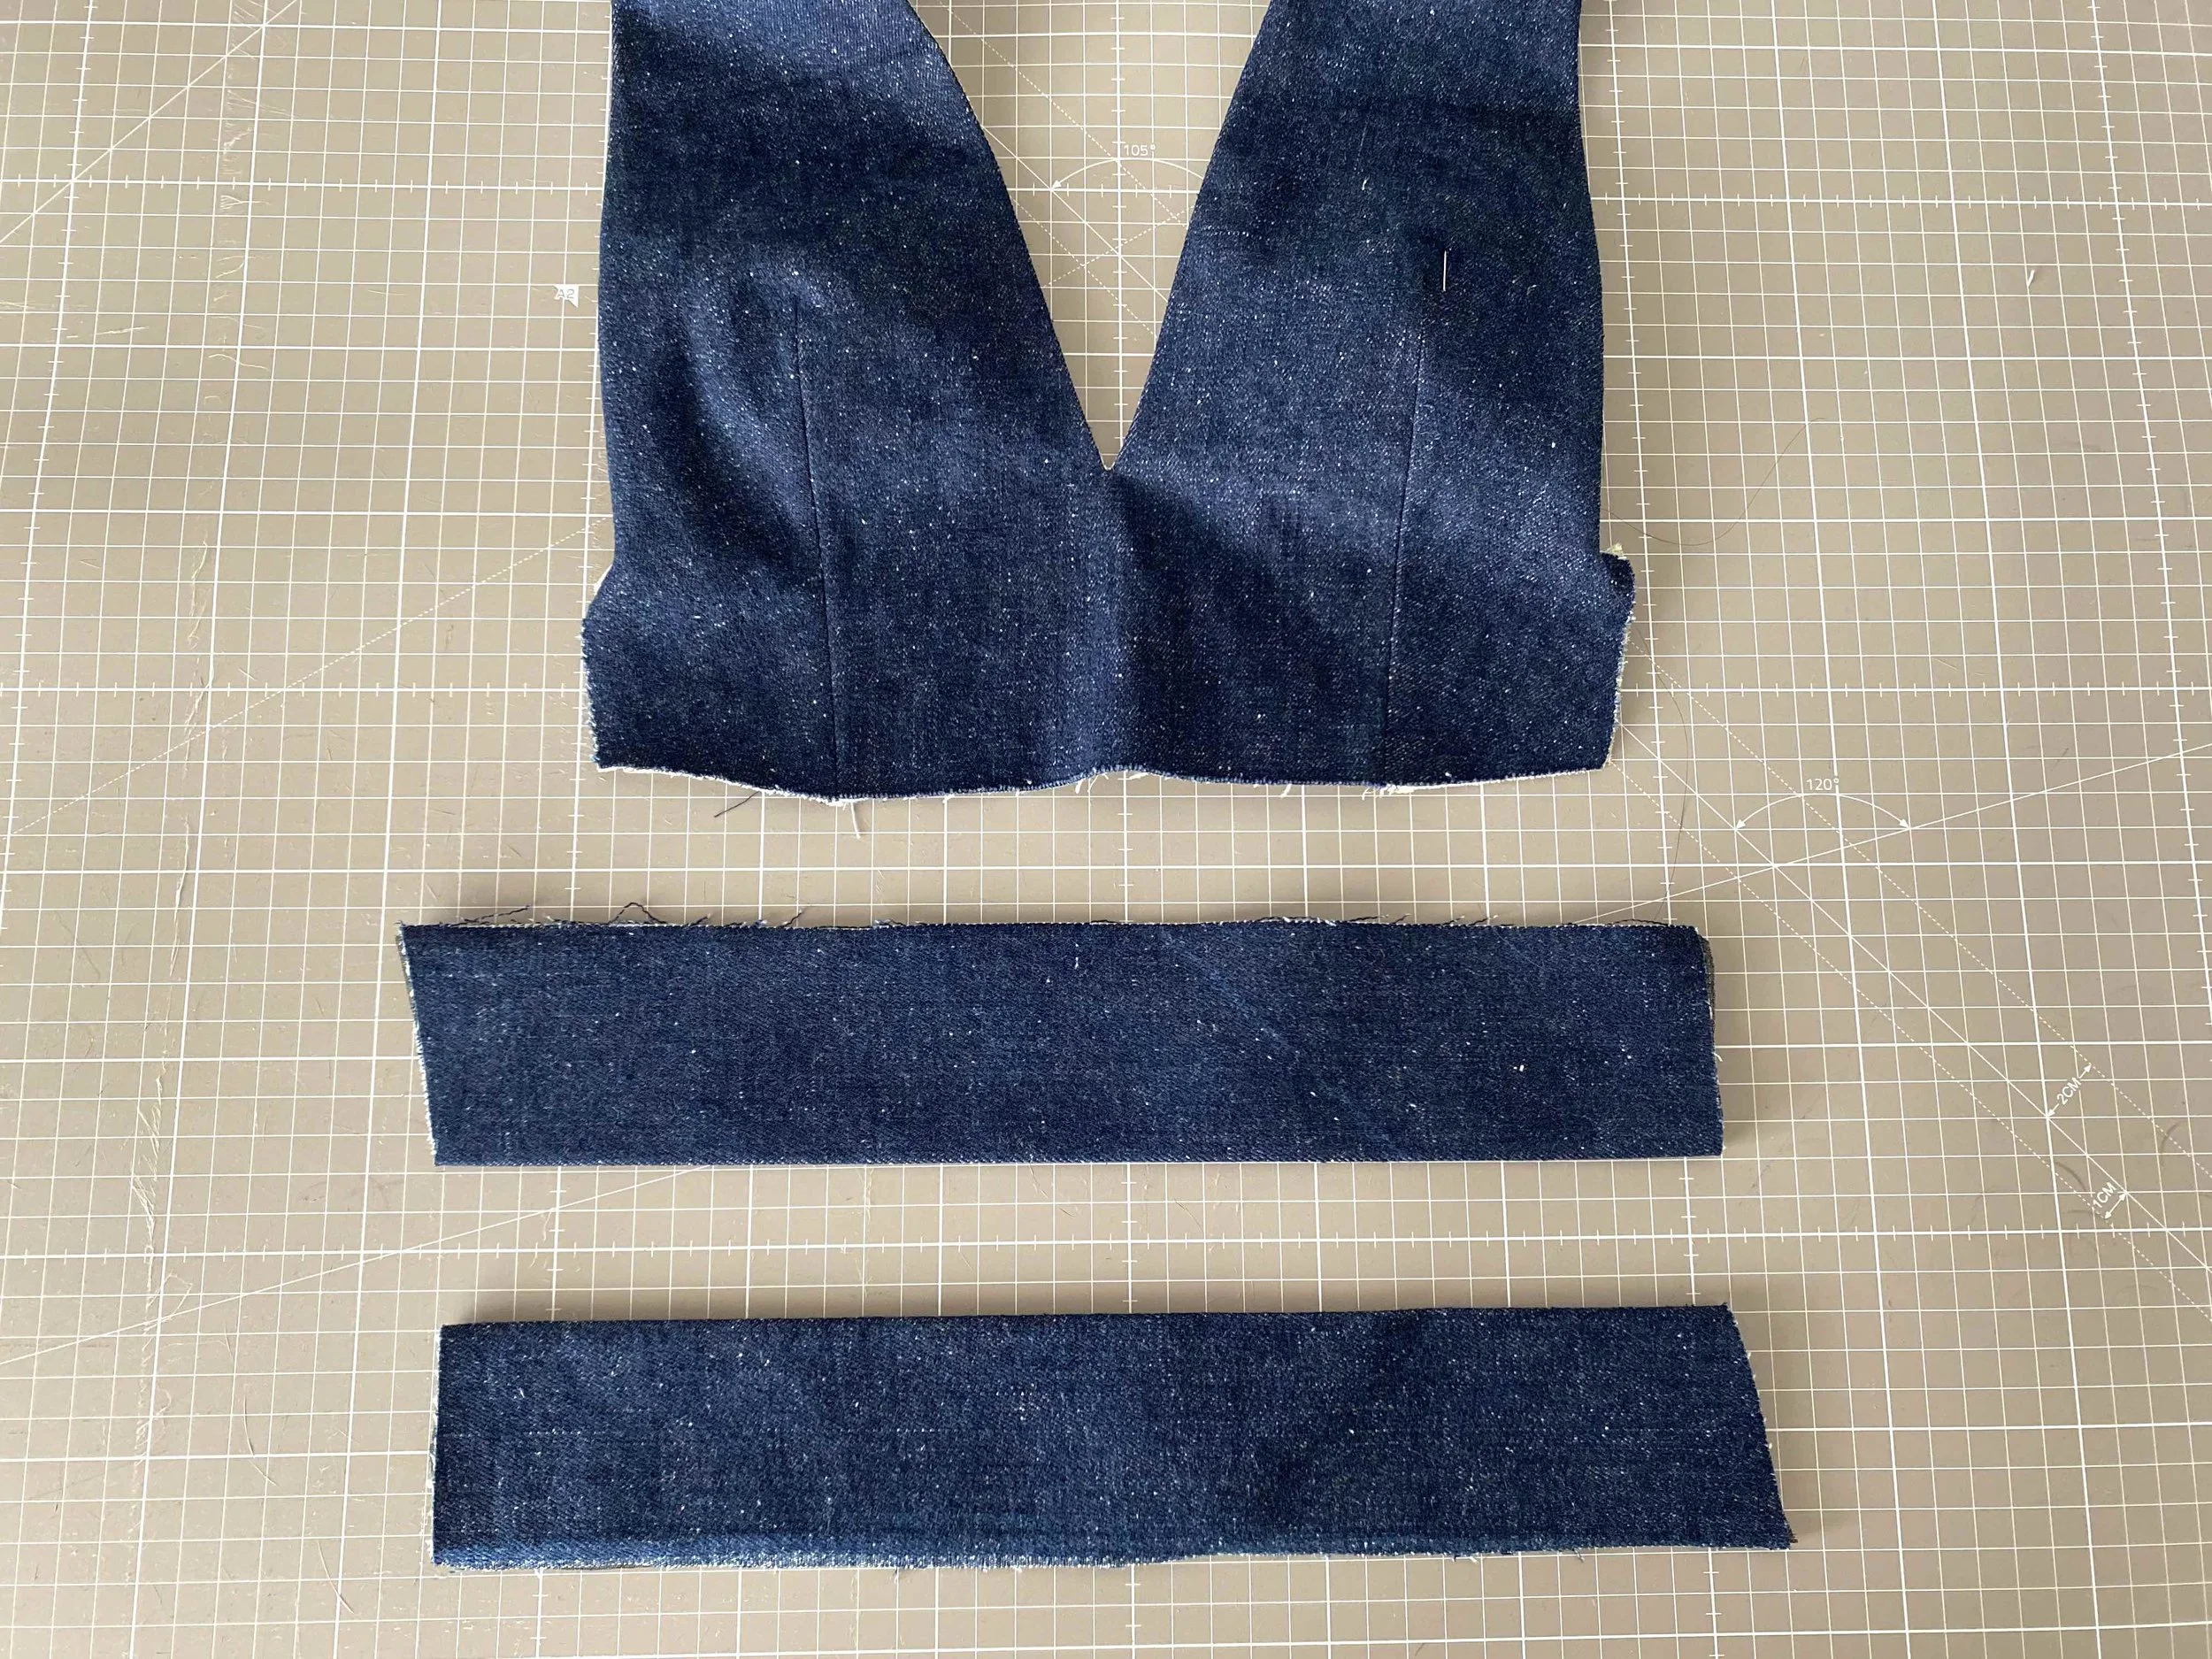
I will start after having completed step 7 which is constructing the bodice so the inner and outer bib are attached and turned right side out. Start by pressing the long edges of the waistband in half (step 8) and open them back out.
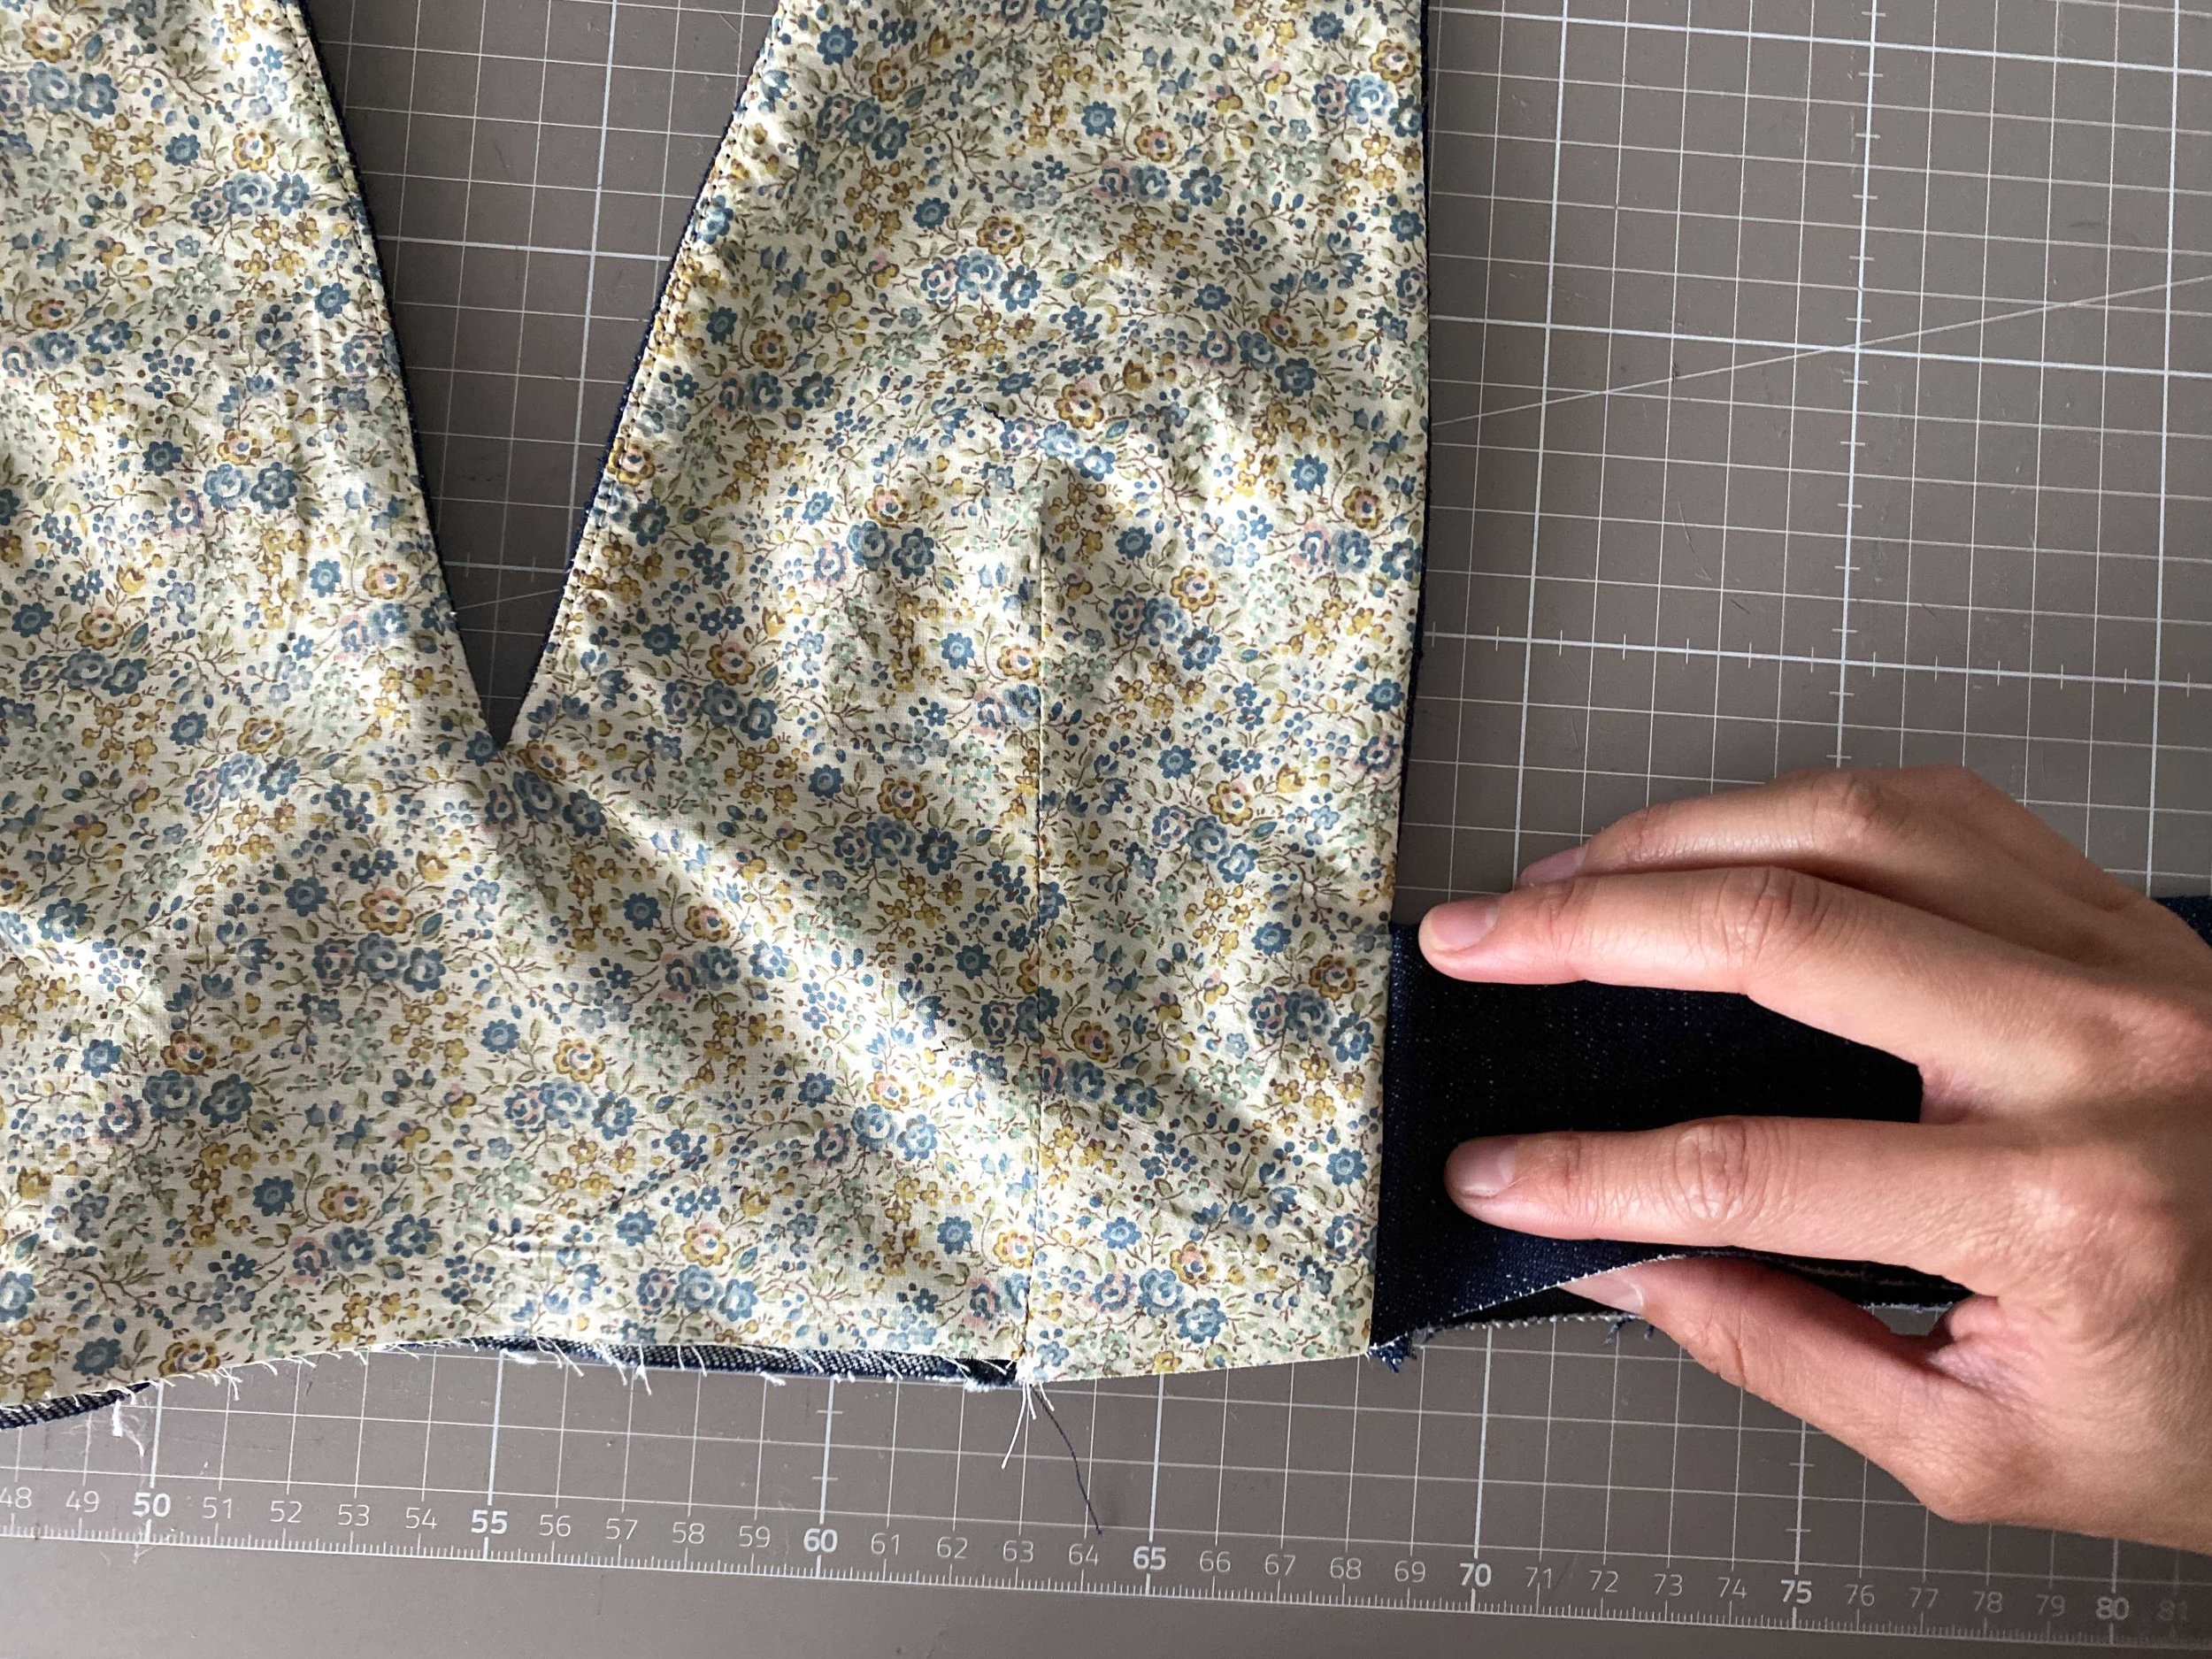
Now to break down step 9. Place the bodice in front of you, outer bib facing up. Reach underneath the bodice and flip up the inner waistband underneath

Place the waistband on top of the bib right sides together, matching notches. The slanted edges of the waistband align with the side edge of outer bib and inner bib as in the picture.

This next picture shows how it looks from the wrong side of the bodice.

Stitch the waistband to the inner and outer bib.


Clip the waistband close to the stitching.

Press seam allowances towards waistband.

Fold waistband back down.
And voila! Give it a good press and you can continue sewing your pinafore with step 10 which covers the in-seam pockets. The construction used is exactly the same as the one in the Helena Wrap dress, for which I wrote a tutorial so you can definitely use it too.
And before I close this post, below is a picture of the early samples of the pattern I hope to release next. It will be a very fitted rib-knit top that sews in a couple of hours with a fun and unusual construction!
