
Helena Wrap Dress - Waistband tutorial
Delphine (Sewing Tidbits)
Dear readers,
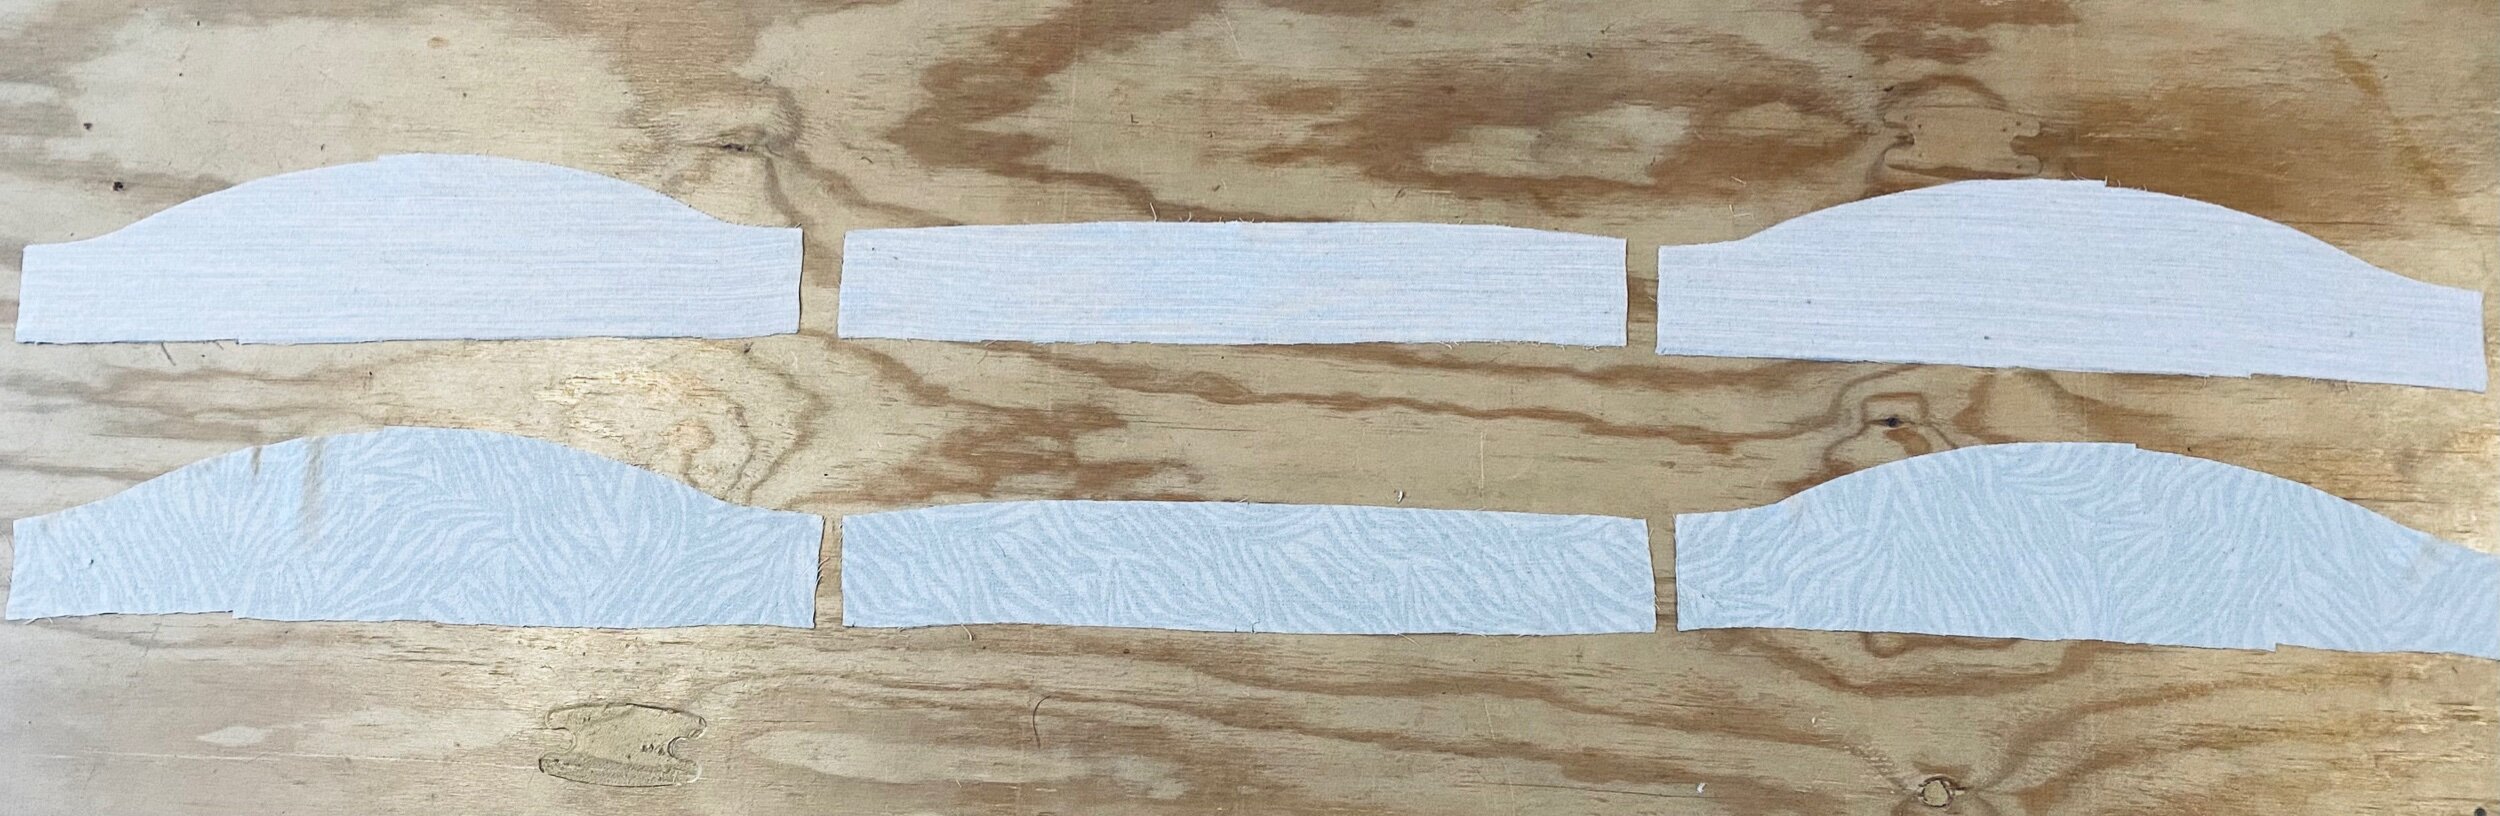
I’m back with the second and most requested tutorial for the Helena wrap dress : the waistband construction. In the previous one we covered the neckband construction, and this time we are going to go over step 13 to 16. Here you will notice that I skipped the basting the bodice pleats. My fabric shifts and distort a lot so I like to have the option of adjusting the pleats depth to match the interfaced waistband. But first, it’s helpful to understand the structure of waistband. A full waistband is made of three pieces : 1 back in the middle connected 2 front pieces (one on each side). The pattern uses 2 full waistbands: one on the outside that is interfaced, and one on the inside. The seams attaching them to the bodice and skirt are enclosed between the 2 waistbands.
On top you can see the interfaced pieces that will become the outer waistband and below are the pieces for the inner waistband:
Stitch the short edges of the front and back waistbands together to make 1 outer and 1 inner waistband . Leave a gap between notches on right hand side (when wearing the dress) of interfaced outer waistband and on left side for inner waistband.

Pin (or baste) the bodice pleats in place with the excess towards the center.


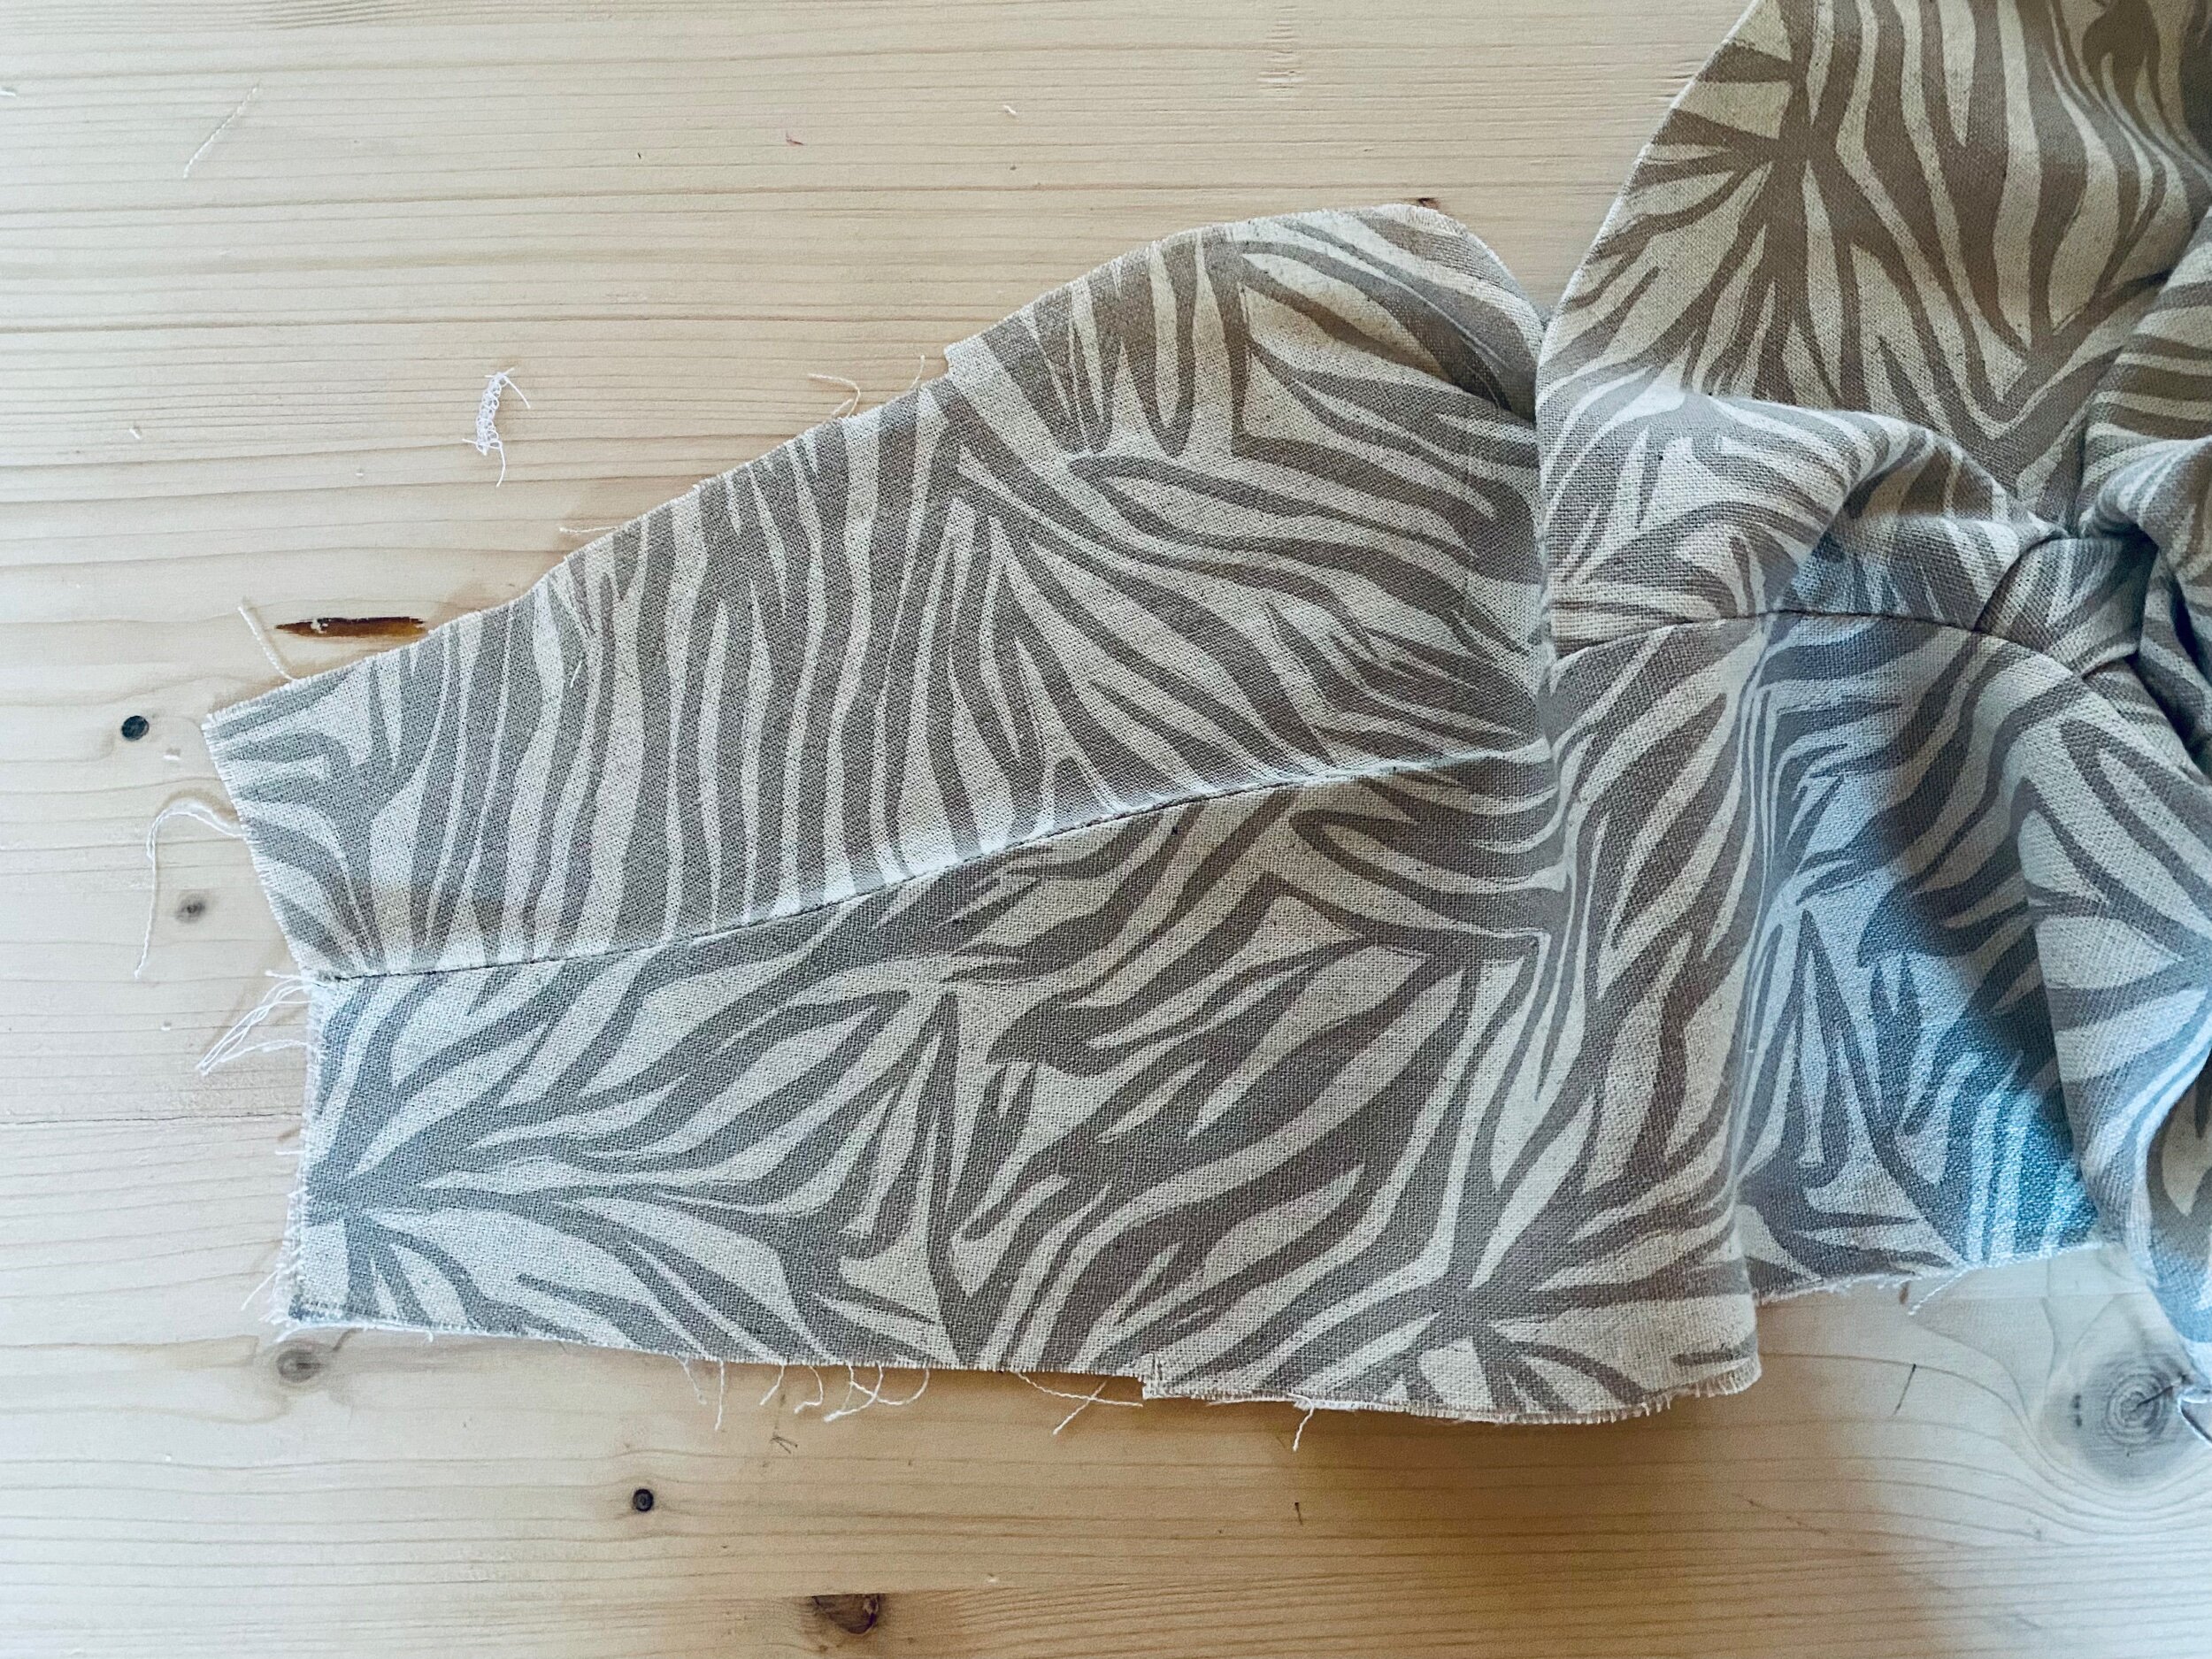
Sandwich bodice between outer and inner waistbands:
Pin the bodice to the outer waistband right sides together : start by aligning the folded edge of the neckband to the step in the front waistband seam allowance, then the side seams and the center back.
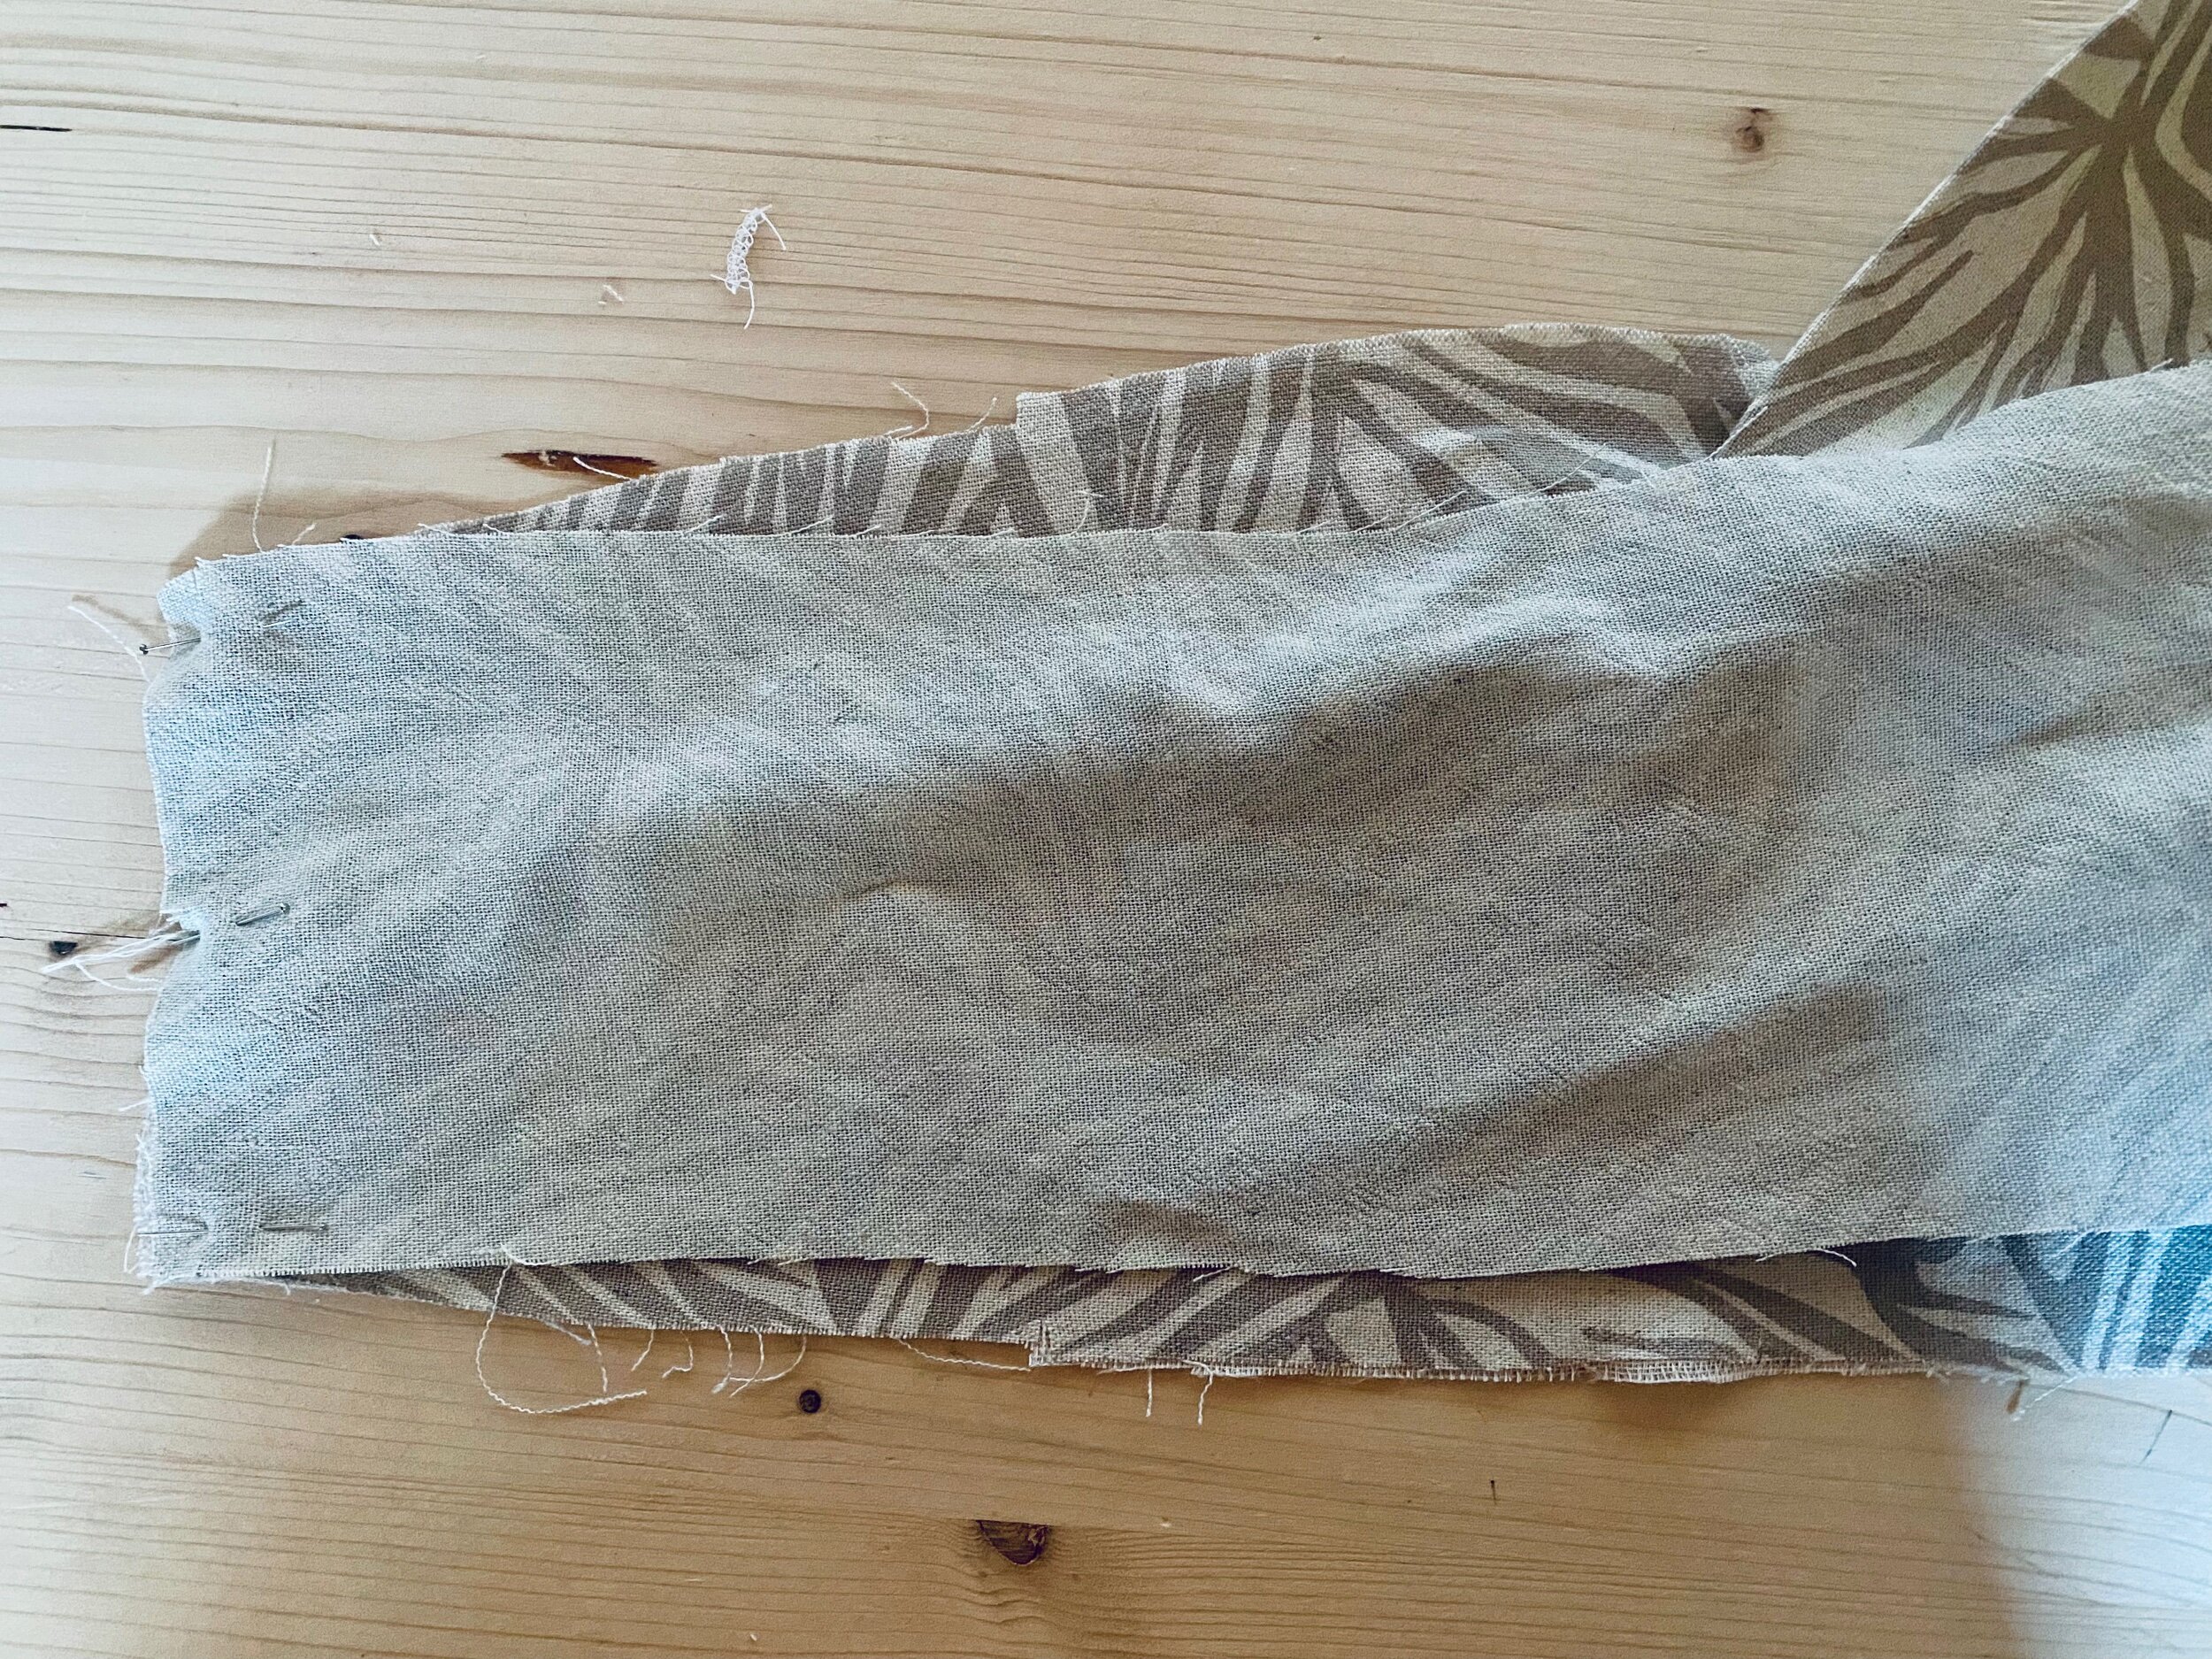
Then pin the right side of the inner waistband to the wrong side of the bodice, with the same matching points.


Start stitching at ends of front waistbands with 1/4" / 0.6cm seam allowances. Continue with 3/8" / 1cm seam allowances with you reach the bodice/stepped seam allowance, and finish with 1/4" / 0.6cm seam allowances on the other side of the bodice.


Grade your seam allowances to reduce bulk. I prefer to reduced in half the allowances that are away from the outer layer as I think it looks smoother on the outside, so here it means trimming the allowance of the inner waistband.

Press the outer and inner waistband flat and we are now ready to add the ties. I don’t under stitch at this stage because the waistband is fully topstitched later.

Press the waist ties together along fold line wrong sides together. Open them back out.
Place your bodice with right side facing up. Flip open inner waistband.
Pin waist tie to the short edge of the waistbands. The pre pressed edge of waist tie matches the seam between inner and outer waistband.
Stitch the waist ties to the inner and outer waistband short edges with 3/8" / 1cm seam allowances. Press the seam allowances towards the ties.

I hope that the pictures demystified waistband construction. If you are following along, you can resume sewing with the instructions at step 17. My next tutorial will walk you through step 18 for the in-seam pockets! But in case you want to hack your dress into a top you can jump to step 21 on finishing the ties 😂. You can also check the Helena Wrap Dress resource page, where I curate a list of helpful tutorials to help you sew your dress.
Happy sewing,
Delphine