SEWN - From Inspiration to Garment - Part 3 - With a commercial pattern
Sewing Tidbits
Dear readers,It's the third part of my little serie and I want to talk about those times when you feel too lazy to draft or drape the pattern! For several years now (yes, several), I have been thinking about slip dresses. I was a teenager in the 90's so I will always be convinced that calvin klein epurated slip dresses are the coolest. Kate Moss and Rachel from Friends shaped my idea of style (for the best and the worst!!)! Twice a year, when the idea of making a bias slip would sudden become urgent, I'd frantically research patterns meant to be cut on the bias, take note of linings in some Vogue patterns and forget about it. Until next time. But not this time! Let's look at the inspiration first, all collected on Pinterest, with of course, queen Moss:


As stated before, some Vogue patterns include a slip which is meant to be cut on the bias.
Carolyn of Handmade by Carolyn made a beautiful version
. I myself own
but it's at my parents' house... in France... I actually made this dress 10 years ago but purposefully ignore the bias for the lining (so stubborn) because I did not see the point. Ahem Ahem... I have to admit that in my early sewing years, I was (still am) very stubborn and I did not see the point of many things . Those things included seam finishes, easing sleeves, aligning the grain, wearing ease and many more... Slowly but surely I integrated them in my sewing for the better!

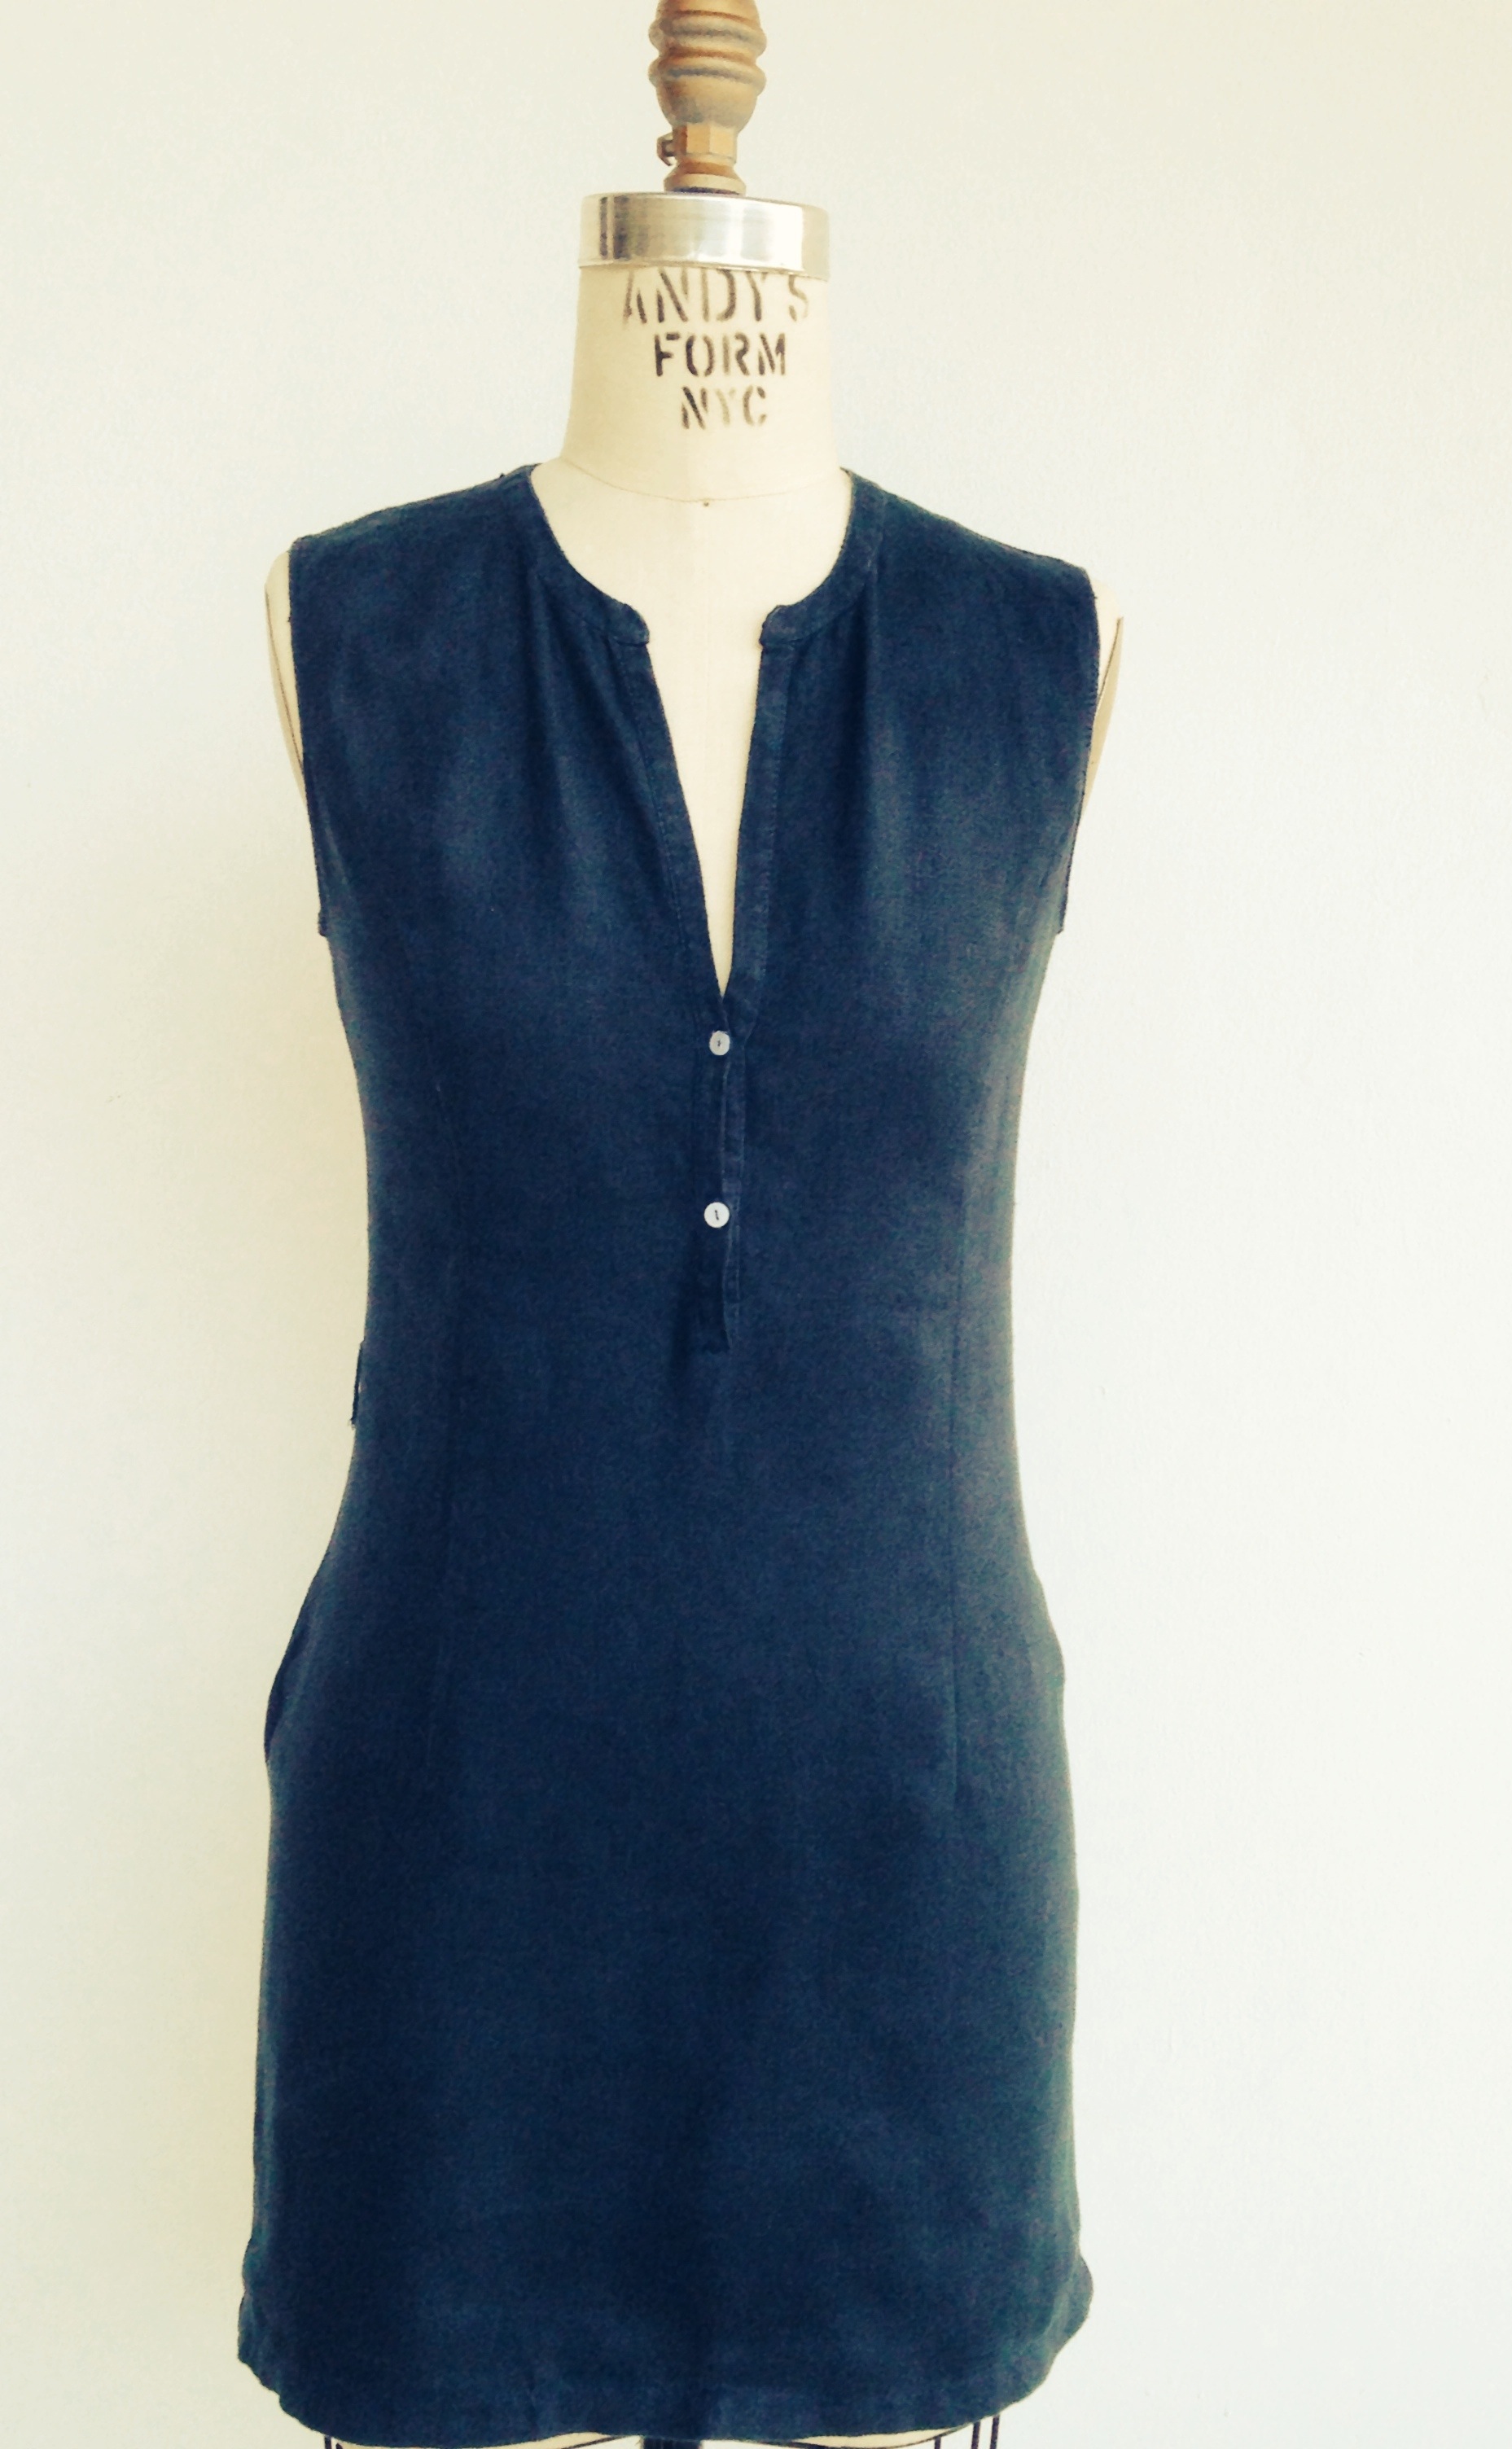
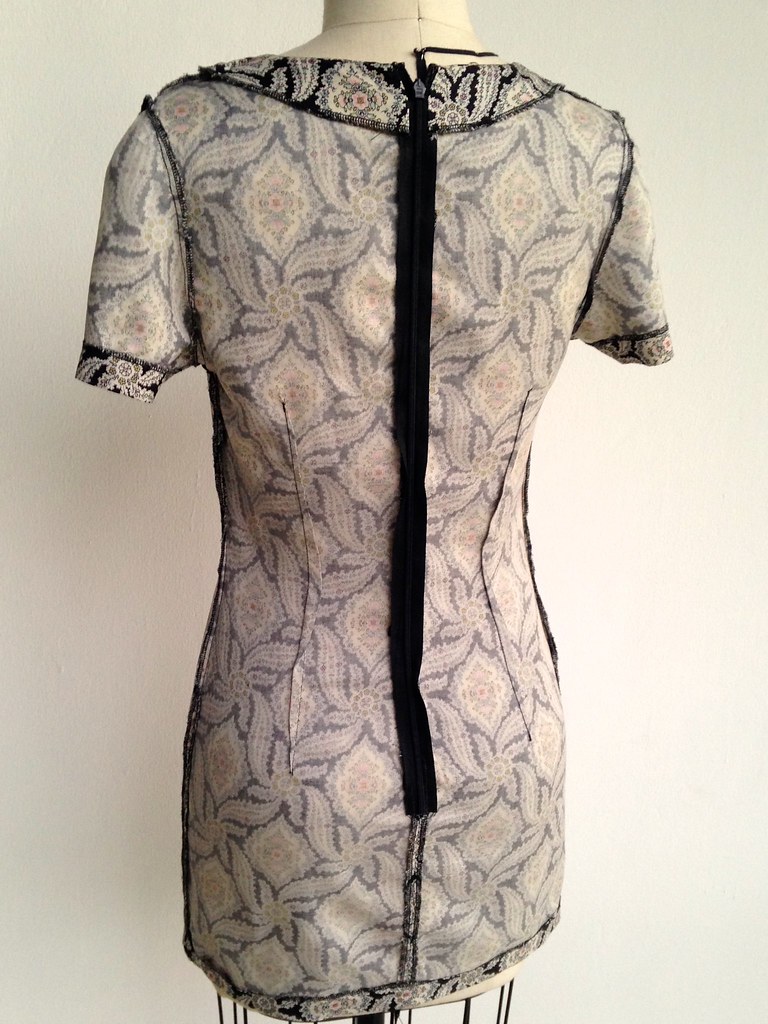
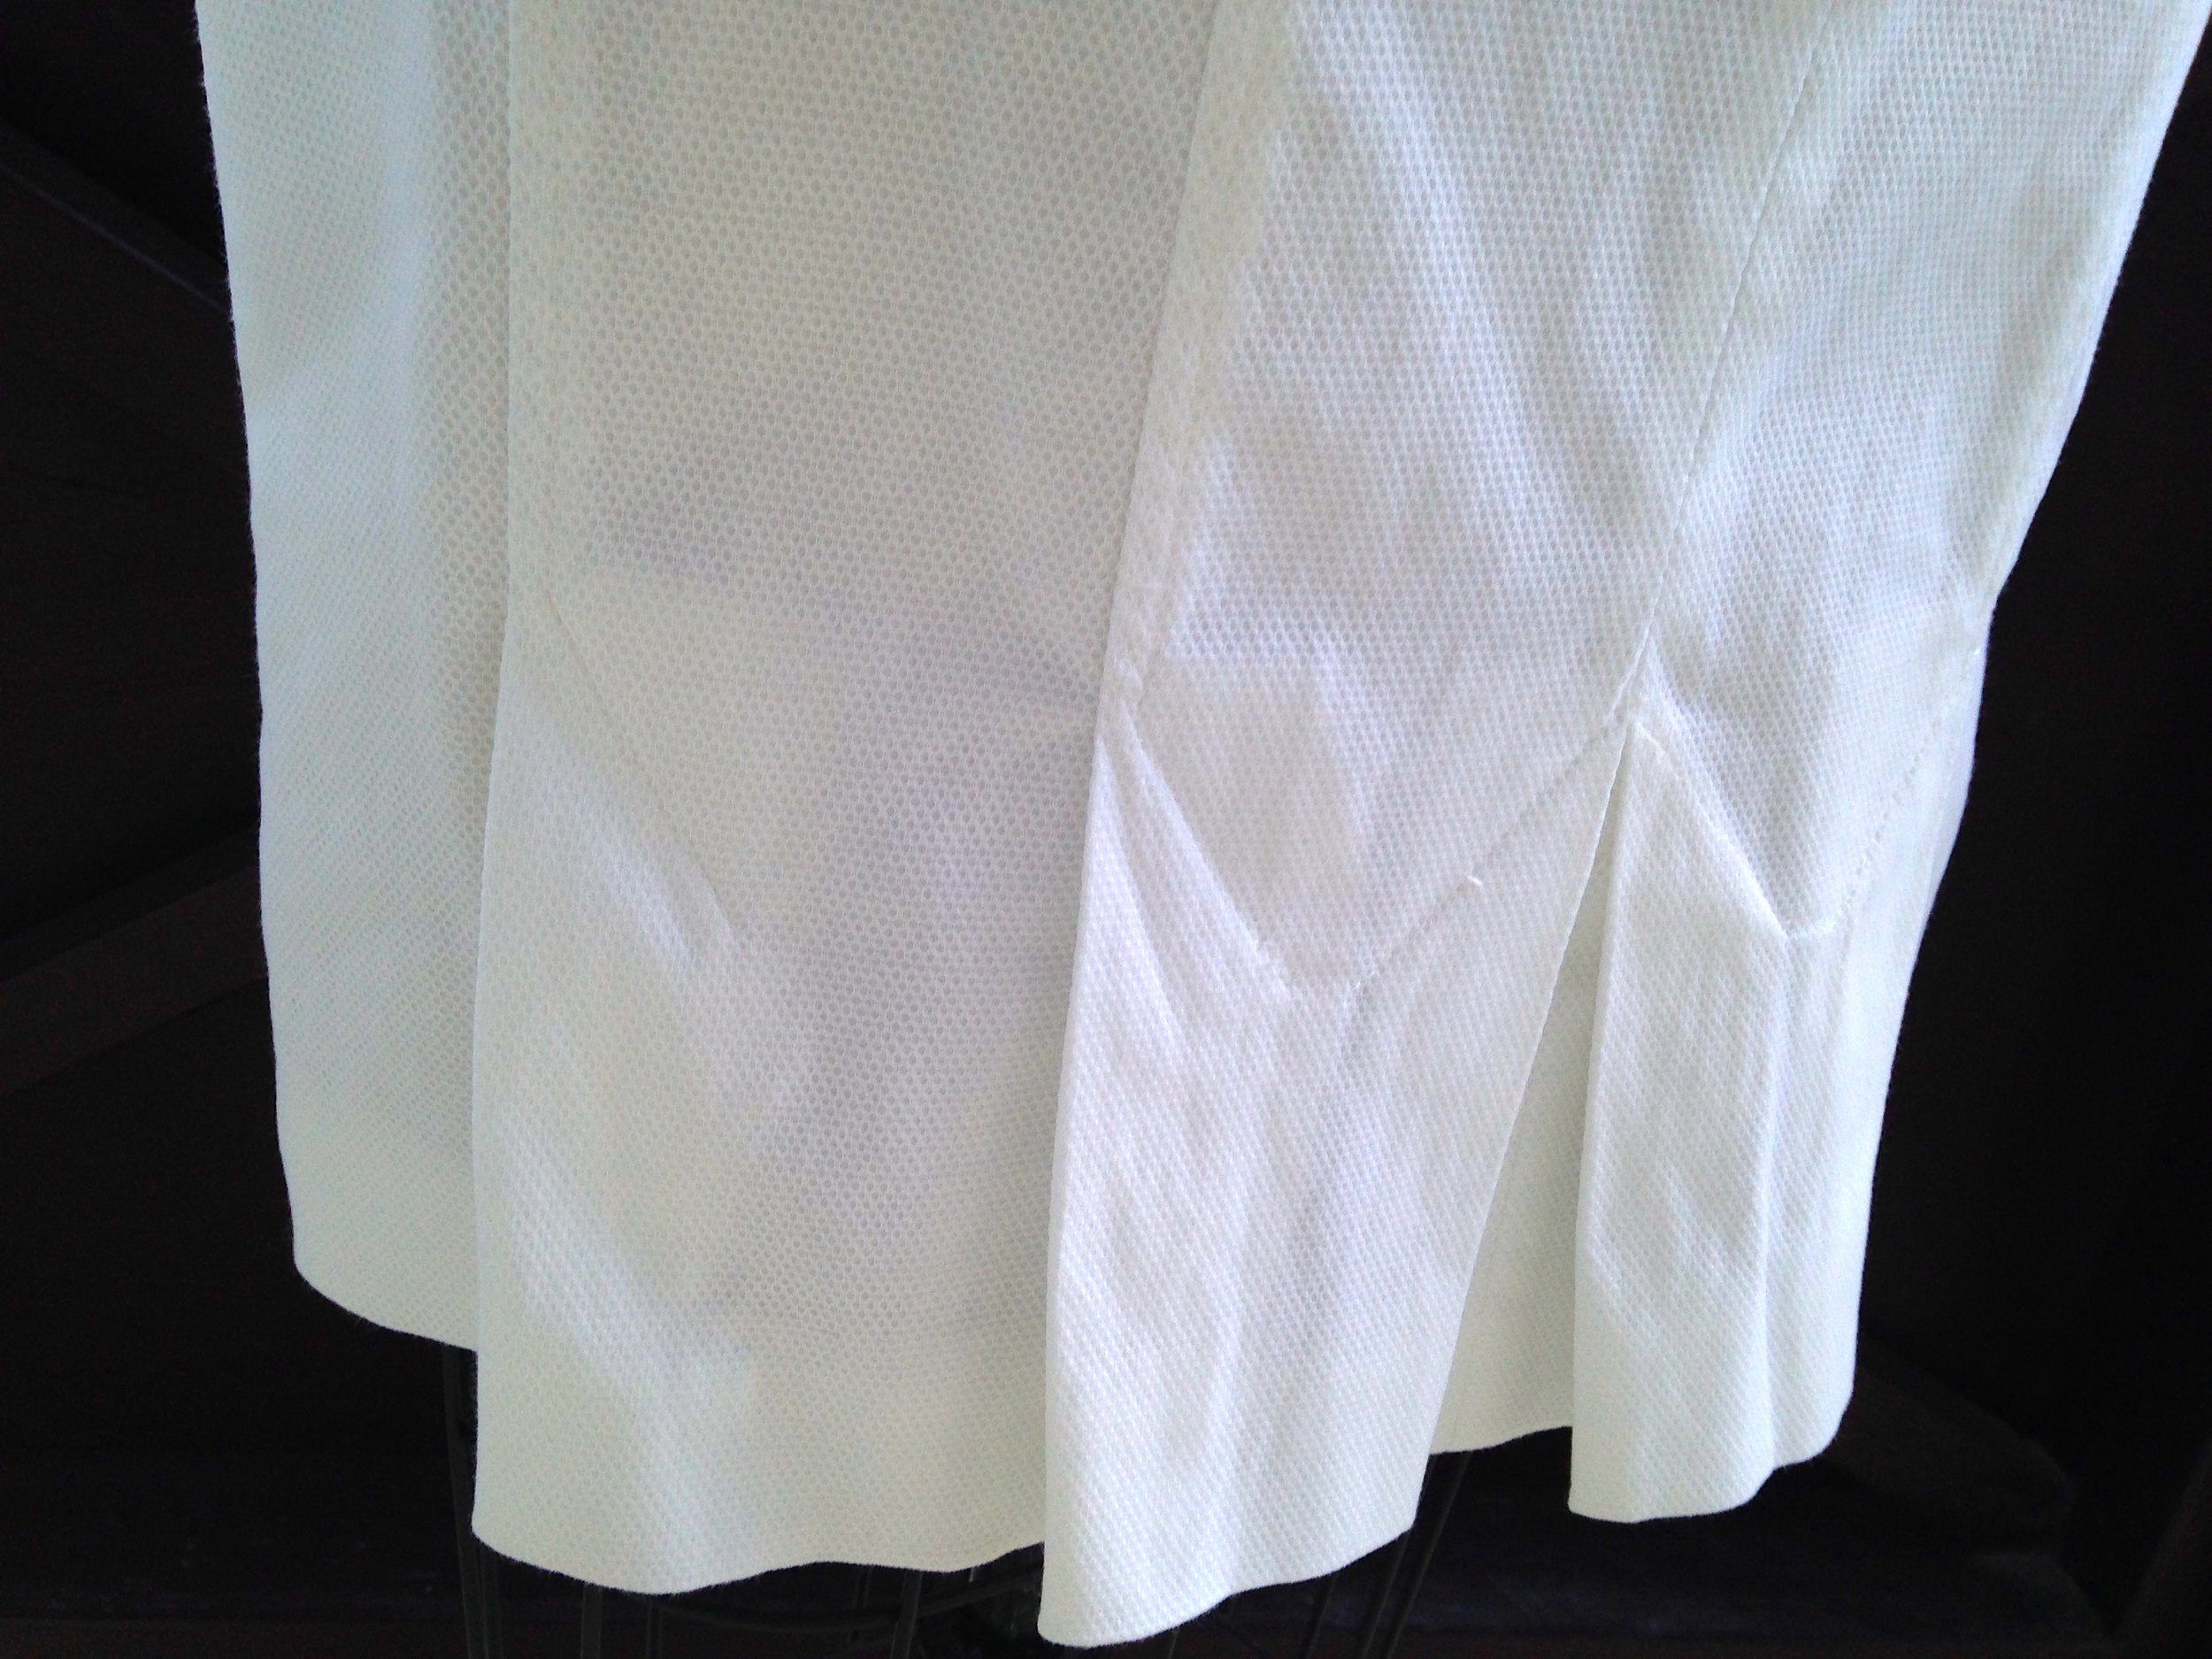
Bias silk dress by SewingTidbits
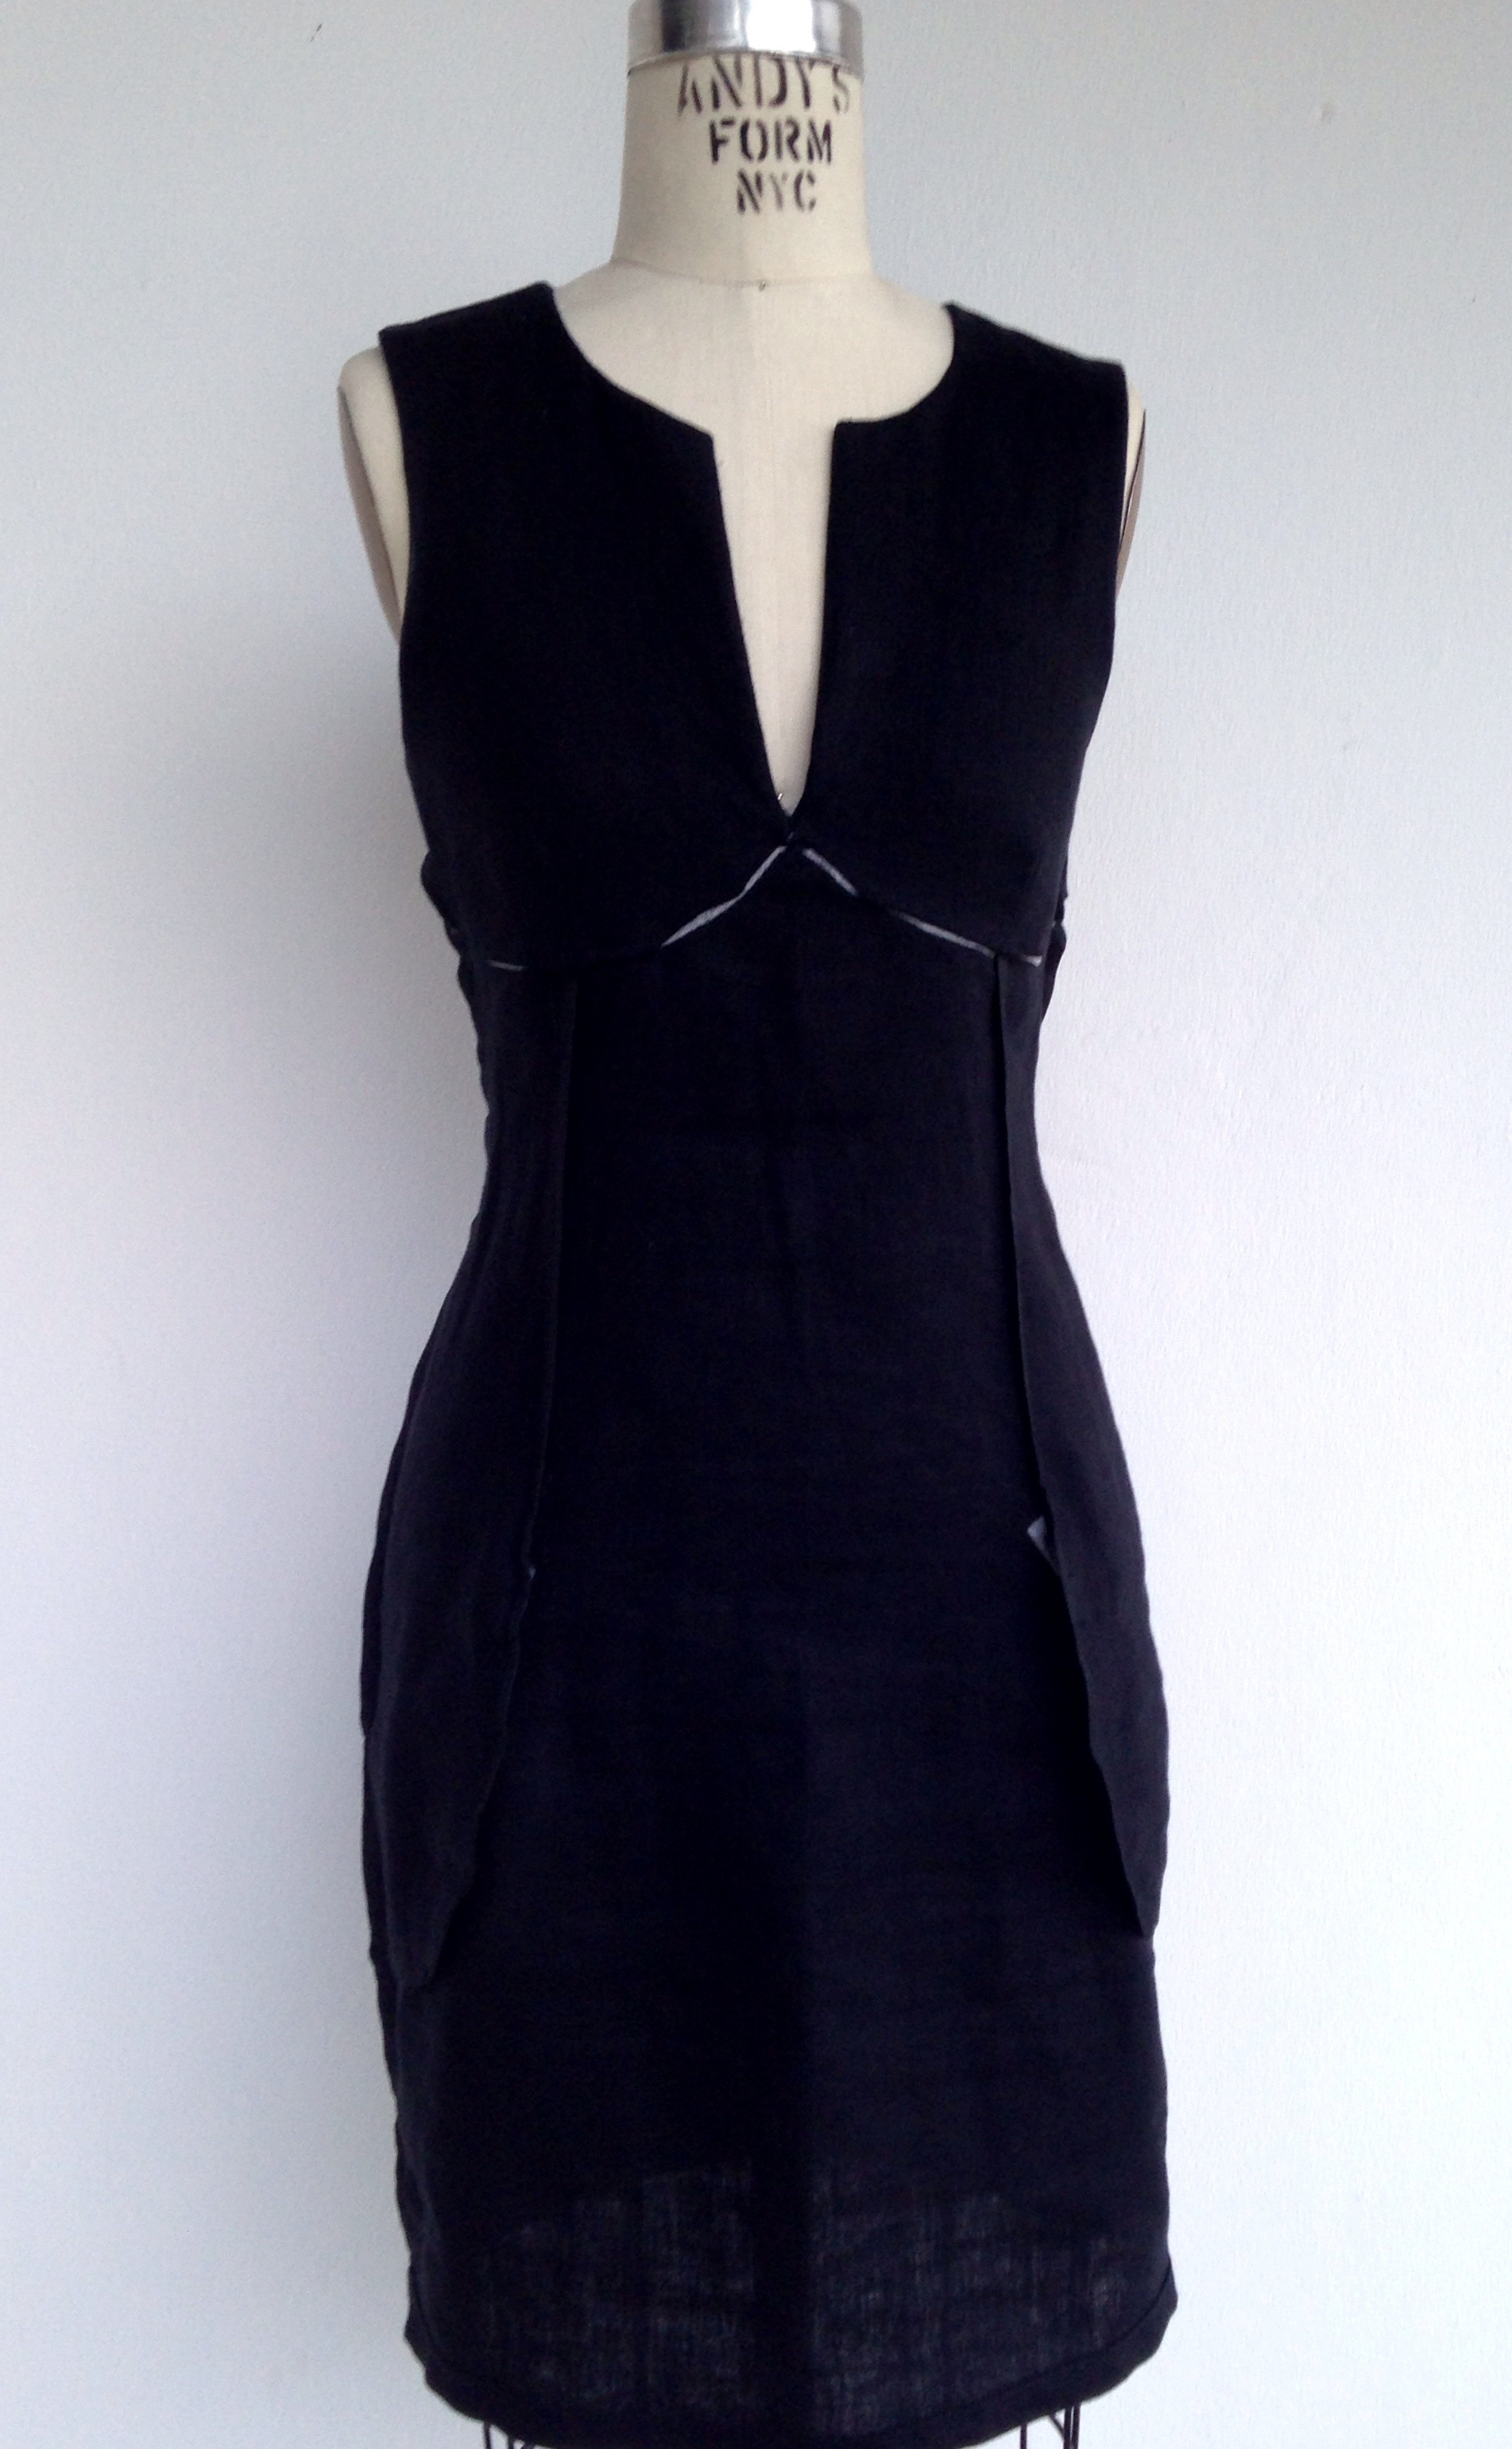
One detail, I dislike in current Vogue slips such as
is the bust dart. I was convinced I could get away without one since the bias could do the minimal shaping I require. I finally decided to go with the lining of
. It doesn't not specify that it's meant to be cut on the bias, (at least Google Translate does not say so) but since I got to start with a pattern customized to my measurement, so I figured it was worth it.

Bias silk dress by SewingTidbits
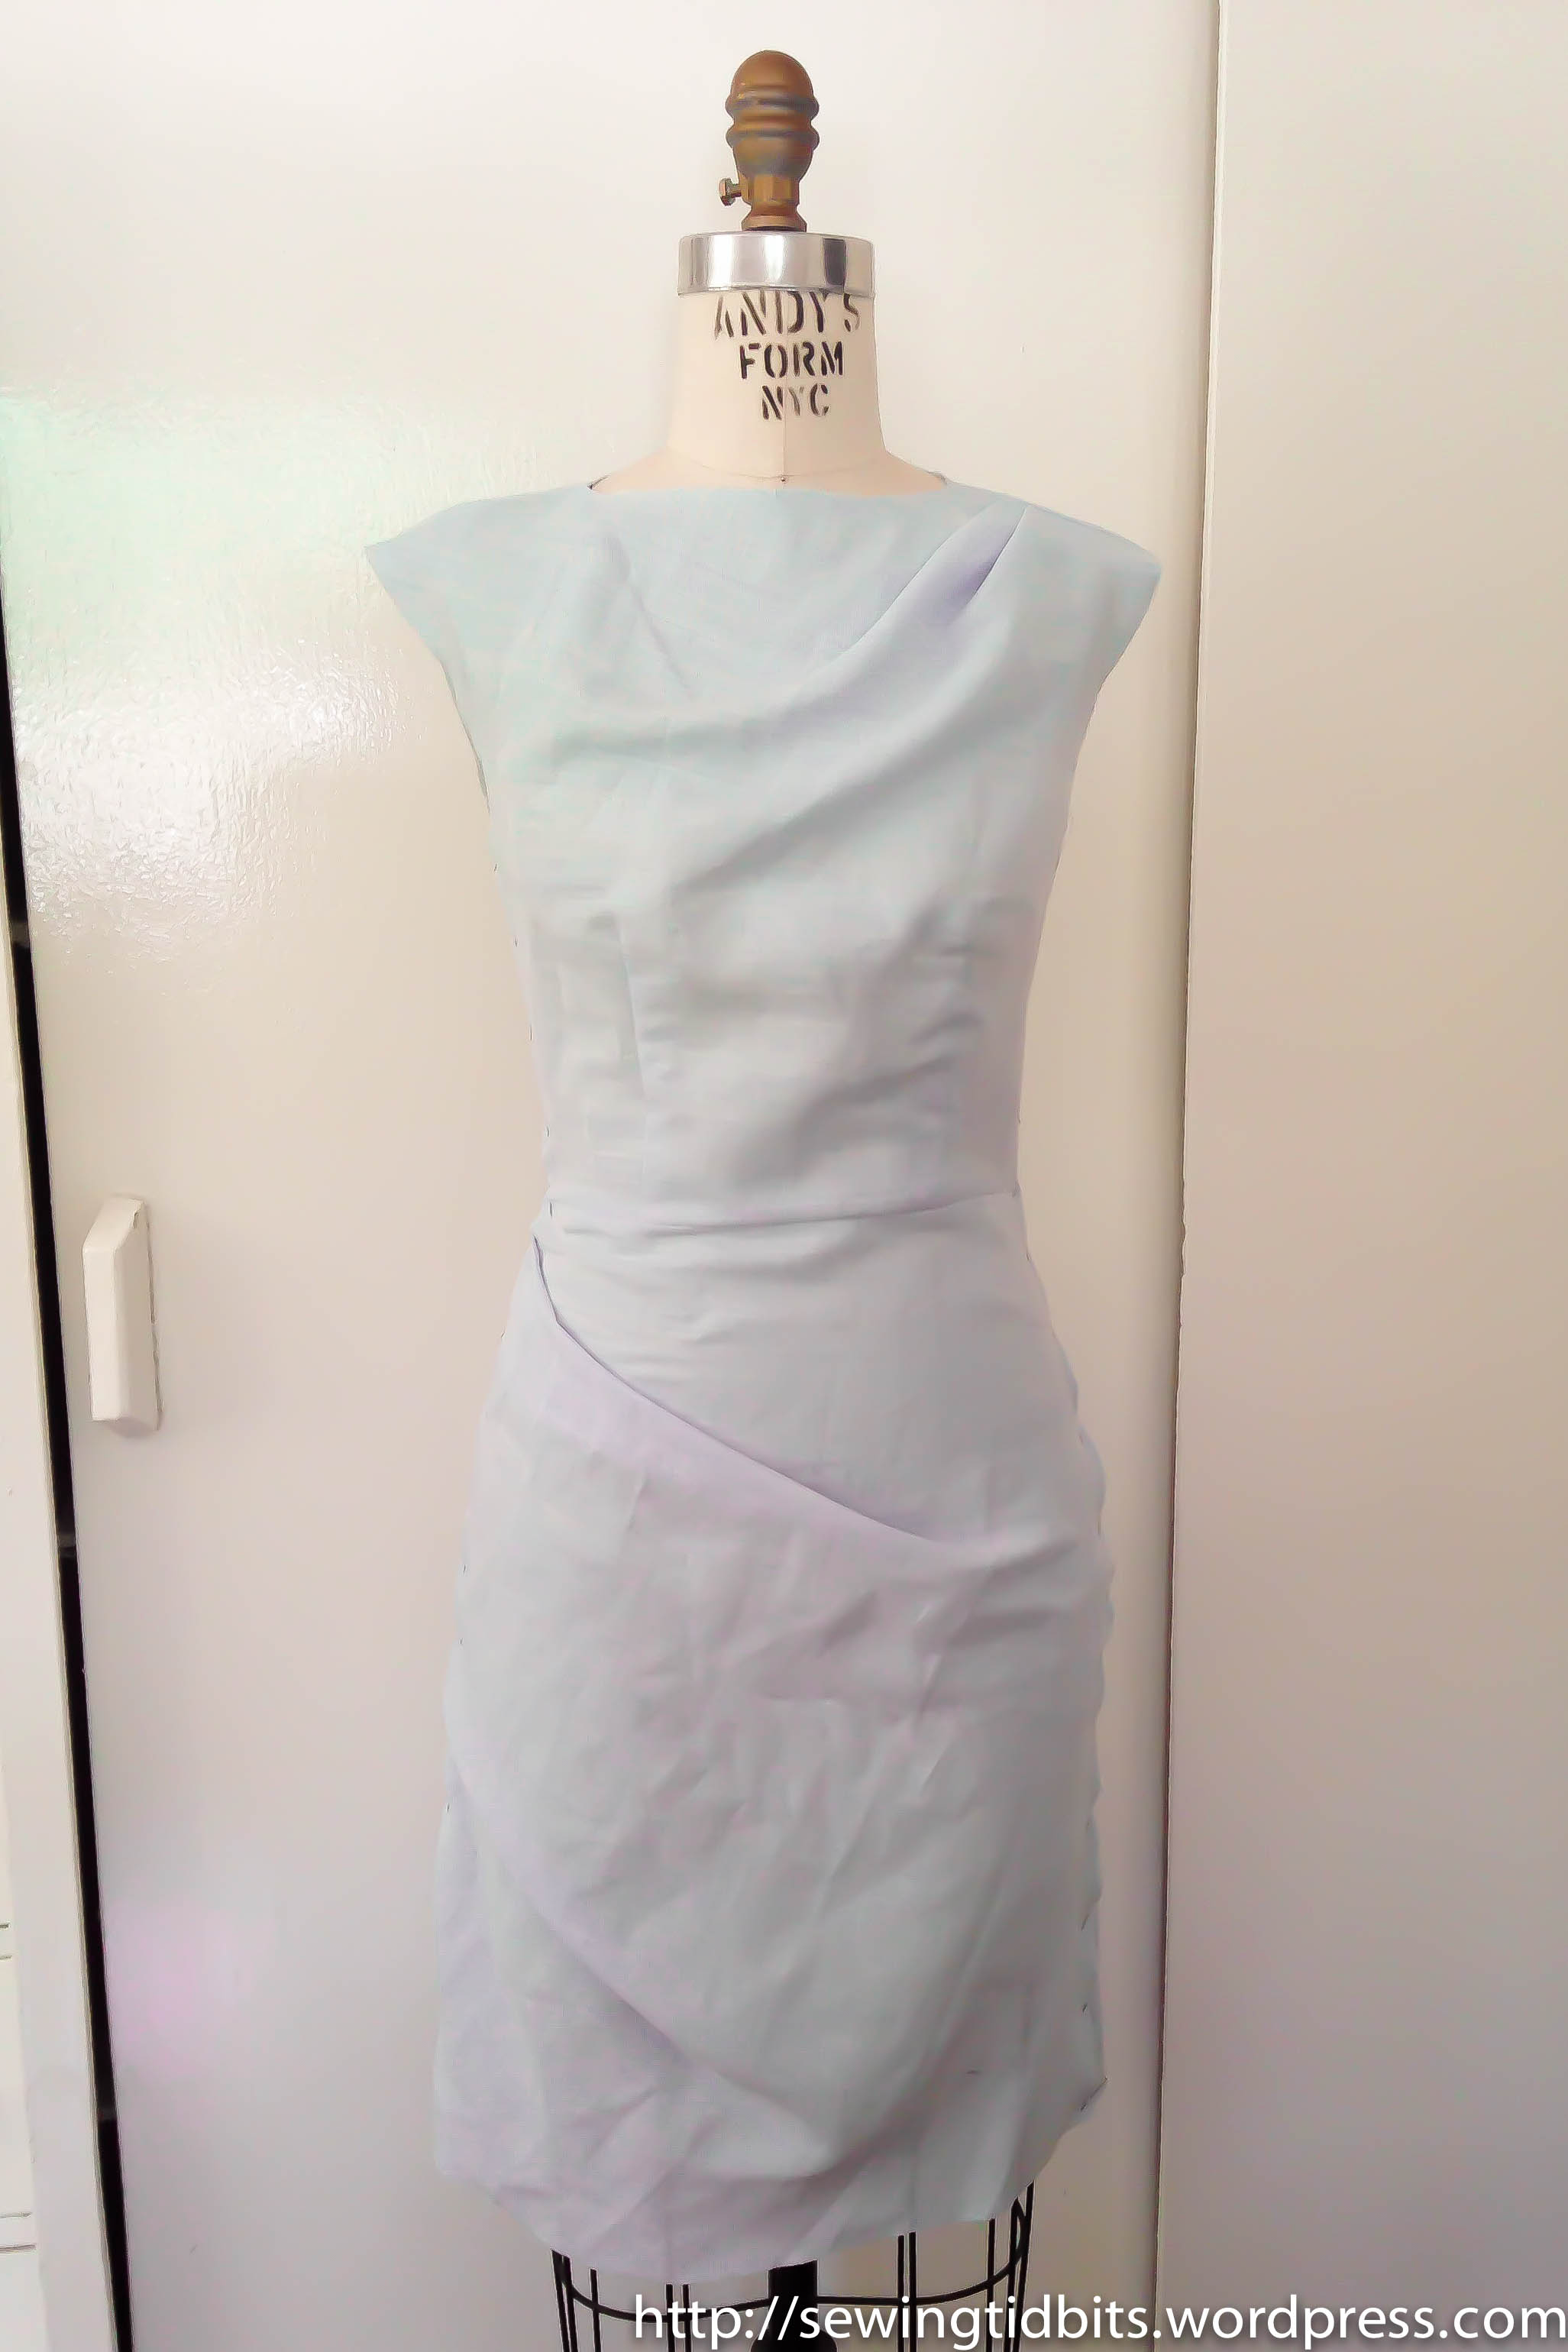
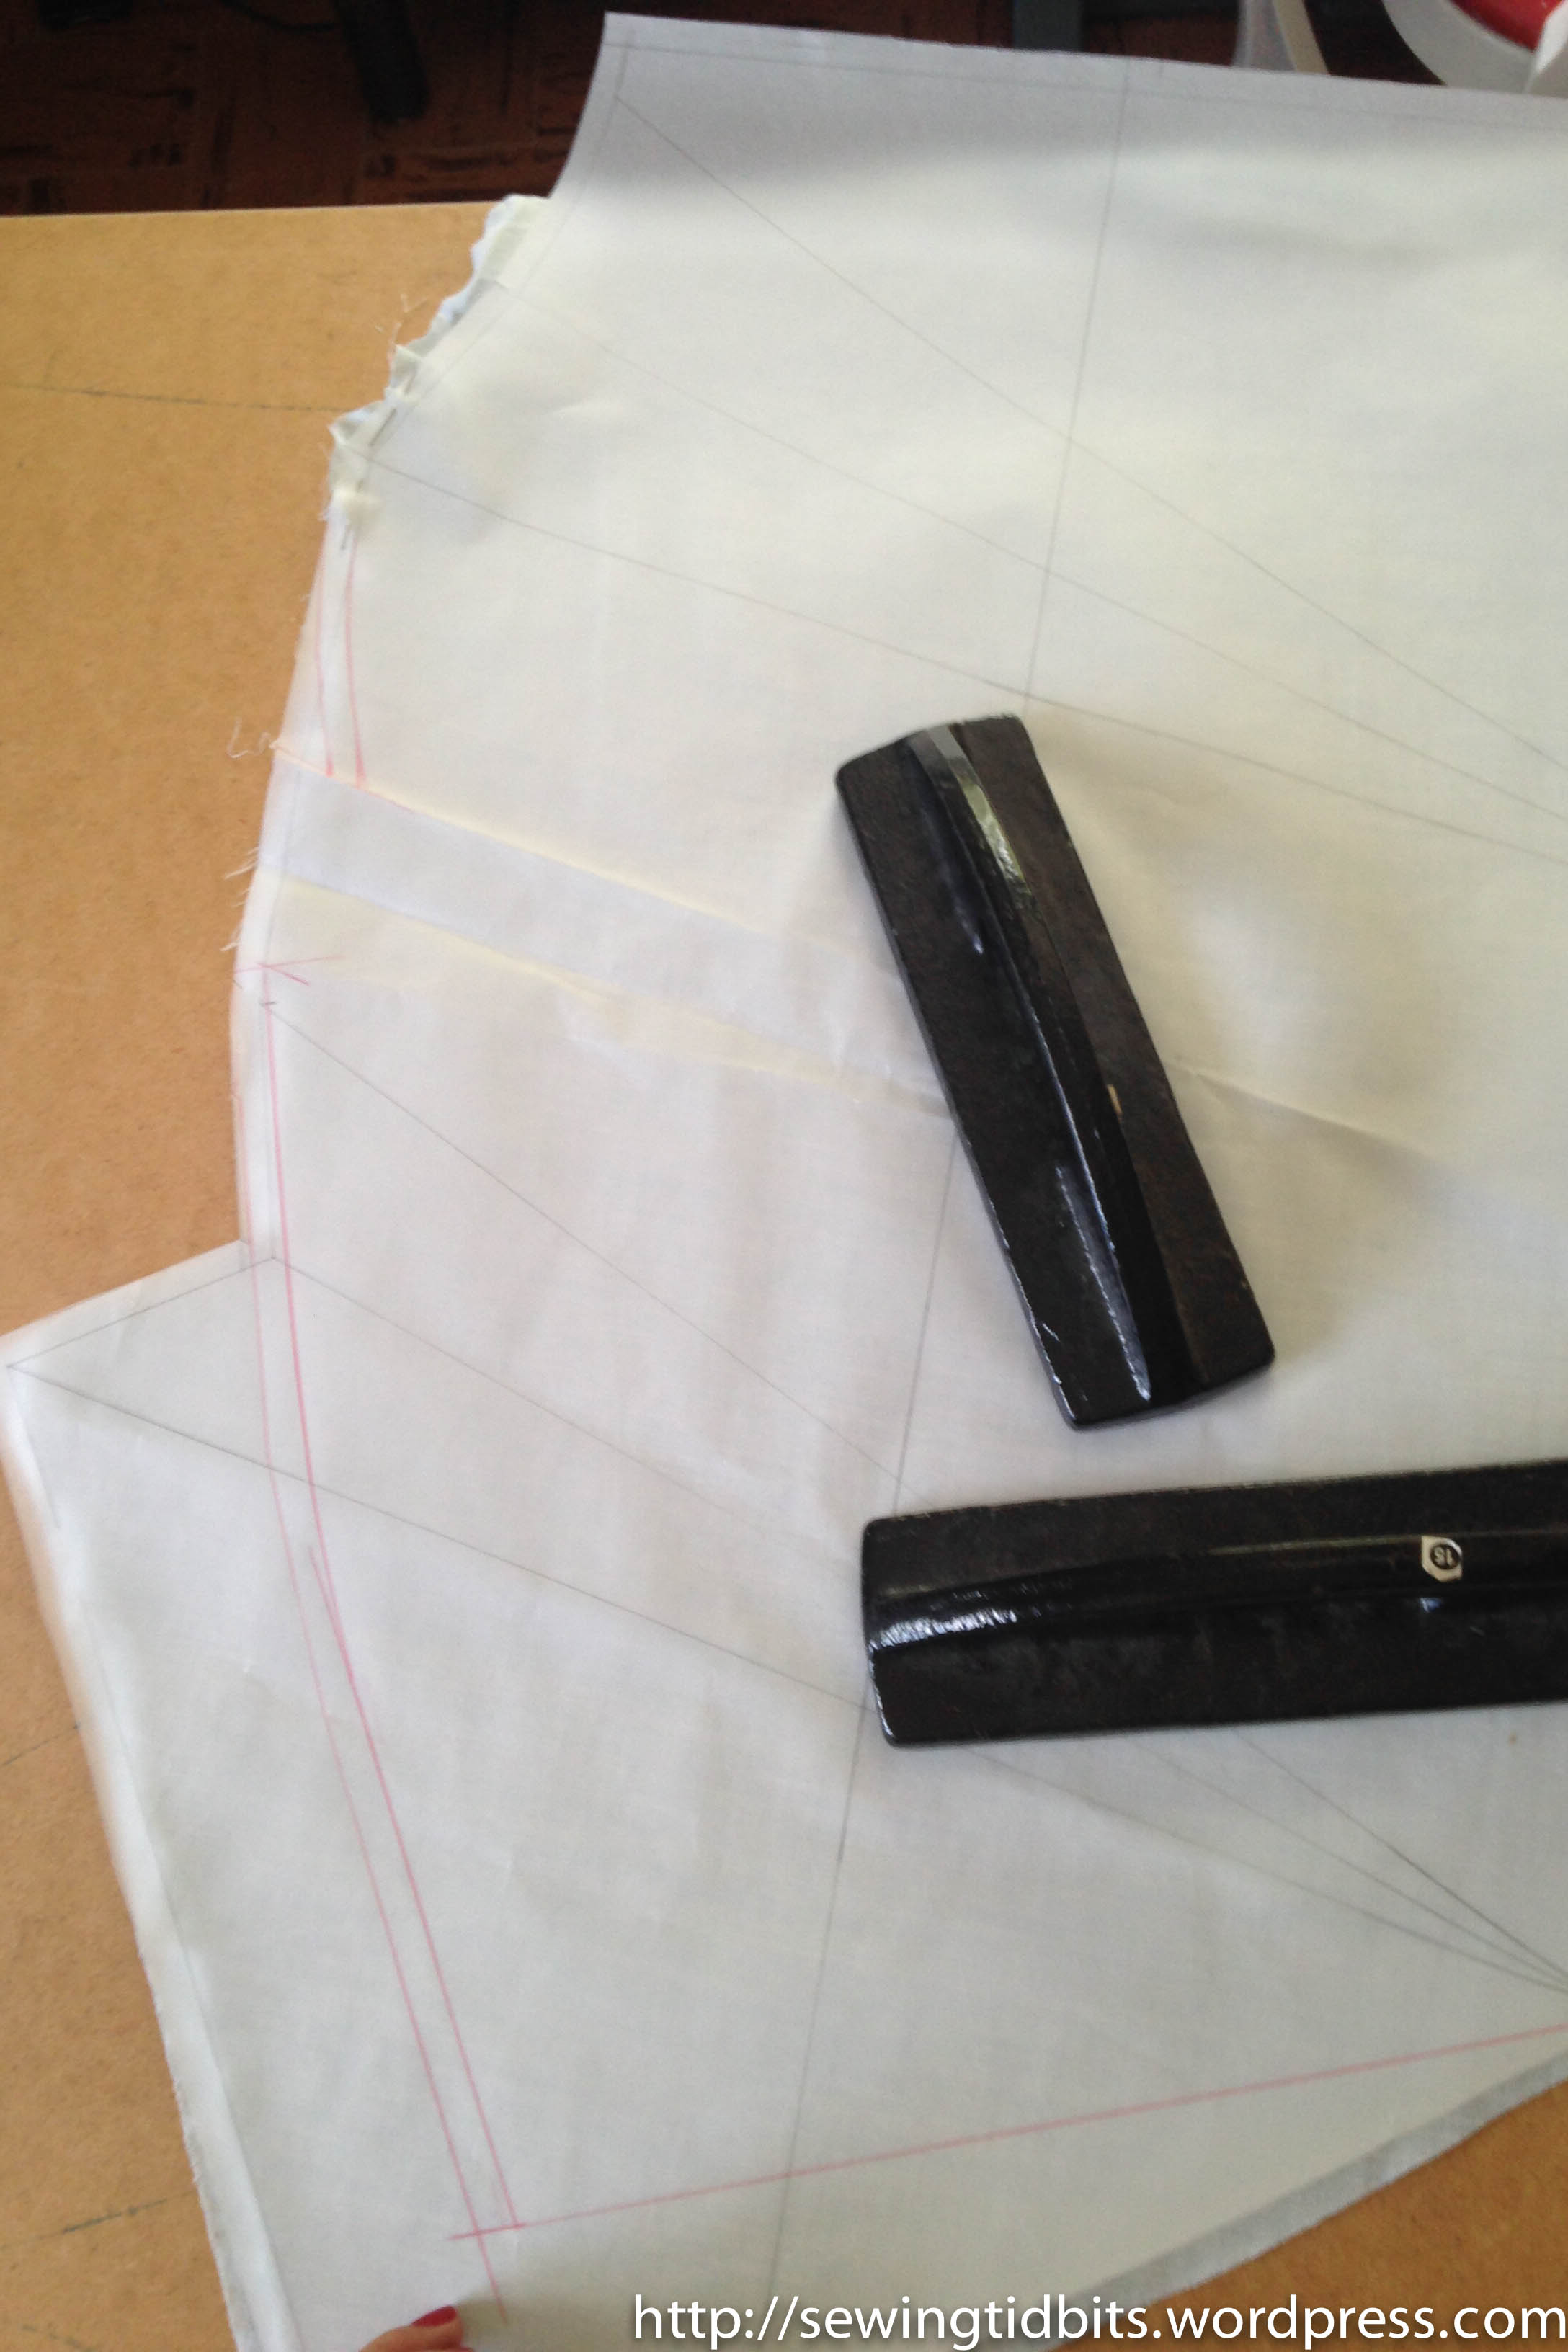
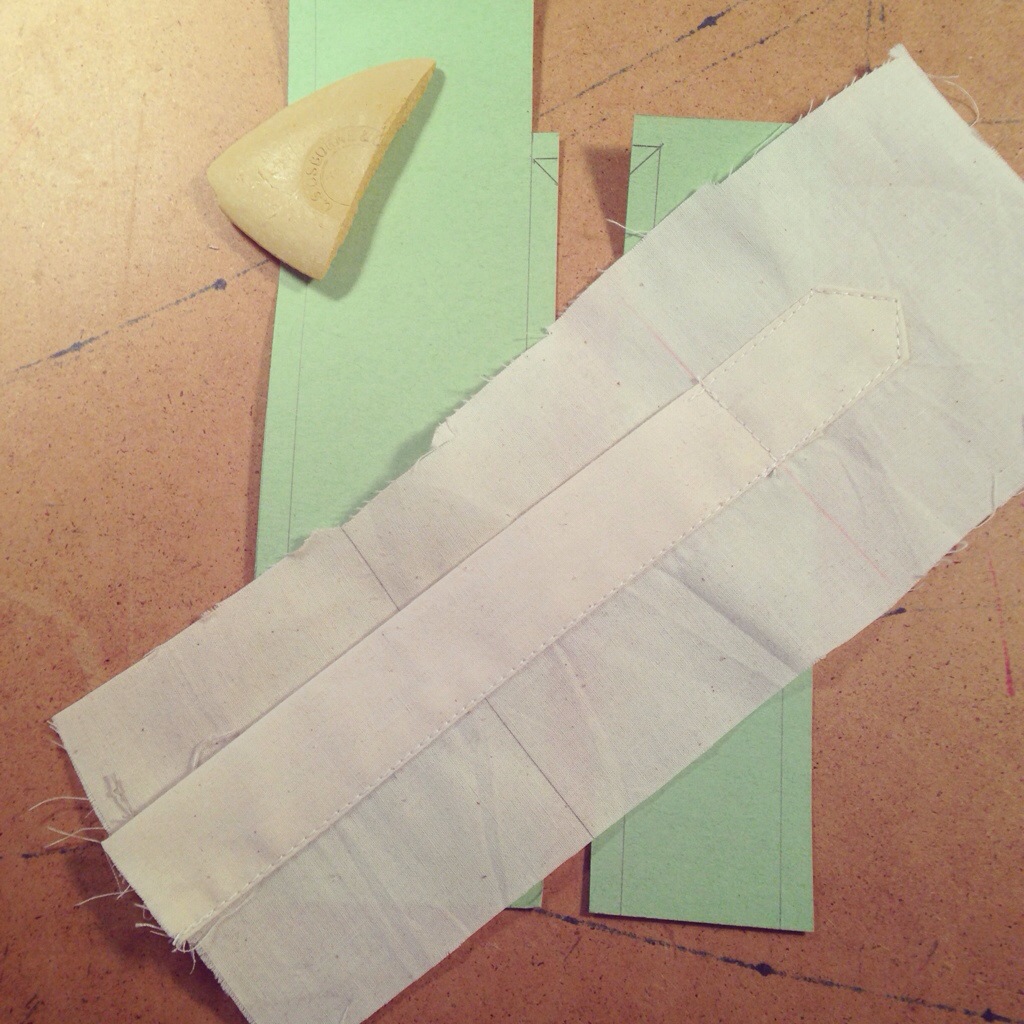
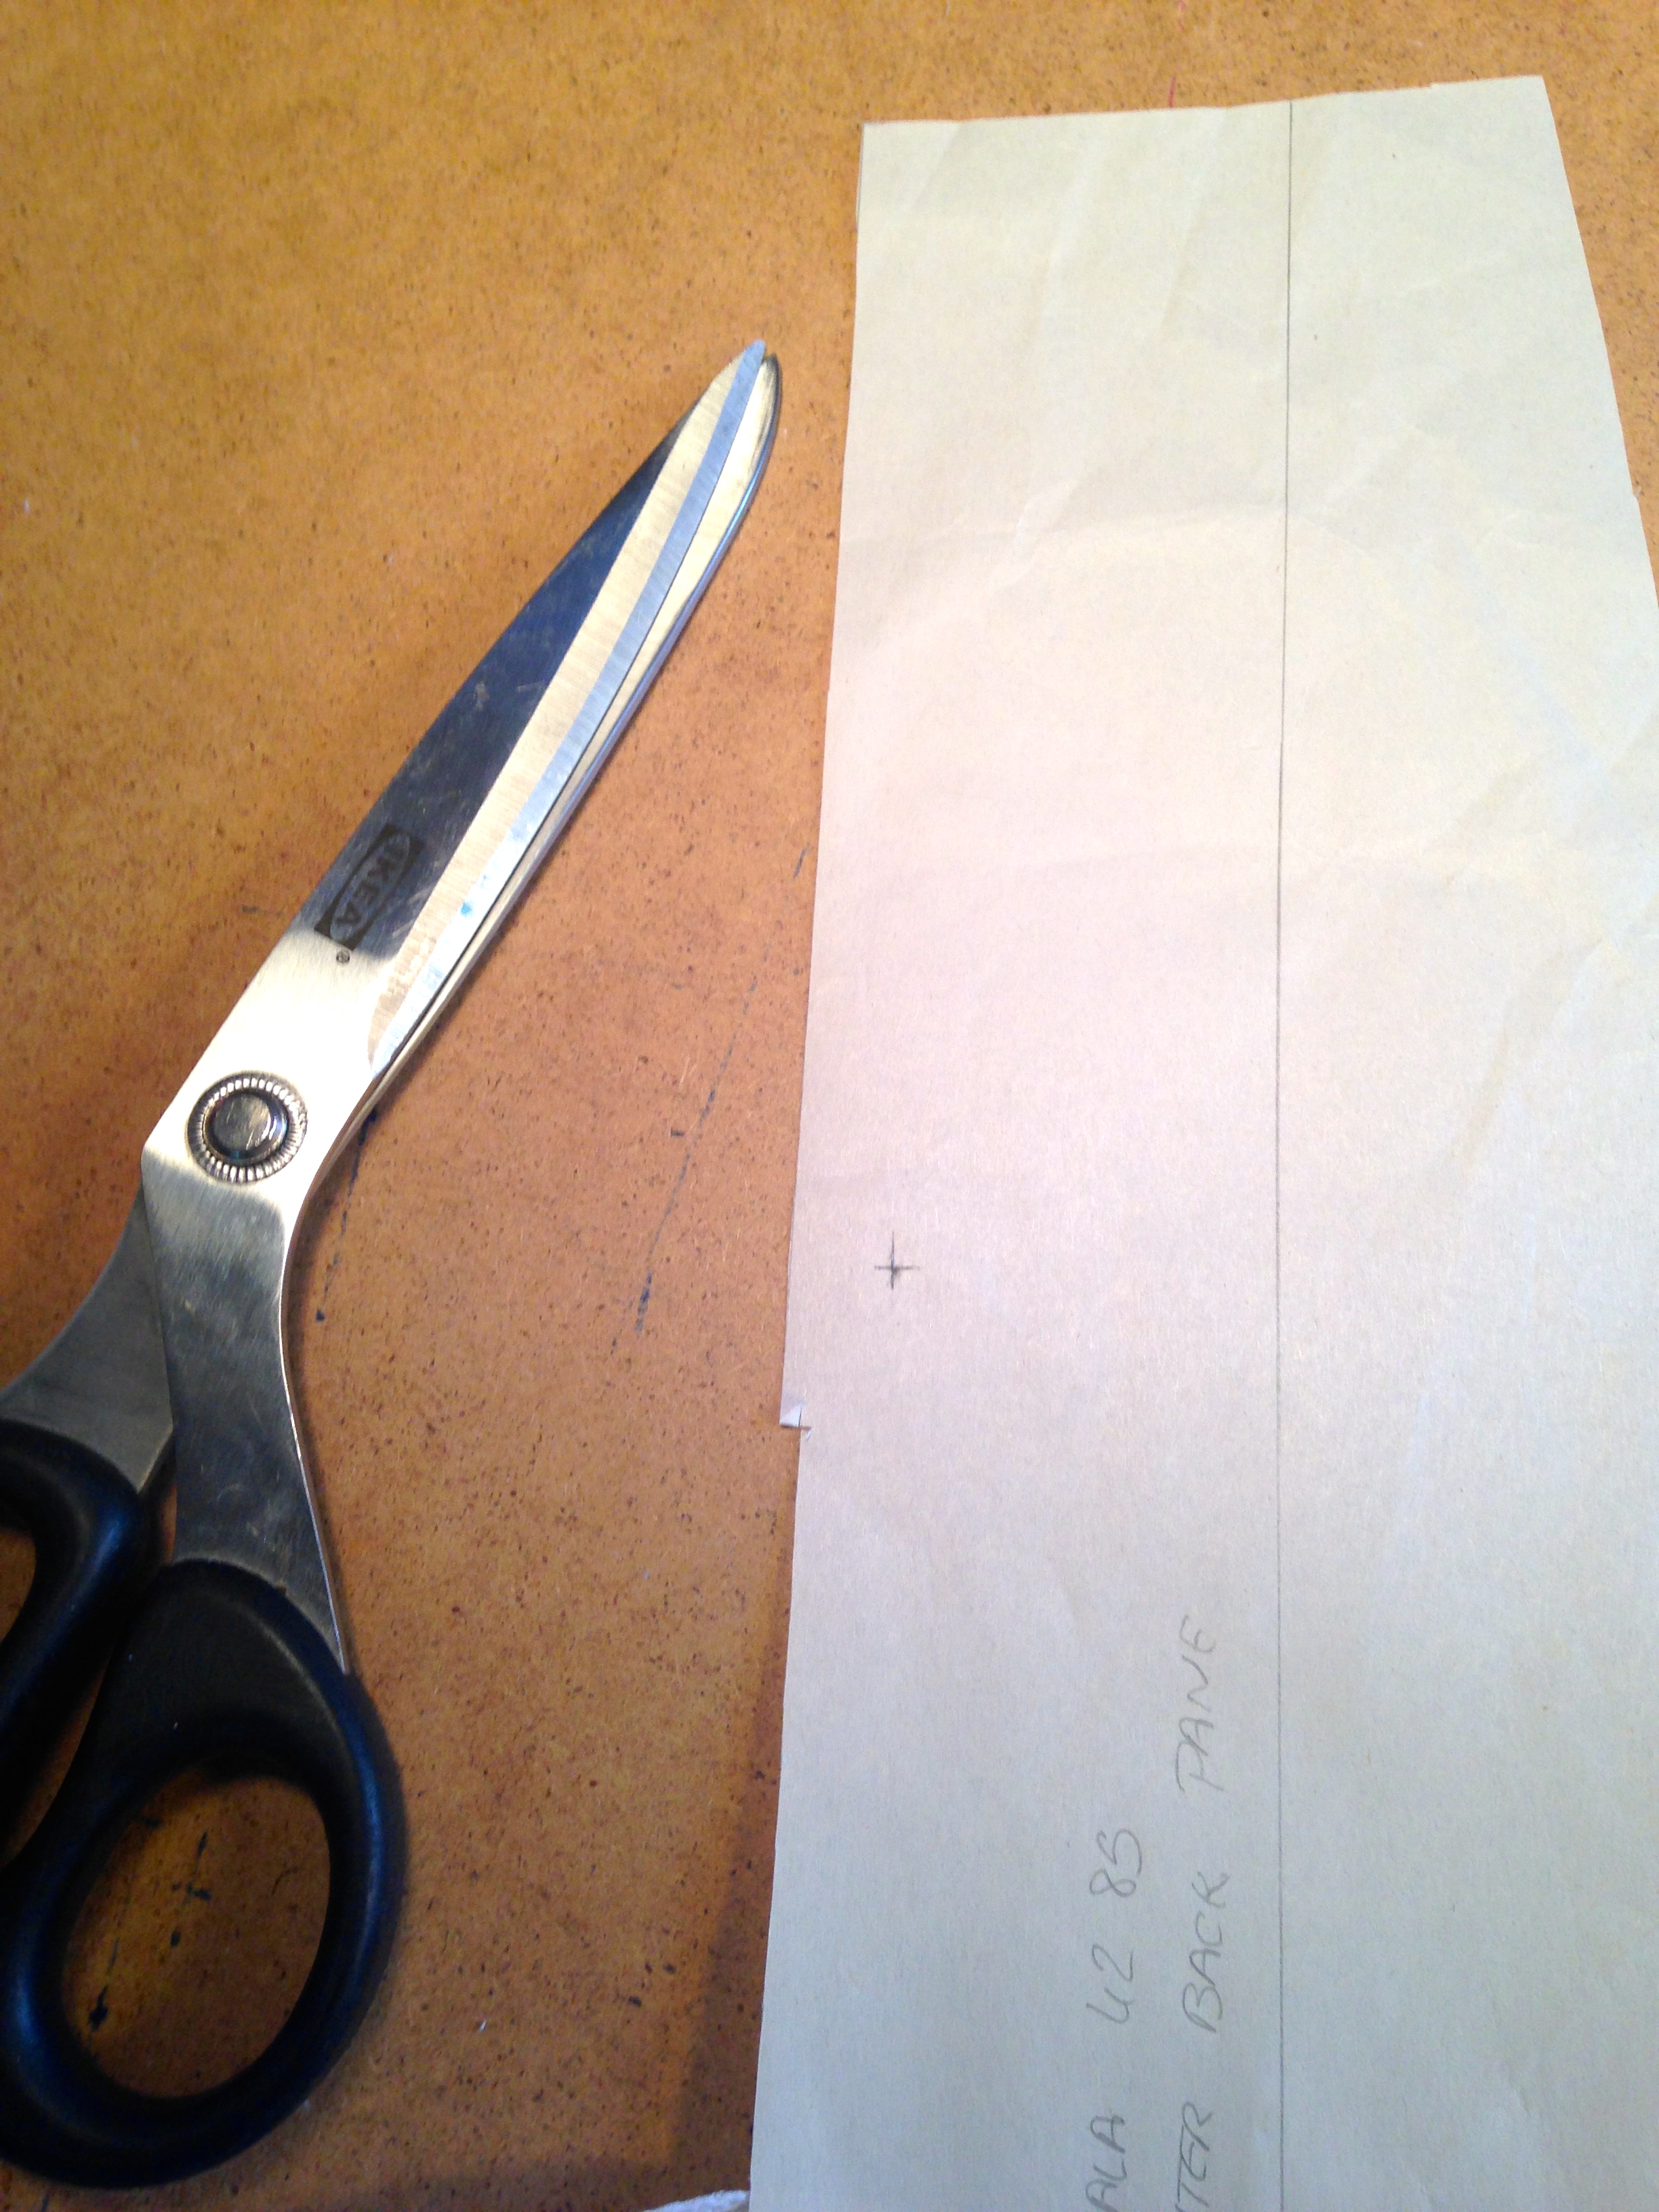
My first step was to do a toile. I used regular muslin even though my silk was going to be behave differently. I figured a "skin" tight fit on my form (slightly bigger than me) in muslin would result in appropriate amount in and the 2 layers of silk would have appropriate wearing ease on me. It was a bit risky but it worked! I also used the toile to check the neckline and position and measure the straps. I had to take in 1/2" from each side at the bust and waist, tapering to nothing at the hips and I made no changes to the neckline.http://instagram.com/p/3ERTPTGrMX/The most challenging part for me in working with with silk is cutting, especially on the bias. It takes forever and I'm always tempted to cut corners. However, this time I did not. I lied my 23mm silk crepe from Calamo New York on a first layer of paper, aligning the selvage with the straight edge of the paper to prevent distortion. I created a "marker", which is another layer of paper with all the pieces to be cut drawn in their cutting position. I added my "marker" on top and pinned between the pieces to avoid marking the silk. I then cut through the 3 layers.

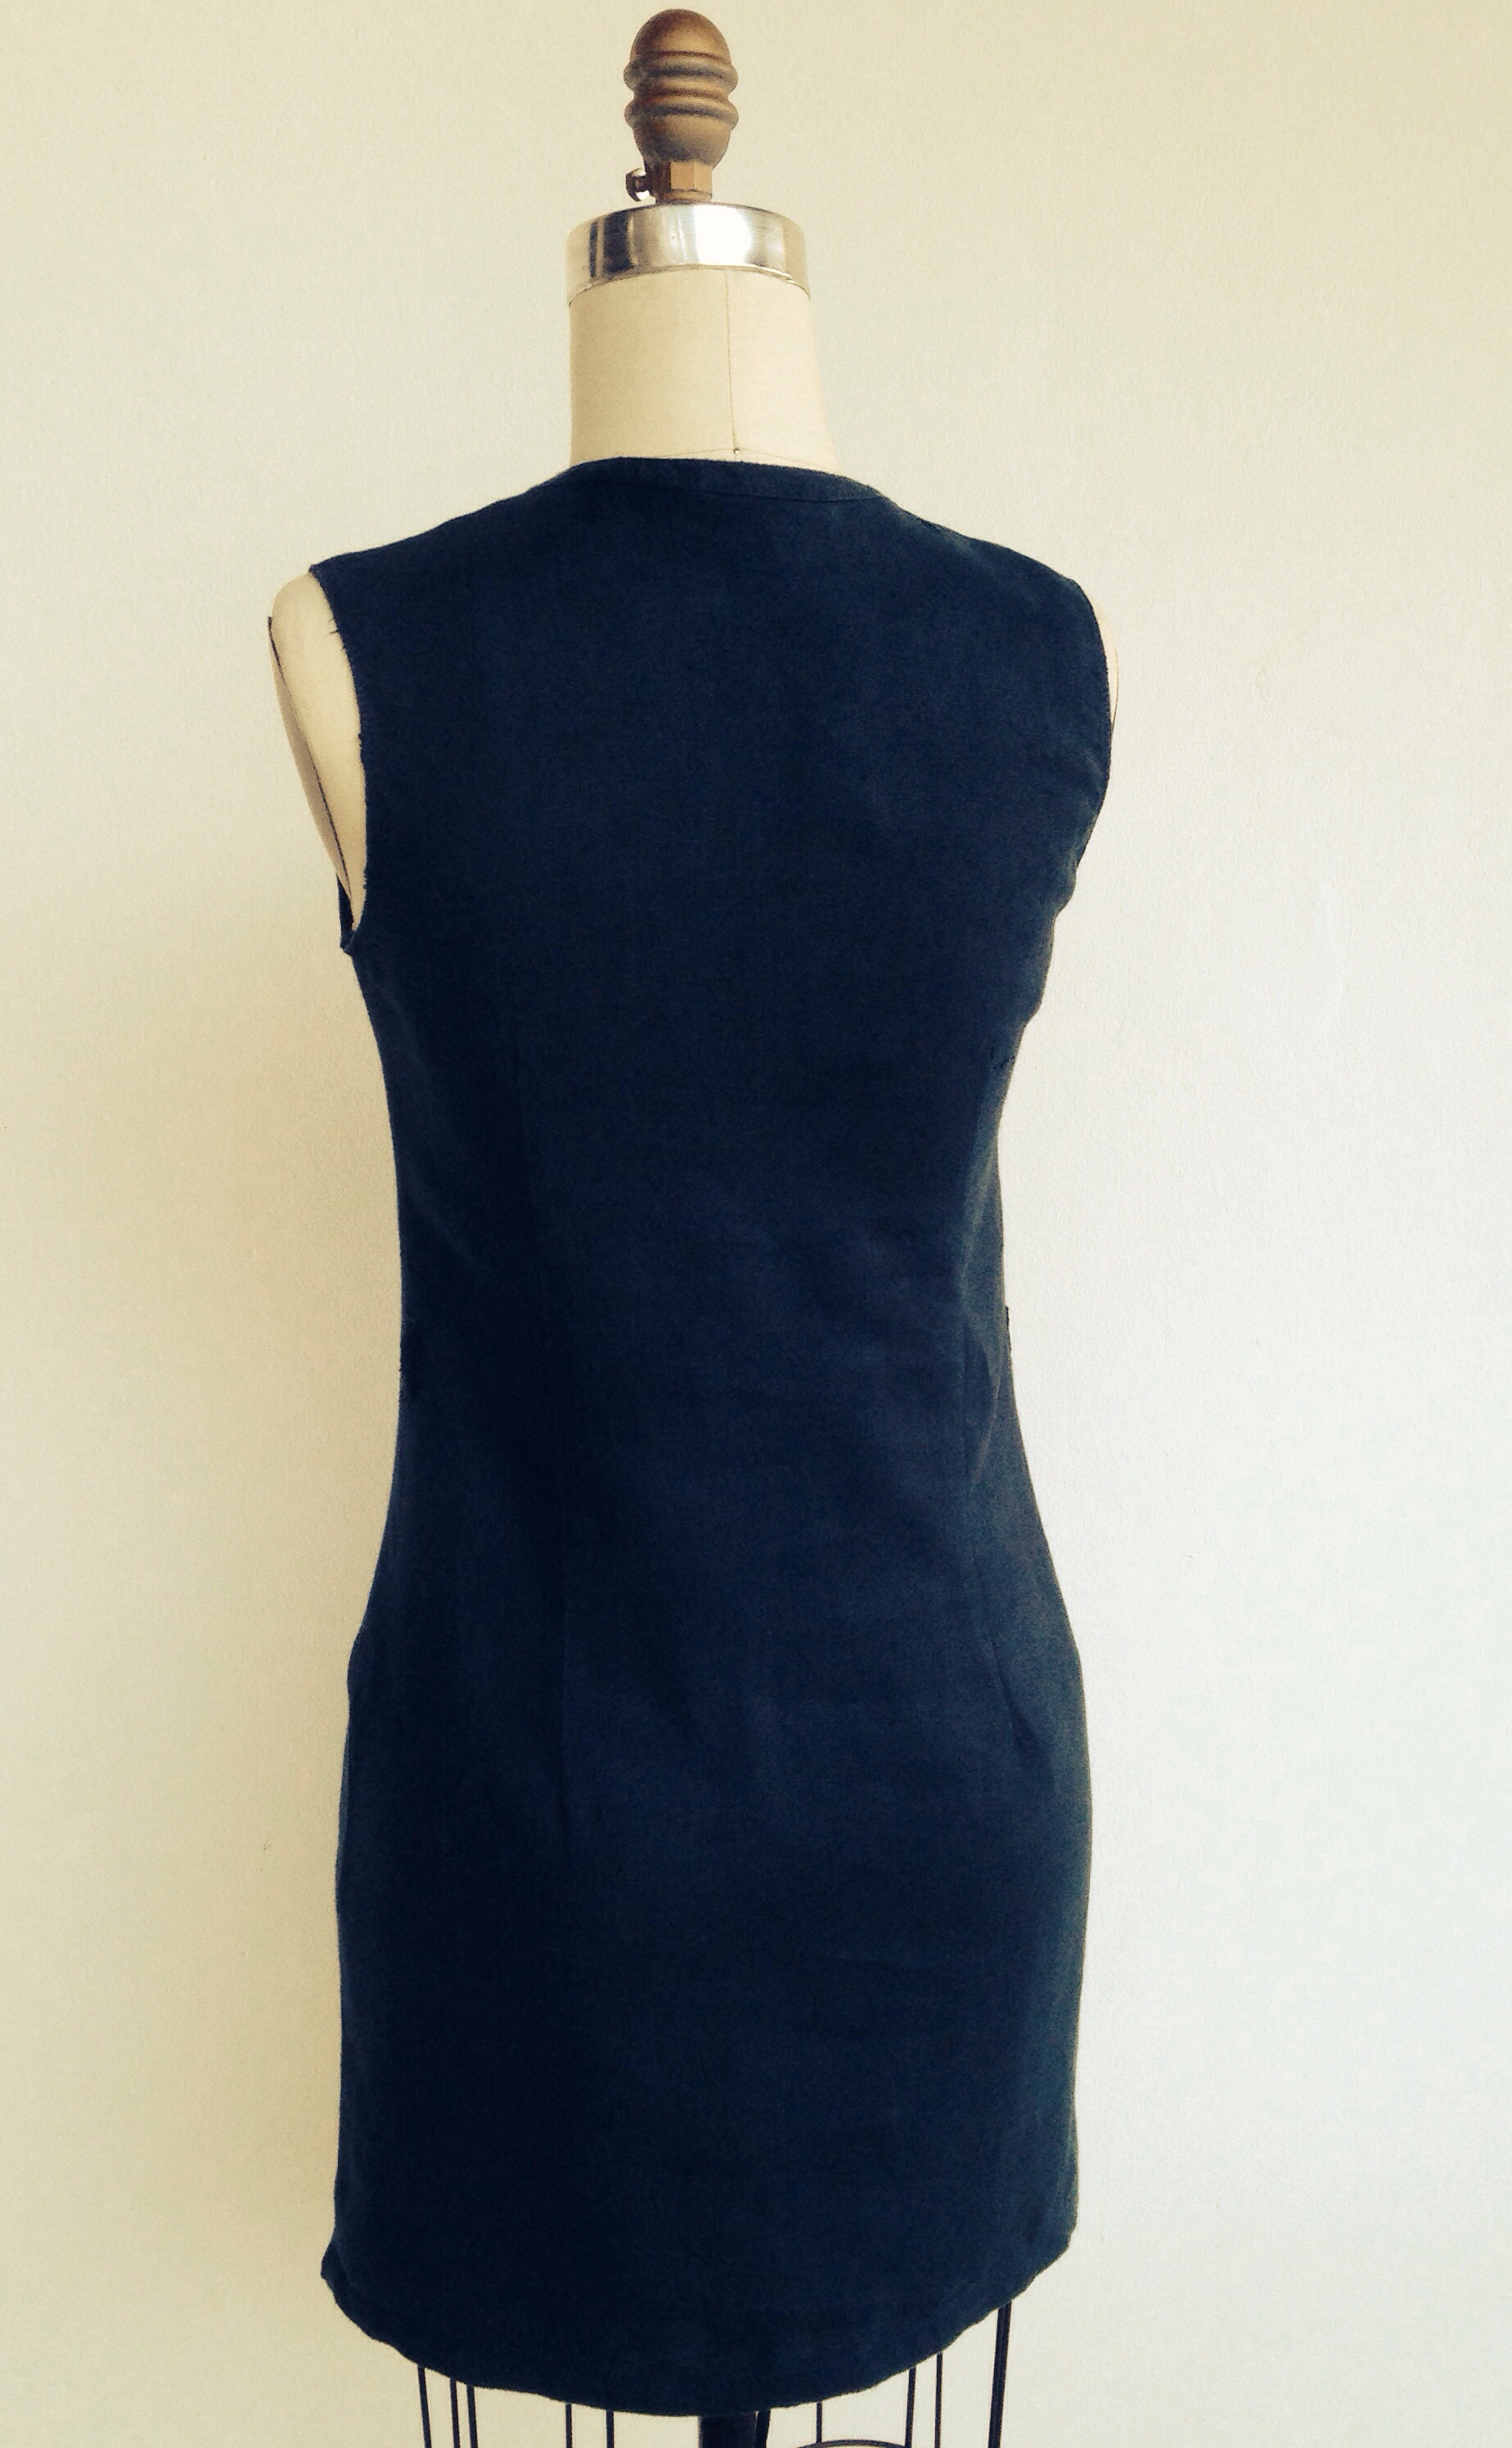
Bias silk dress by SewingTidbits
Bias silk dress by SewingTidbits
I have an important piece of information that some of you may resist. It's OK to cut through paper with your fabric scissors! Yes... I know what the home sewing police says but really, you'll be fine! And it will actually dull your blades a lot less than cutting wool or tweed!!

Bias silk dress by SewingTidbits
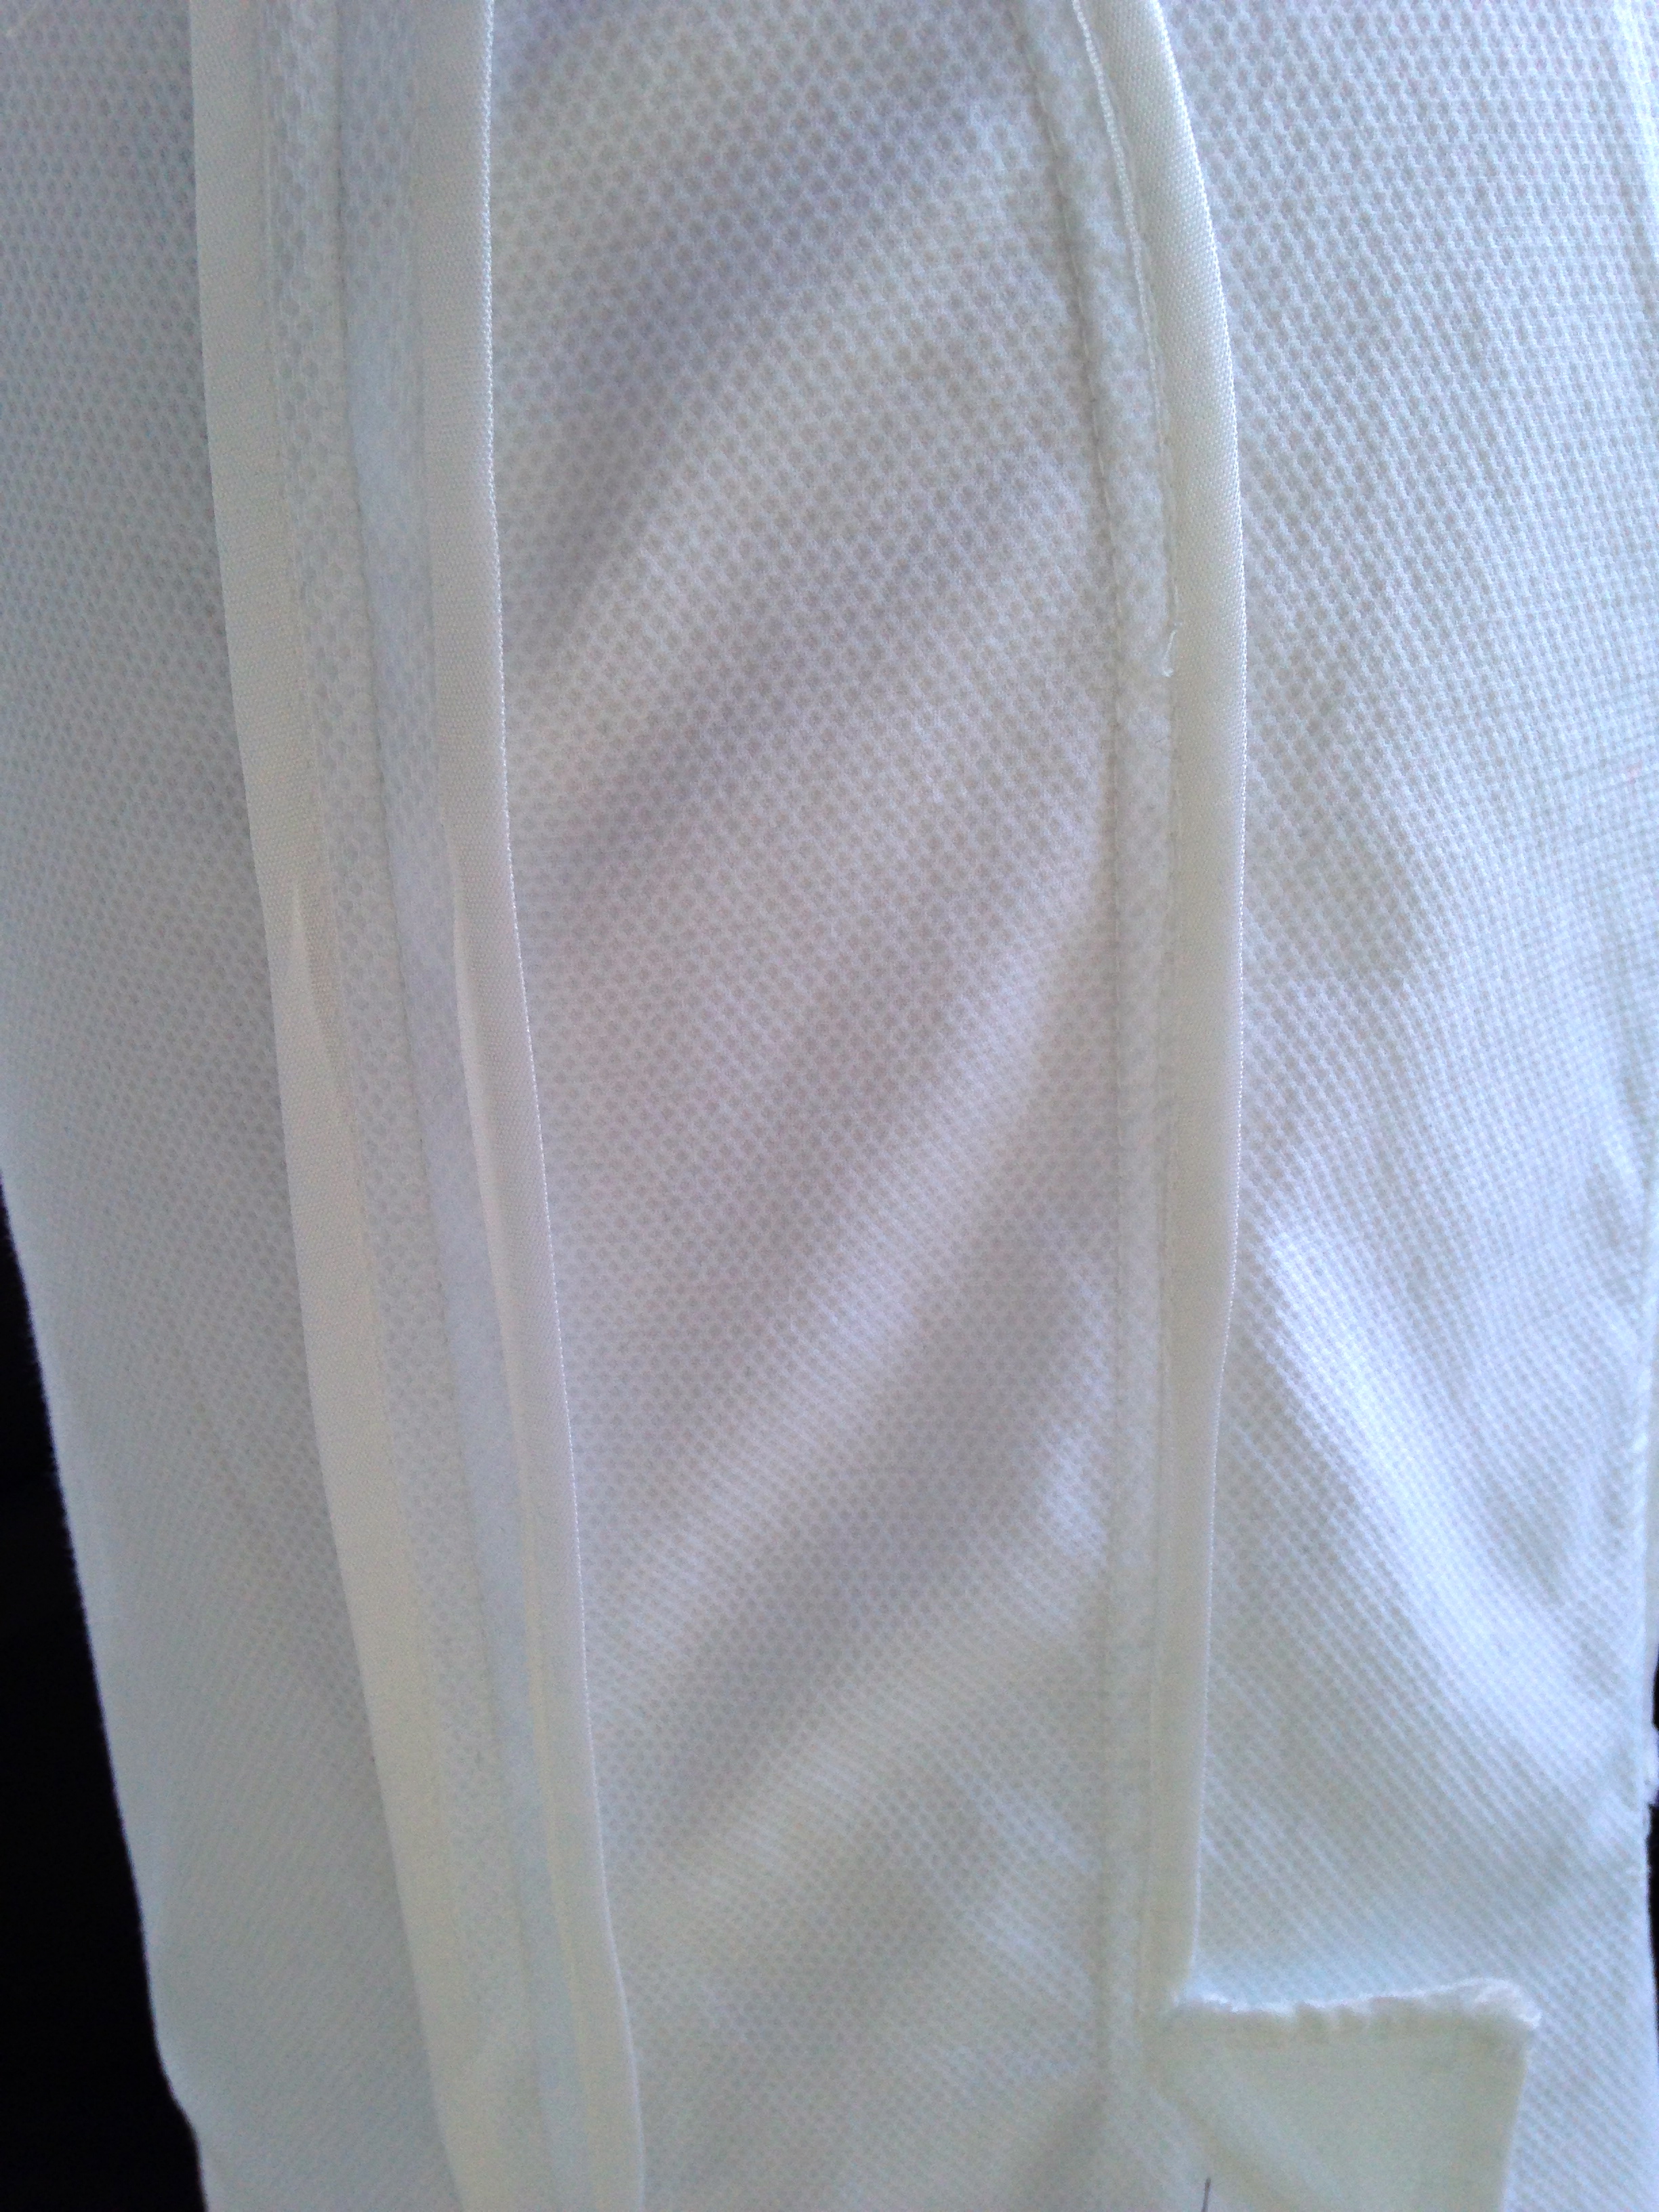
I stabilized both layers of the neckline with fusible strips and attached the sides with french seams. For a reason I cannot explain, sewing went well for the first pass of the french seam but my industrial Juki refused, yes refused (!!), to go through the second one with a repeated mess of skipped stitches. I was confused and about to cry but I decided to add a layer of paper on top of the seam and tear it off after stitching and it did the trick!

Bias silk dress by SewingTidbits
For the straps I used the
method described by my friend E. on her blog
. The only thing I would add would be to not be afraid to use a rather large strip of bias, such as 2.5 or 3" as the allowance will "fill" the tube. For the hem,
on top of providing the tutorial
, E. gifted my ban-roll. I don't know why I never tried before. Actually I do know why (see stubborness mentionned above) but I regret it deeply. This thing is absolutely AMAZING: perfect baby hem on silk. Every. Time. No need to say more. I actually want to try it to hem shirts with it too!

Bias silk dress by SewingTidbits
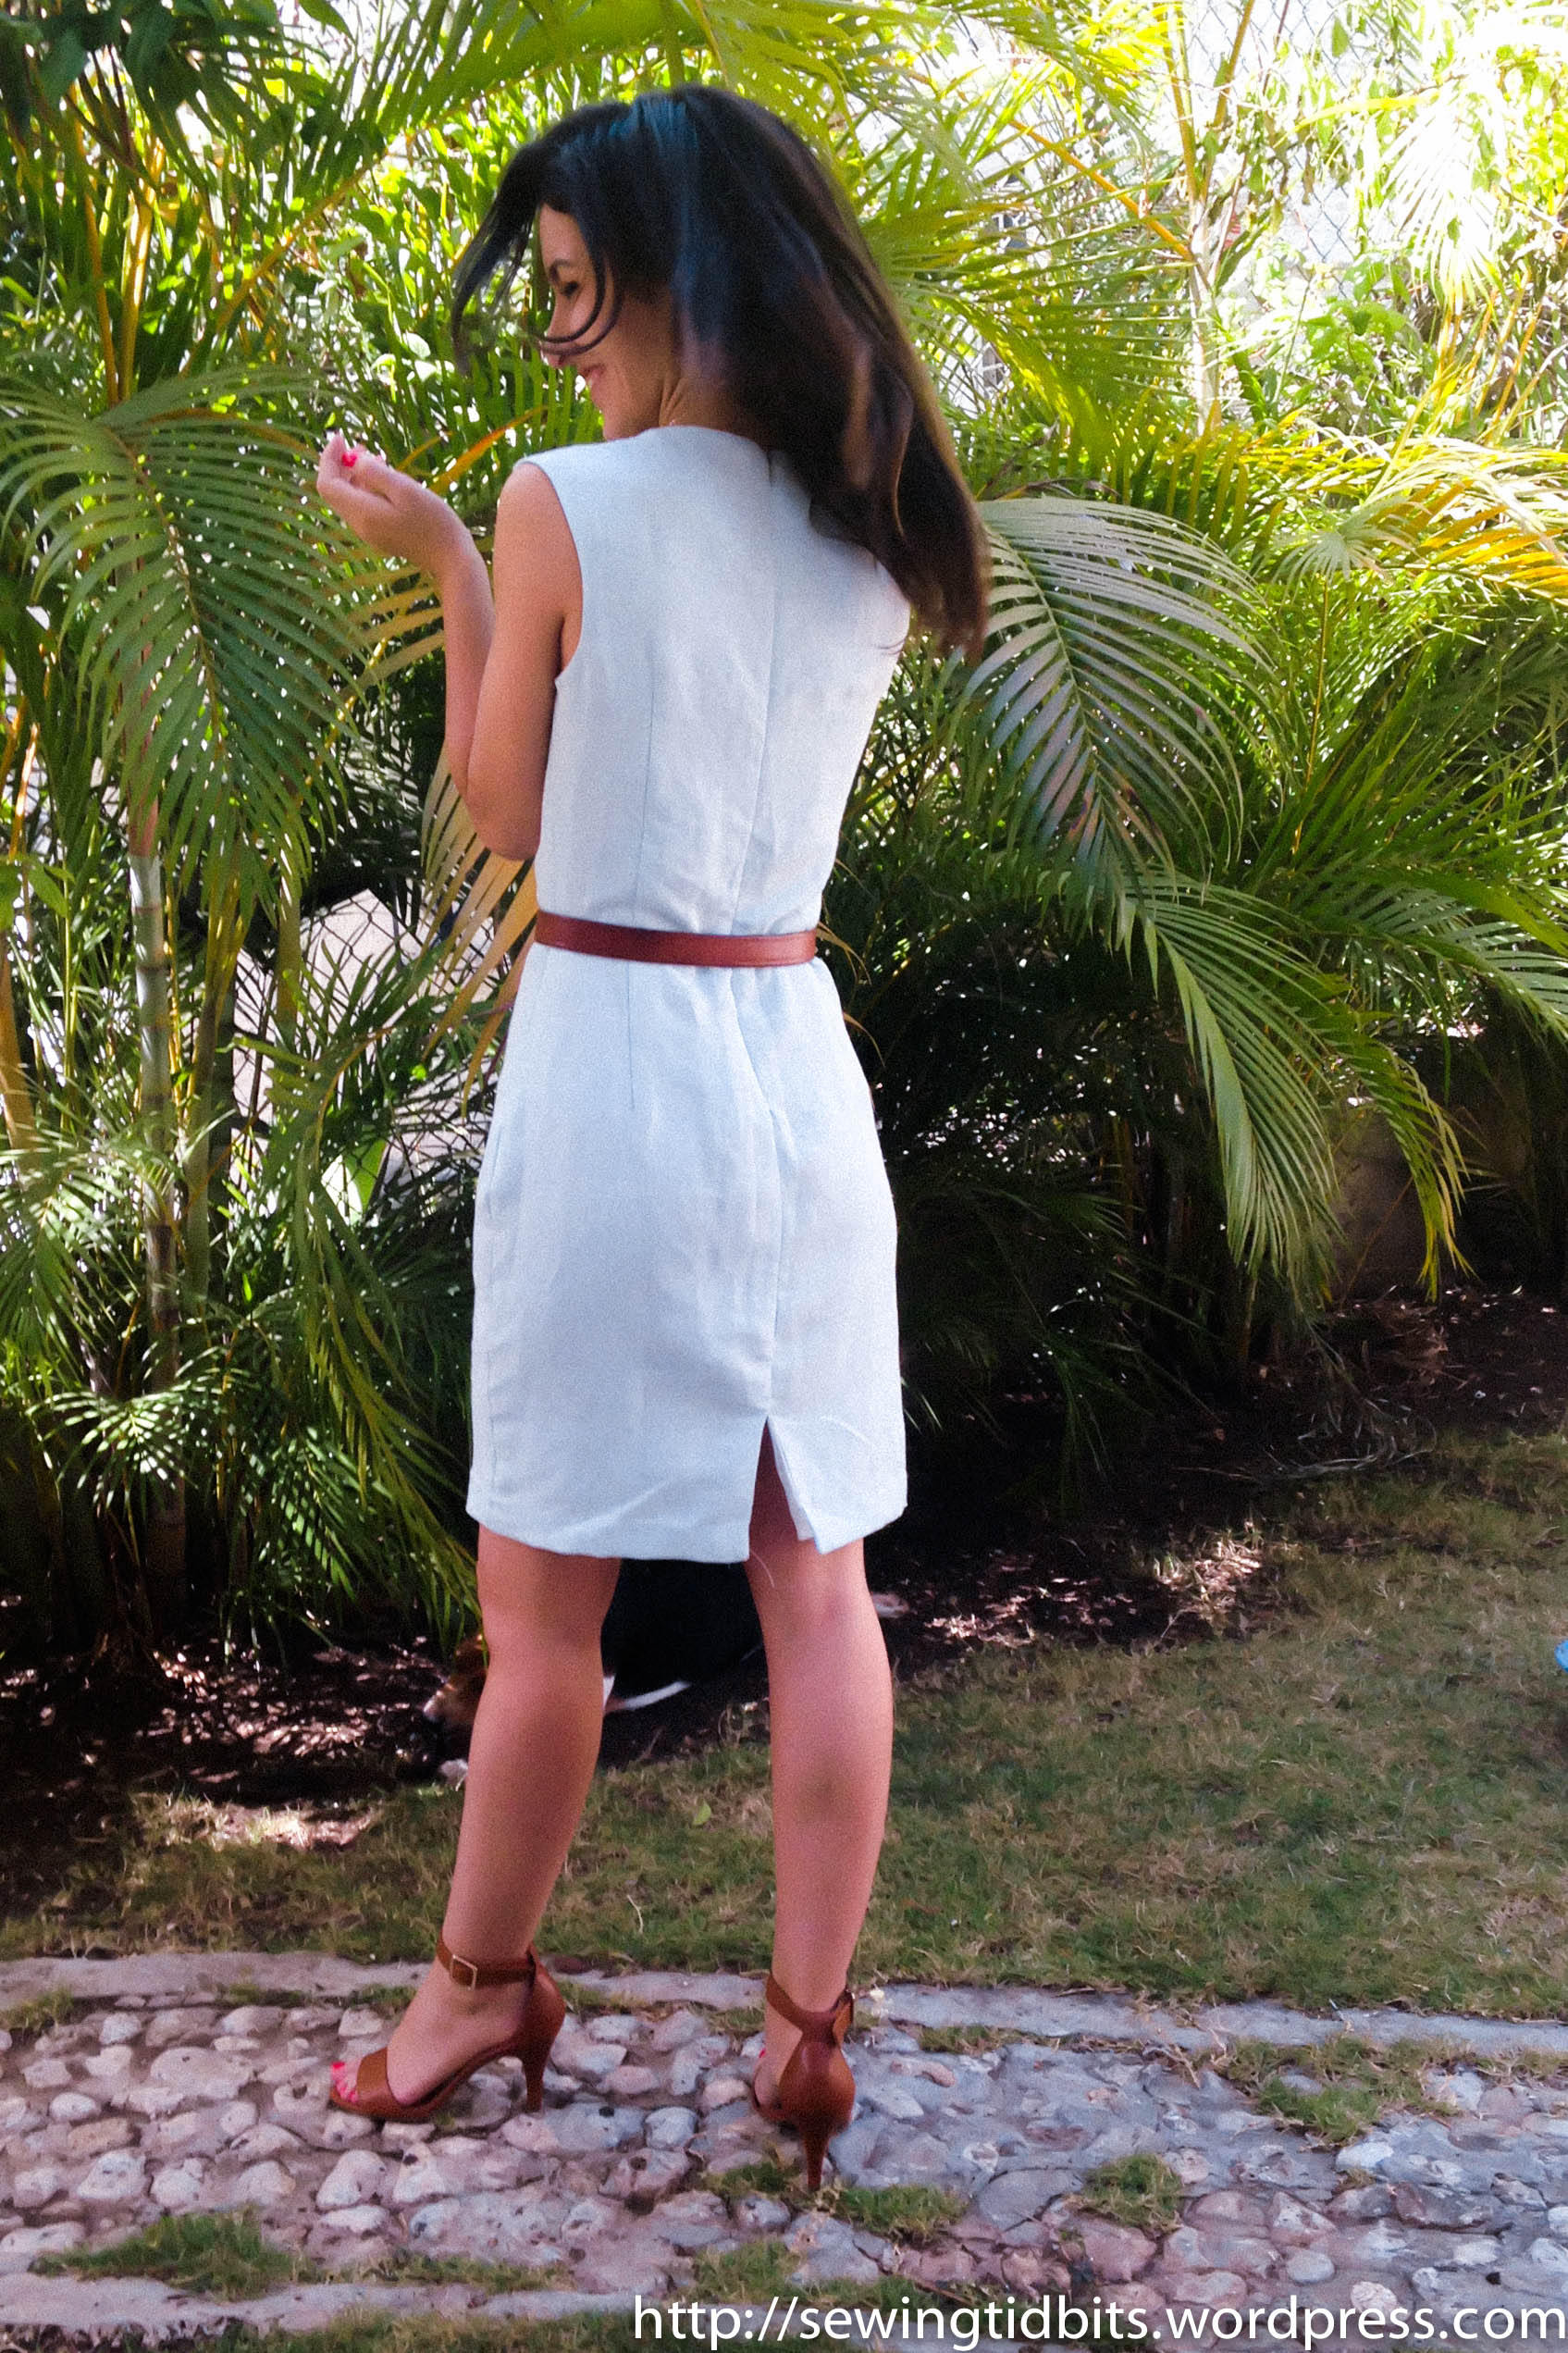
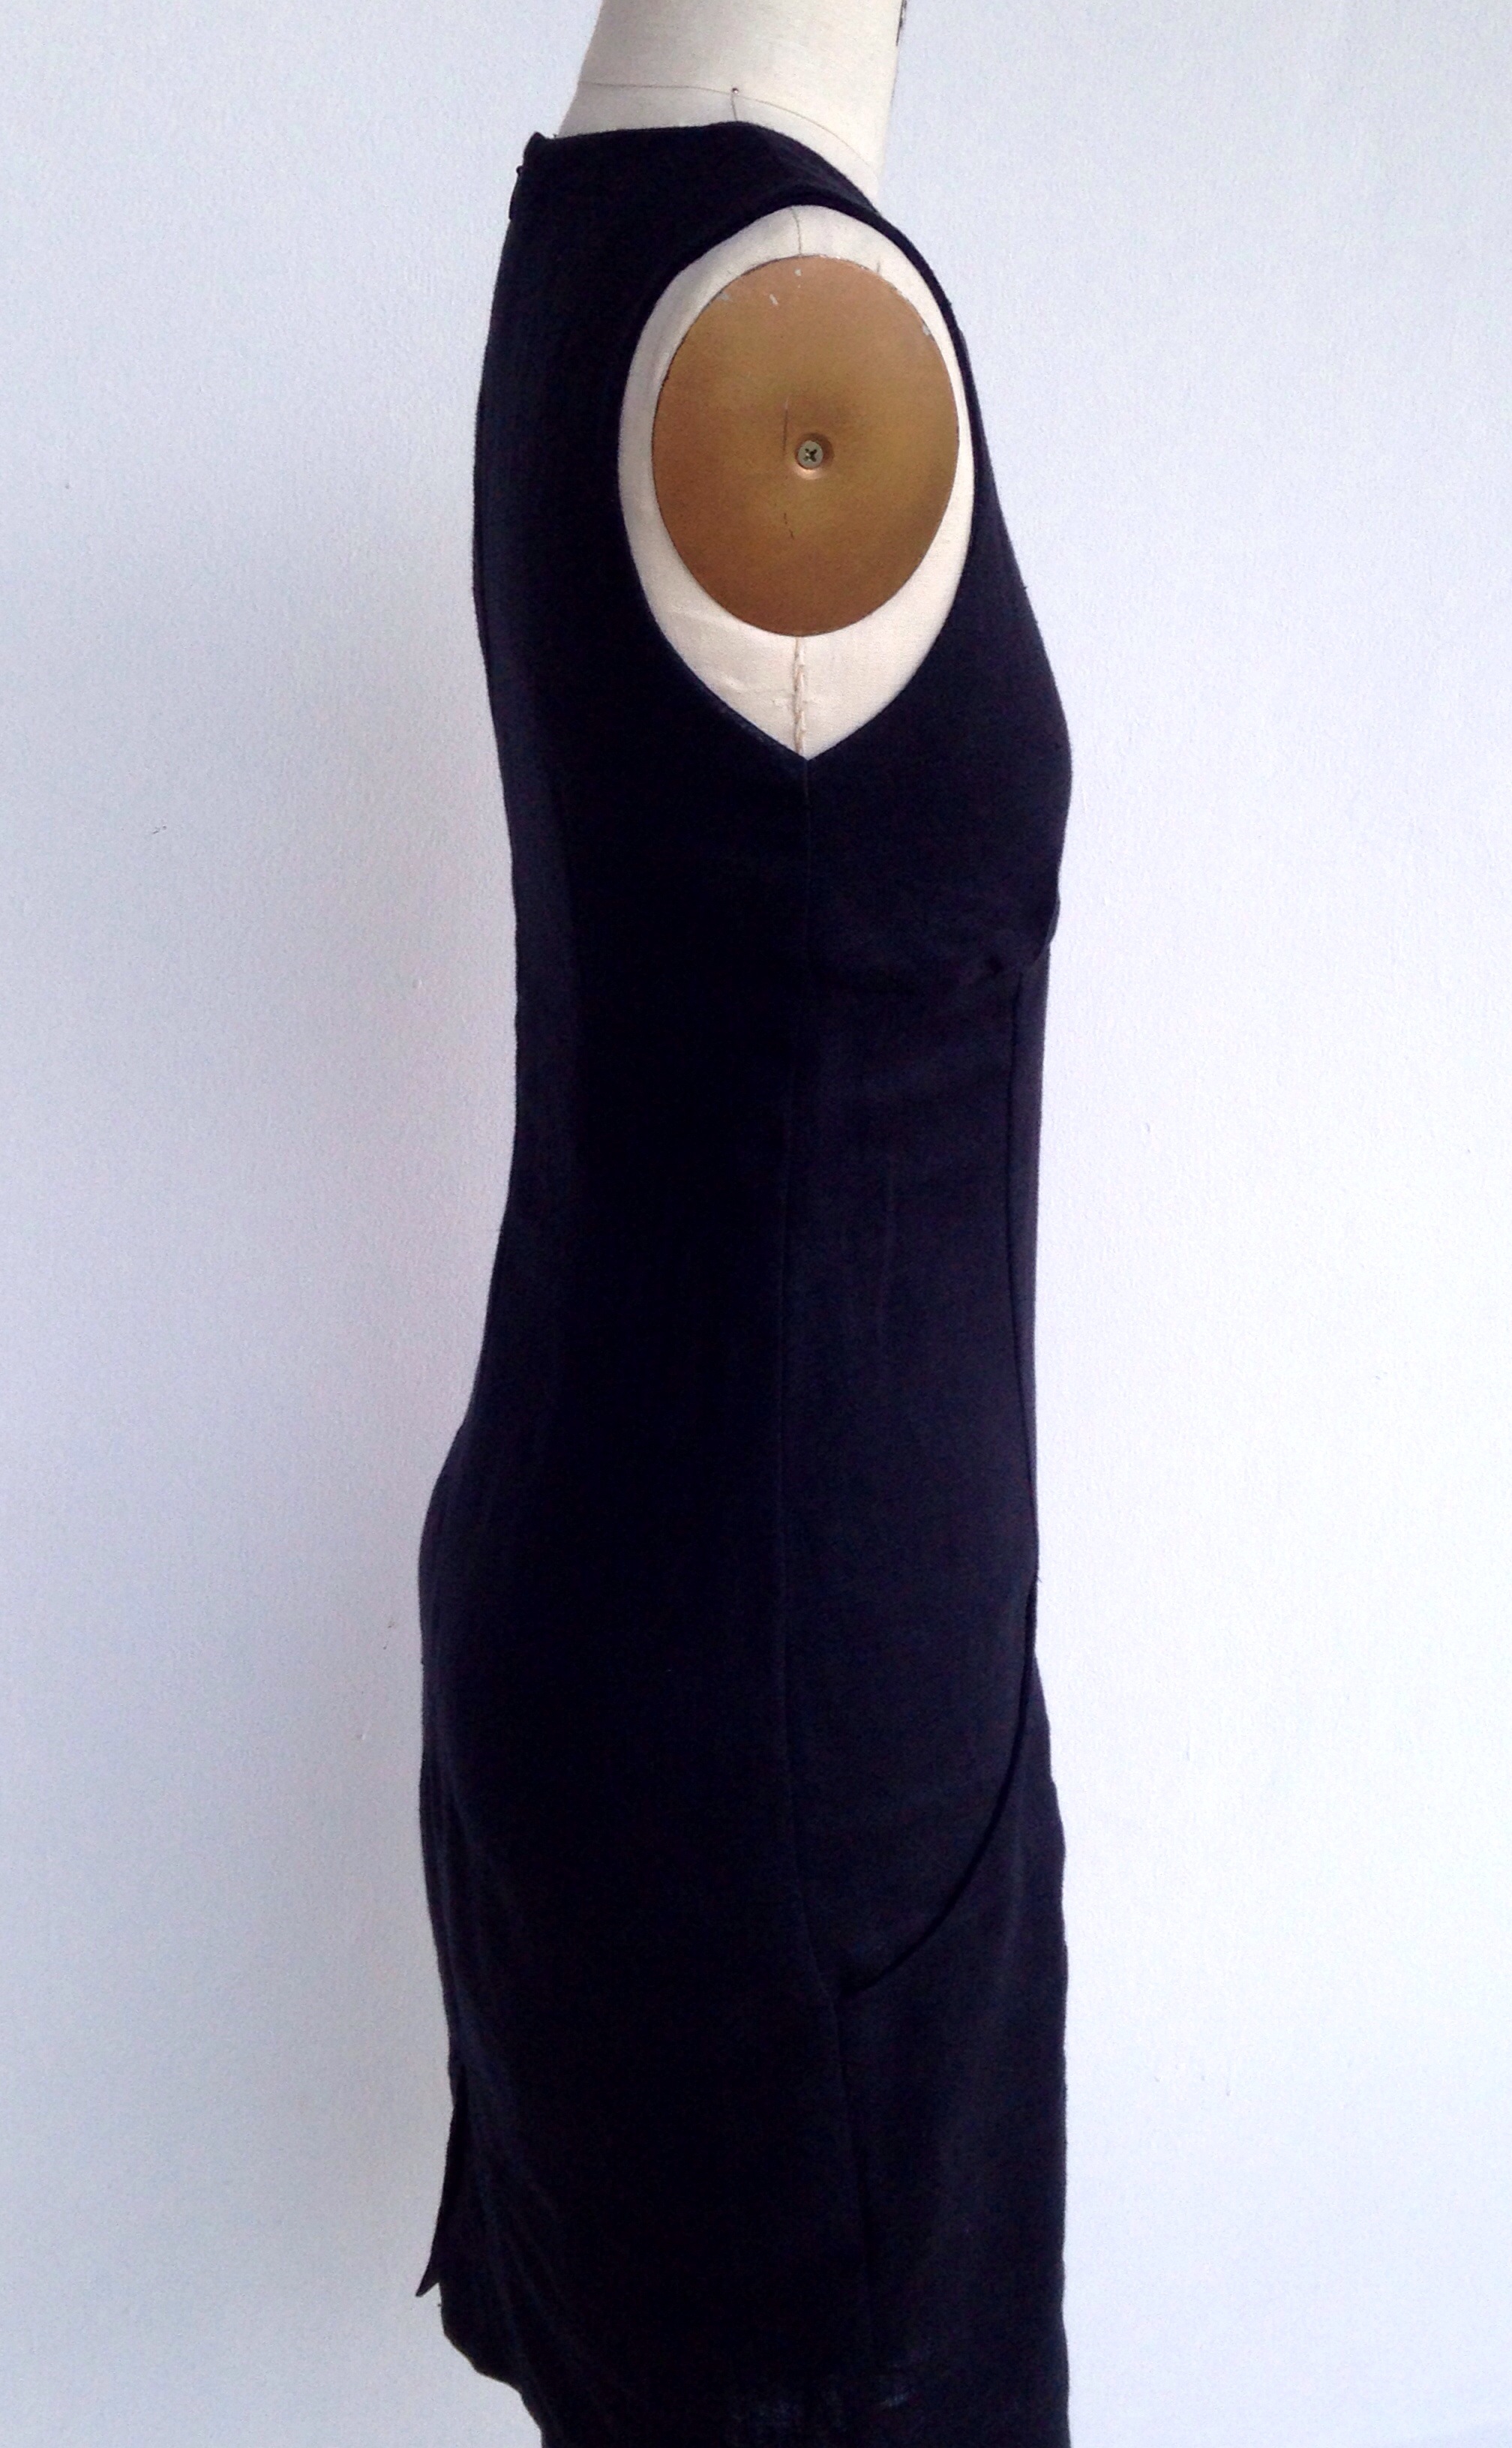
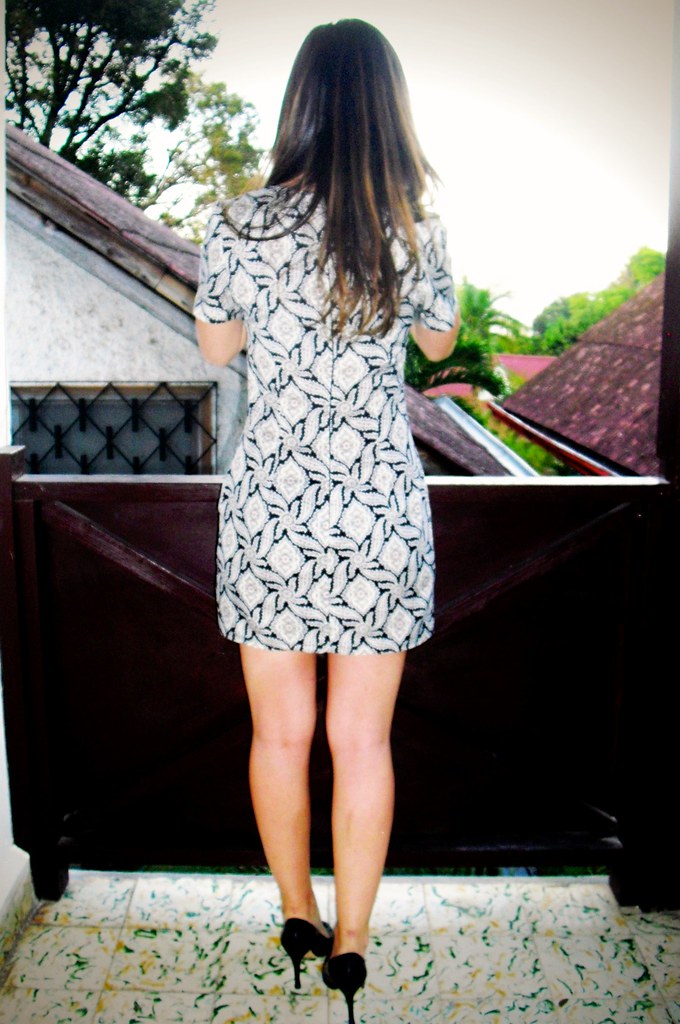
That's it for my notes. I love love love the final dress and I wore it for my birthday (30... yikes). We went dining and dancing and I felt very comfortable in this simple yet dressed-up silhouette. I am now thinking of making a single layer one out of thicker black silk crepe. And tank tops, a lot of tank tops, I may have opened the pandora box of bias project!
Do you have favorite patterns for bias cuts ? I would love to see what you recommend!


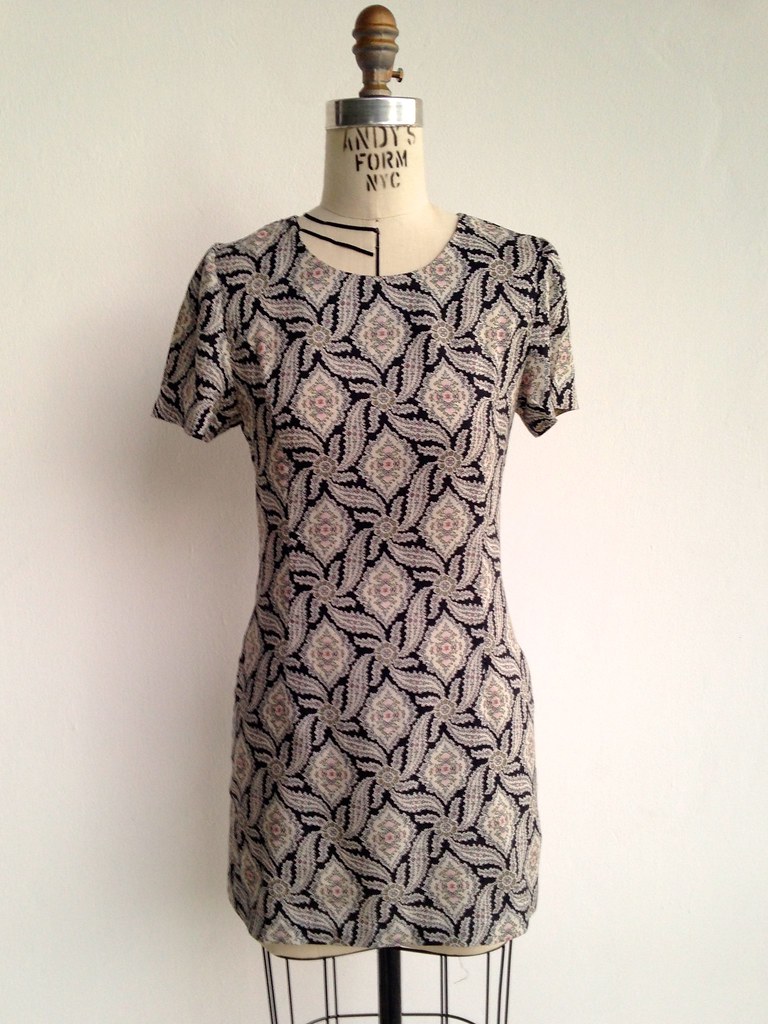
 Now that I confessed my mistake, let's look at my version, my


 I'm off to check my mailbox compulsively until the custom sized pattern arrives. It's been 6 minutes and 48 seconds. WHY IS IT TAKING SOOOO LONG??!More to come....


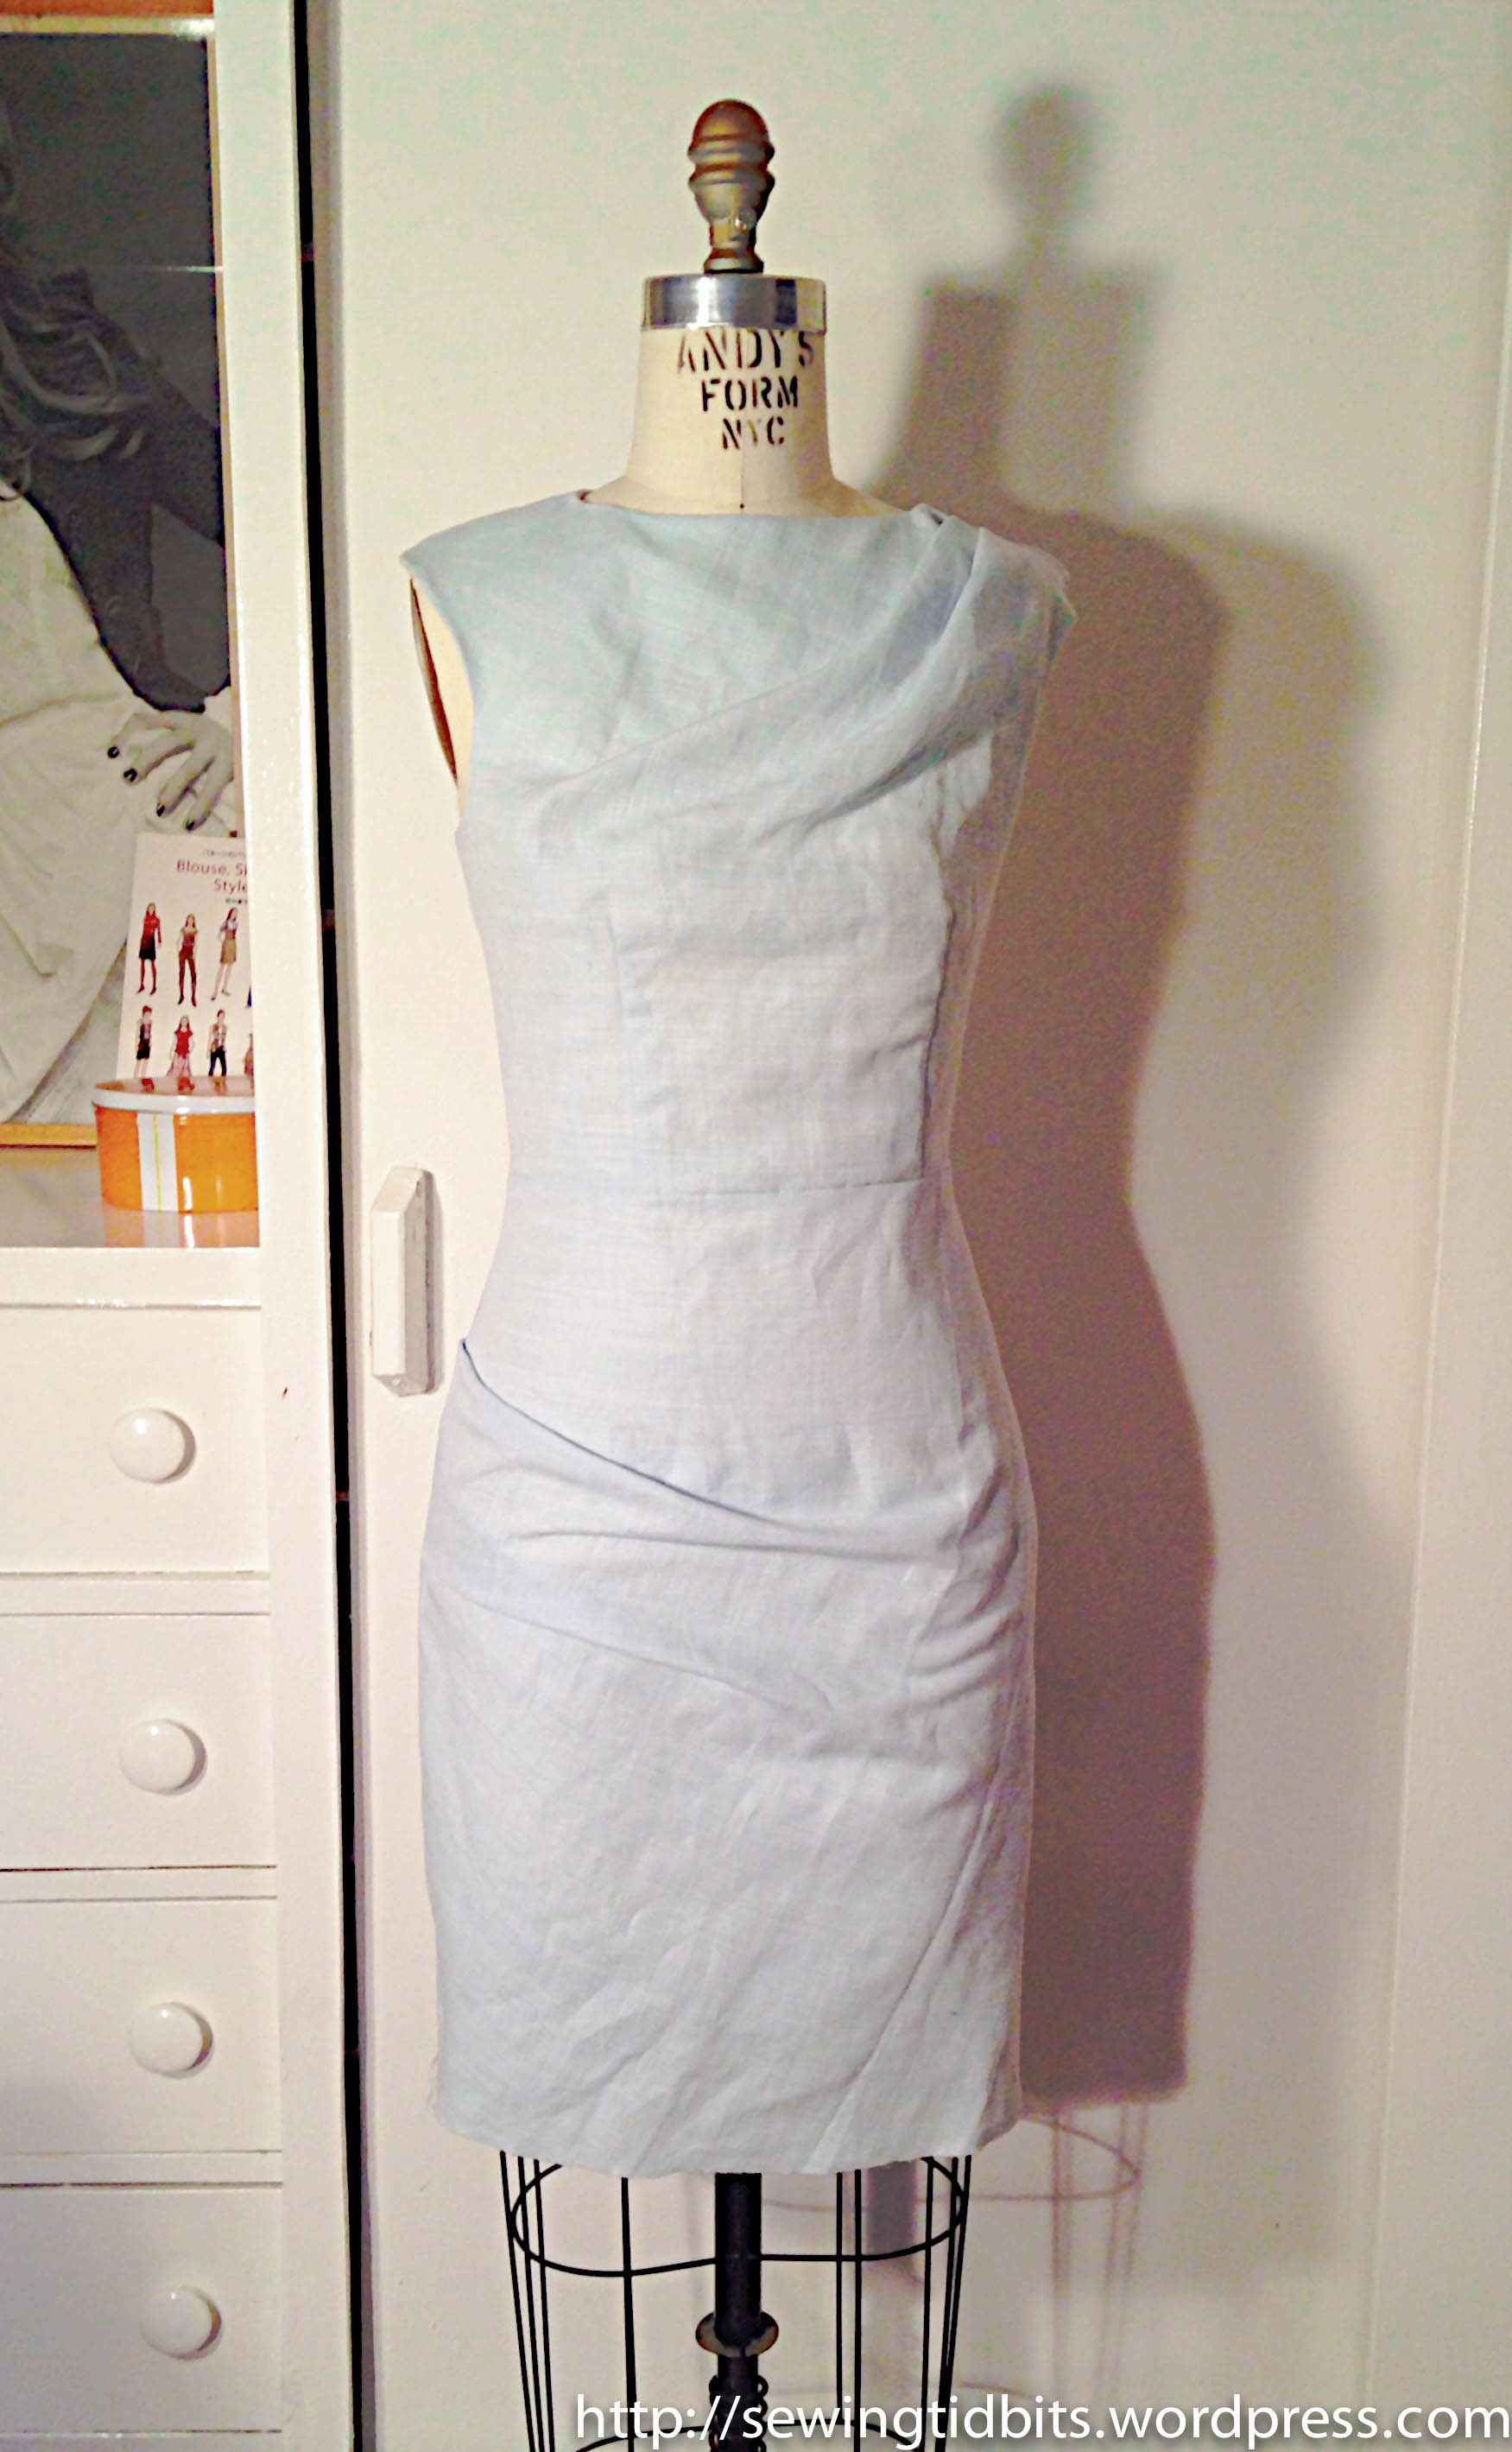
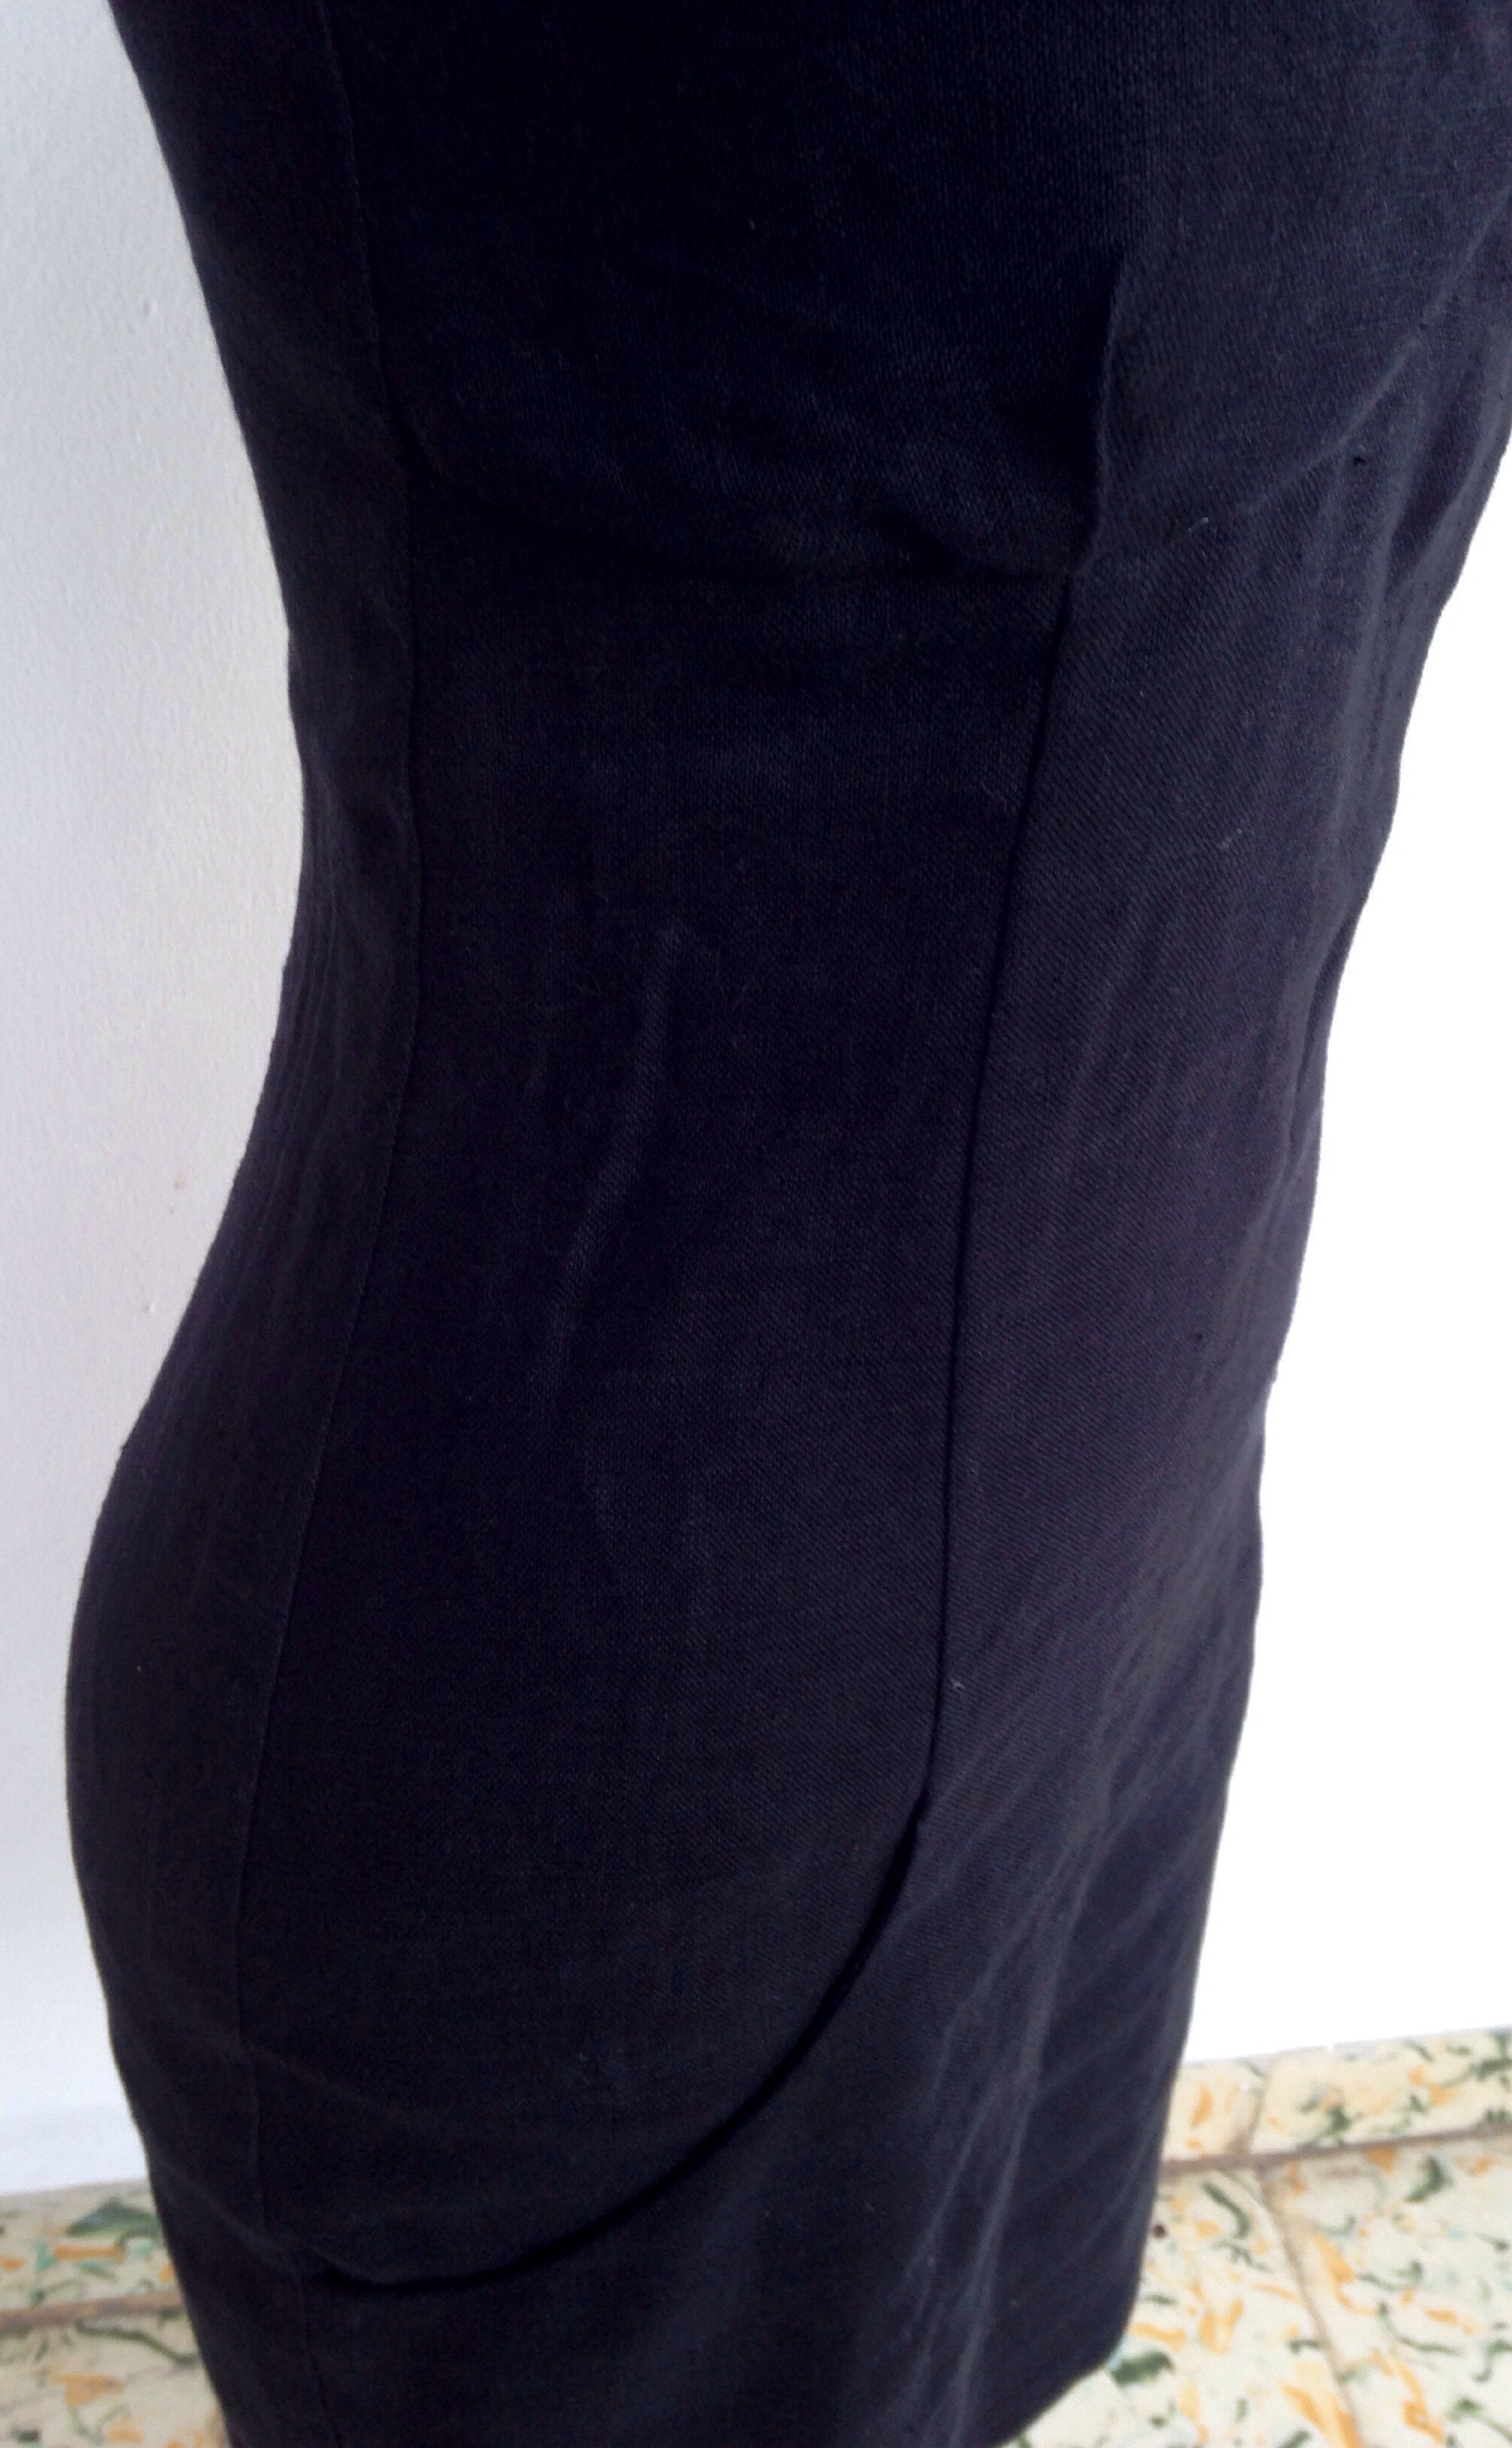
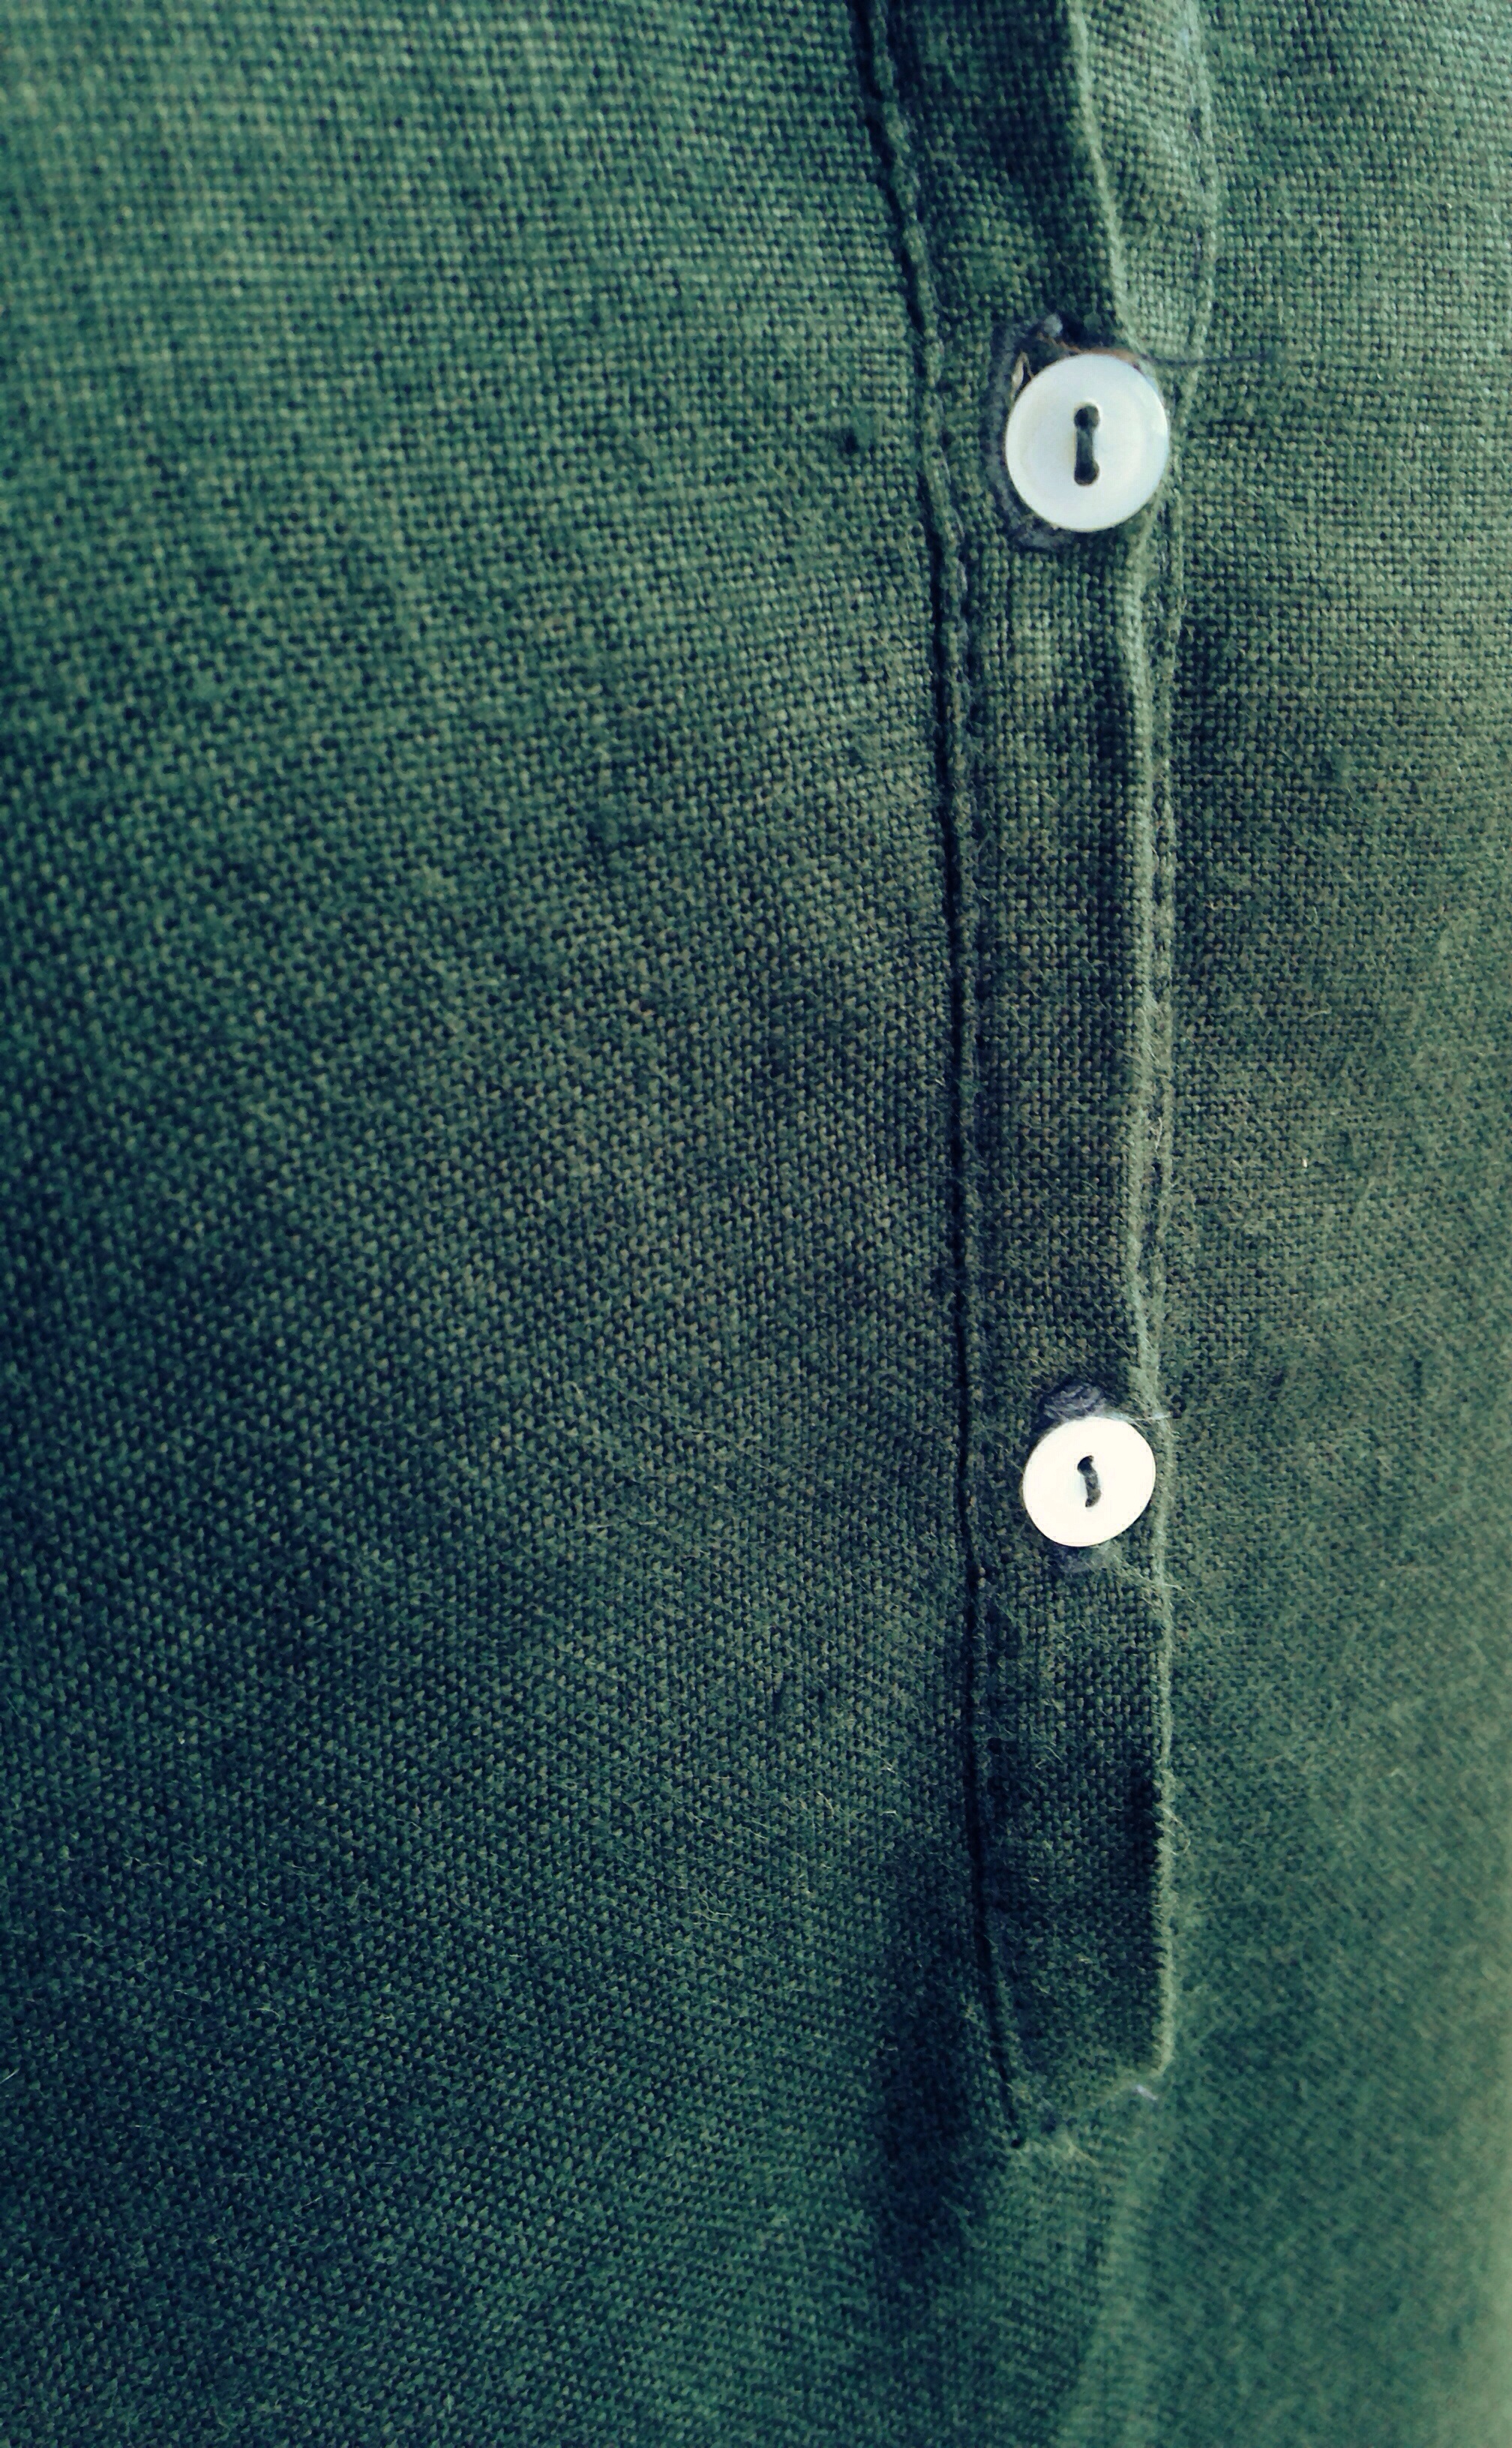
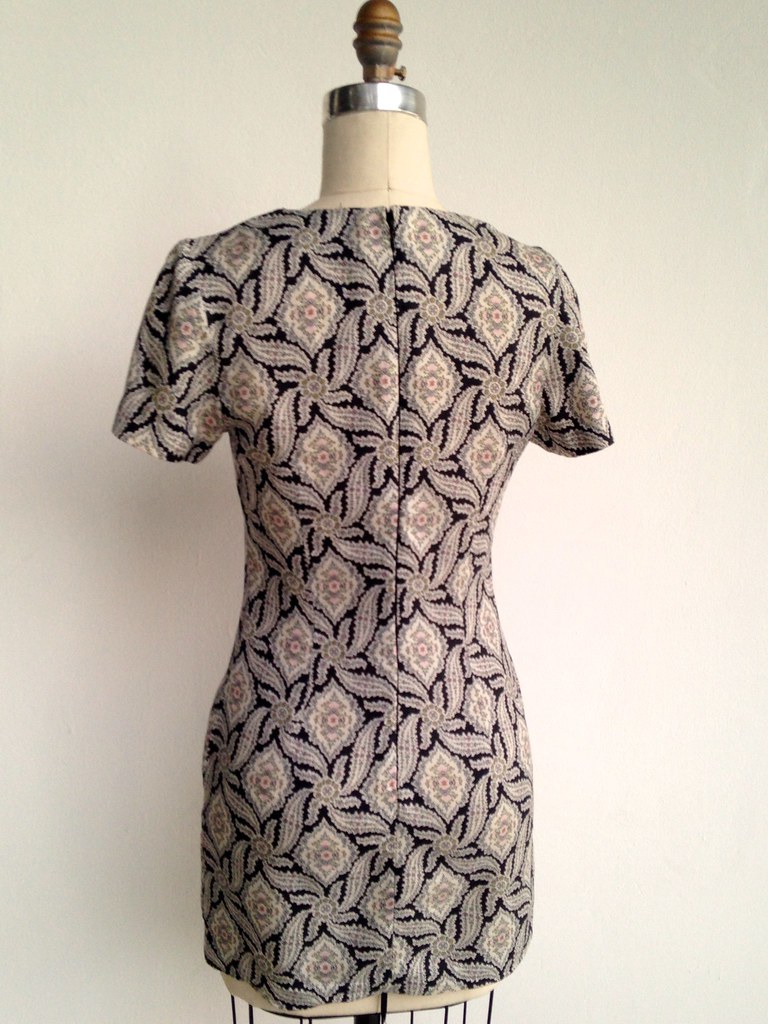
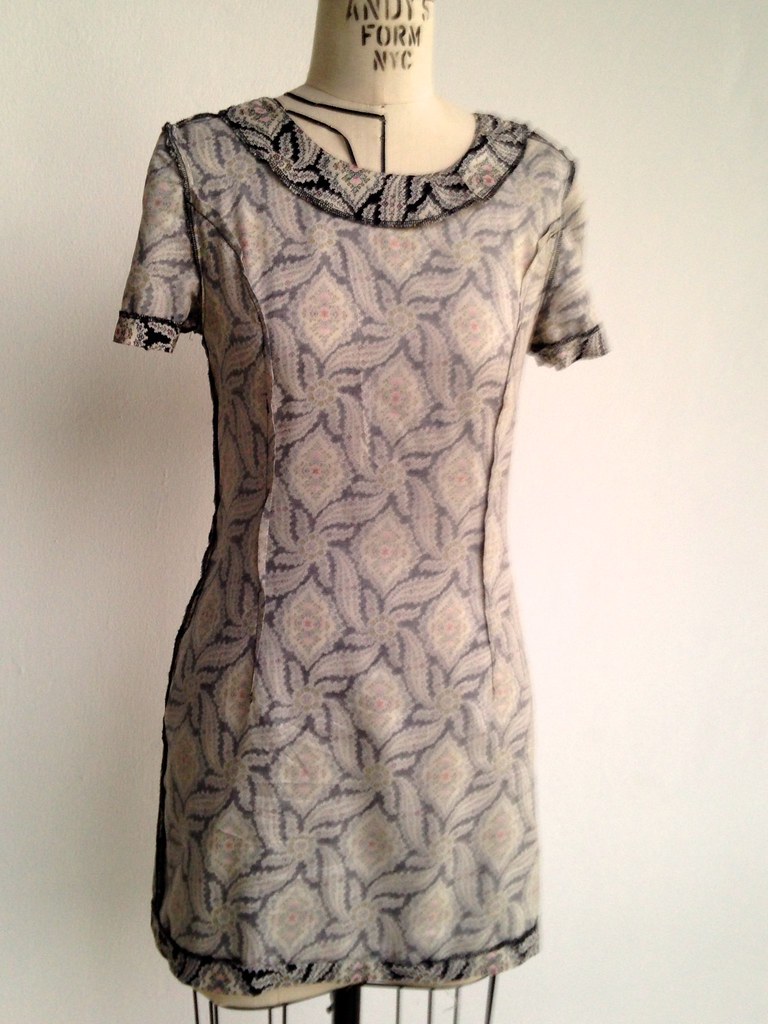
 As it is extremely difficult to show the seamlines in the pictures, I hope you will get a closer idea in the dressform shots and the inside-outs. As for


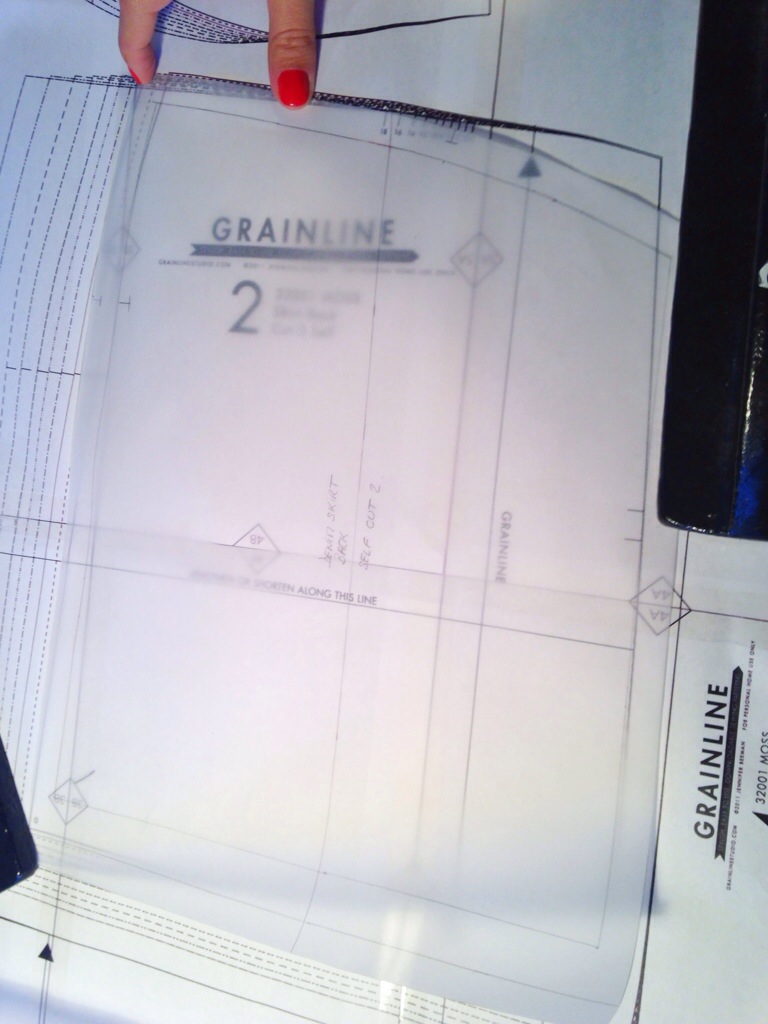


 and there you will enter the "string" that you received with your scary 3D body. Choose your printing options (for me it's pdf and letter), enter the email address you have been using for registration in step 1 and click "proceed with the order". Now tricky part (not really but I hesitated so...) choose the 3rd option : Payment from the user"s account (pin code 4 digits). Enter your PIN (the one from step 1) and you are done ! Your order may take has much as an hour to arrive in your mailbox so don't worry!